OpenGL ES Pixel Shaders Tutorial
In this OpenGL ES pixel shaders tutorial, take a deep dive into GLSL and fragment shader math – including how to make gradients and random noise! By Ricardo Rendon Cepeda.
Procedural Textures: Square Grid
When working with a 3D sphere, normalizing vectors makes equations much simpler, and the same is true for procedural textures, particularly noise. Functions like smoothing and interpolation are a lot easier if they happen on a square grid. Open RWTNoise.fsh and replace the calculation for position with this:
vec2 position = gl_FragCoord.xy/uResolution.xx;
This ensures that one unit of position is equal to the width of your screen (uResolution.x).
On the next line, add the following if statement:
if ((position.x>1.) || (position.y>1.)) {
  discard;
}
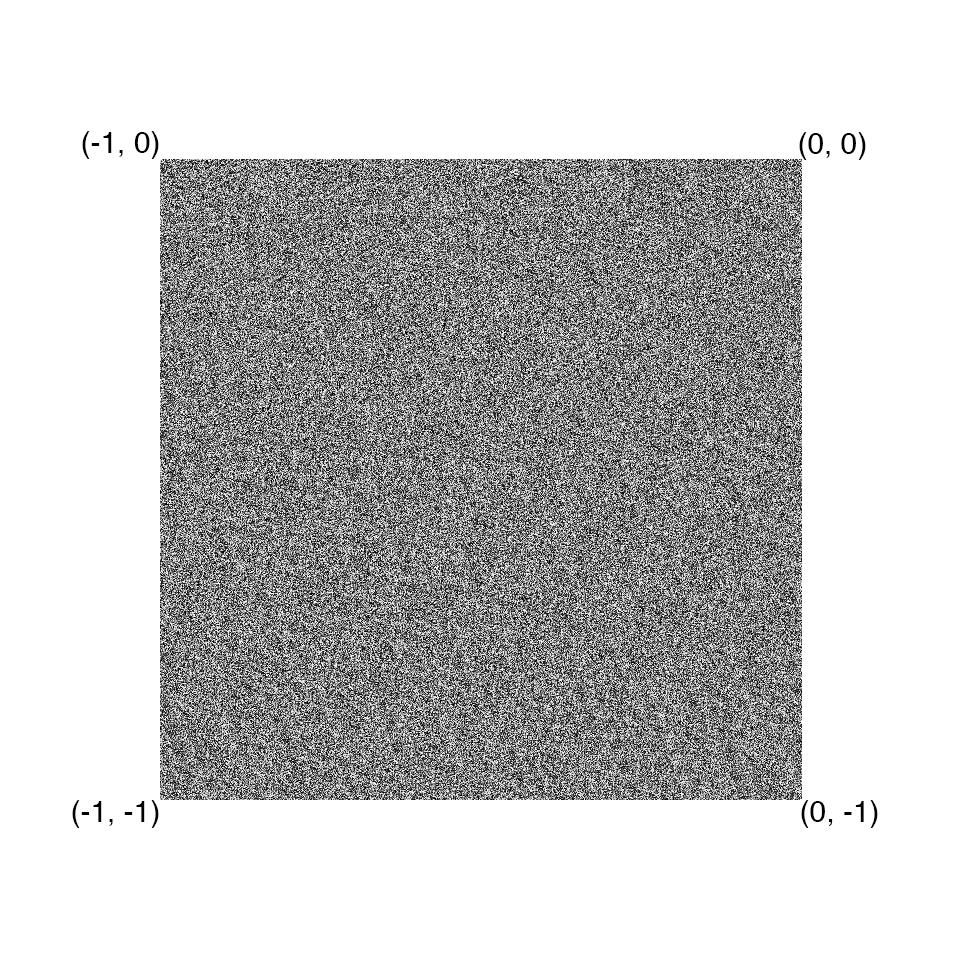
Make sure you give discard a warm welcome back into you code, then build and run to render the image below:

This simple square acts as your new 1x1 pixel shader viewport.

Since 2D noise extends infinitely in x and y, if you replace your noise input with either of the following lines below:
float n = randomNoise(position-1.);
float n = randomNoise(position+1.);
This is what you'll see:

For any noise-based procedural texture, there is a primitive-level distinction between too much noise and not enough noise. Fortunately, tiling your square grid makes it possible to control this.
Add the following lines to main(void), just before n:
float tiles = 2.;
position = floor(position*tiles);
Then build and run! You should see a 2x2 square grid like the one below:

This might be a bit confusing at first, so here's an explanation:

floor(position\*tiles) will truncate any value to the nearest integer less than or equal to position*tiles, which lies in the range (0.0, 0.0) to (2.0, 2.0), in both directions.
Without floor(), this range would be continuously smooth and every fragment position would seed noise() with a different value.
However, floor() creates a stepped range with stops at every integer, as shown in the diagram above. Therefore, every position value in-between two integers will be truncated before seeding noise(), creating a nicely-tiled square grid.
The number of square tiles you choose will depend on the type of texture effect you want to create. Perlin noise adds many grids together to compute its noisy pattern, each with a different number of tiles.
There is such a thing as too many tiles, which often results in blocky, repetitive patterns. For example, the square grid for tiles = 128. looks something like this:

Procedural Textures: Smooth Noise
At the moment, your noise texture is a bit too, ahem, noisy. This is good if you wish to texture an old-school TV set with no signal, or maybe MissingNo.
But what if you want a smoother texture? Well, you would use a smoothing function. Get ready for a shift gears and move onto image processing 101.
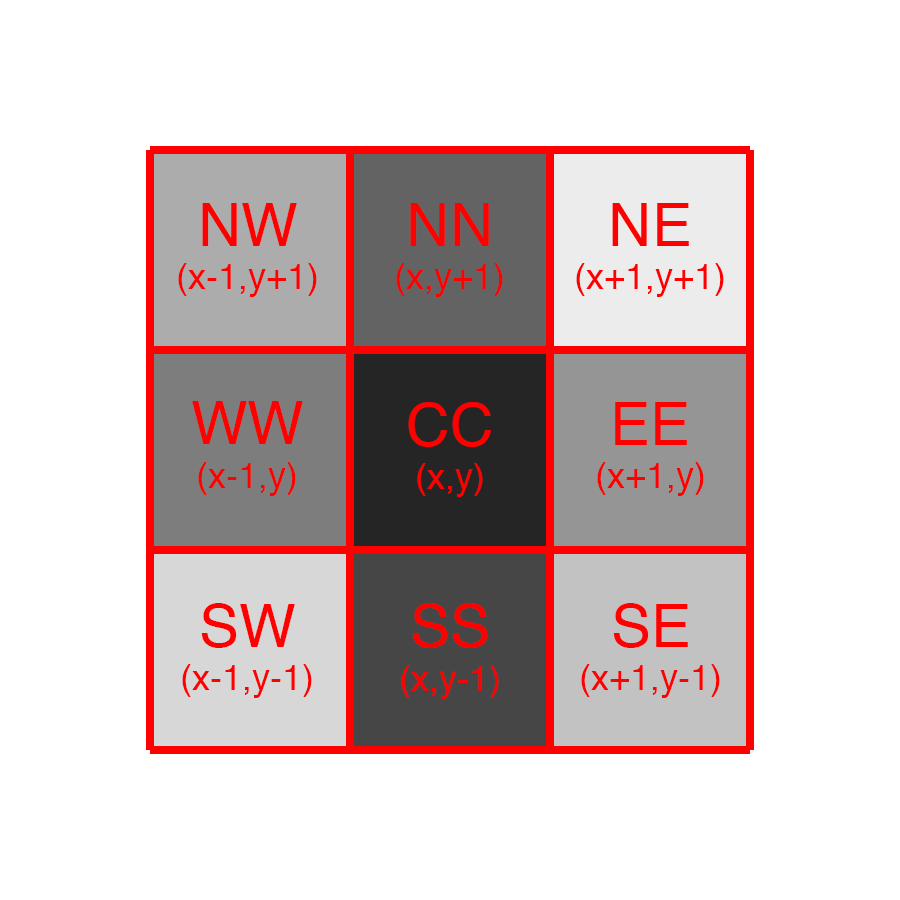
In 2D image processing, pixels have a certain connectivity with their neighbors. An 8-connected pixel has eight neighbors surrounding it; four touching at the edges and four touching at the corners.
You might also know this concept as a Moore neighborhood and it looks something like this, where CC is the centered pixel in question:
Note: To learn more about the Moore neighborhood and image processing in general, check out our Image Processing in iOS tutorial series.
Note: To learn more about the Moore neighborhood and image processing in general, check out our Image Processing in iOS tutorial series.
A common use of image smoothing operations is attenuating edge frequencies in an image, which produces a blurred/smeared copy of the original. This is great for your square grid because it reduces harsh intensity changes between neighboring tiles.
For example, if white tiles surround a black tile, a smoothing function will adjust the tiles' color to a lighter gray. Smoothing functions apply to every pixel when you use a convolution kernel, like the one below:

This is a 3x3 neighborhood averaging filter, which simply smooths a pixel value by averaging the values of its 8 neighbors (with equal weighting). To produce the image above, this would be the code:
p = 0.1
p’ = (0.3+0.9+0.5+0.7+0.2+0.8+0.4+0.6+0.1) / 9
p’ = 4.5 / 9
p’ = 0.5
It’s not the most interesting filter, but it’s simple, effective and easy to implement! Open RWTNoise.fsh and add the following function just above main(void):
float smoothNoise(vec2 p) {
  vec2 nn = vec2(p.x, p.y+1.);
  vec2 ne = vec2(p.x+1., p.y+1.);
  vec2 ee = vec2(p.x+1., p.y);
  vec2 se = vec2(p.x+1., p.y-1.);
  vec2 ss = vec2(p.x, p.y-1.);
  vec2 sw = vec2(p.x-1., p.y-1.);
  vec2 ww = vec2(p.x-1., p.y);
  vec2 nw = vec2(p.x-1., p.y+1.);
  vec2 cc = vec2(p.x, p.y);

  float sum = 0.;
  sum += randomNoise(nn);
  sum += randomNoise(ne);
  sum += randomNoise(ee);
  sum += randomNoise(se);
  sum += randomNoise(ss);
  sum += randomNoise(sw);
  sum += randomNoise(ww);
  sum += randomNoise(nw);
  sum += randomNoise(cc);
  sum /= 9.;

  return sum;
}
It’s a bit long, but also pretty straightforward. Since your square grid is divided into 1x1 tiles, a combination of ±1. in either direction will land you on a neighboring tile. Fragments are batch-processed in parallel by the GPU, so the only way to know about neighboring fragment values in procedural textures is to compute them on the spot.
Modify main(void) to have 128 tiles, and compute n with smoothNoise(position). After those changes, your main(void) function should look like this:
void main(void) {
    vec2 position = gl_FragCoord.xy/uResolution.xx;
    float tiles = 128.;
    position = floor(position*tiles);
    float n = smoothNoise(position);
    gl_FragColor = vec4(vec3(n), 1.);
}
Build and run! You’ve been hit by, you’ve been struck by, a smooooooth functional. :P
Nine separate calls to randomNoise(), for every pixel, are quite the GPU load. It doesn't hurt to explore 8-connected smoothing functions, but you can produce a pretty good smoothing function with 4-connectivity, also called the Von Neumann neighborhood.
Neighborhood averaging also produces a rather harsh blur, turning your pristine noise into grey slurry. In order to preserve original intensities a bit more, you’ll implement the convolution kernel below:

This new filter reduces neighborhood averaging significantly by having the pixel in question contribute 50% of the final result, with the other 50% coming from its 4 edge-neighbors. For the image above, this would be:
p = 0.1
p’ = (((0.3+0.5+0.2+0.4) / 4) / 2) + (0.1 / 2)
p’ = 0.175 + 0.050
p’ = 0.225
Time for a quick challenge! See if you can implement this half-neighbor-averaging filter in smoothNoise(vec2 p).
Hint: Remember to remove any unnecessary neighbors! Your GPU will thank you and reward you with faster rendering and less griping.
[spoiler title="Smooth Noise Filter"]
float smoothNoise(vec2 p) {
  vec2 nn = vec2(p.x, p.y+1.);
  vec2 ee = vec2(p.x+1., p.y);
  vec2 ss = vec2(p.x, p.y-1.);
  vec2 ww = vec2(p.x-1., p.y);
  vec2 cc = vec2(p.x, p.y);

  float sum = 0.;
  sum += randomNoise(nn)/8.;
  sum += randomNoise(ee)/8.;
  sum += randomNoise(ss)/8.;
  sum += randomNoise(ww)/8.;
  sum += randomNoise(cc)/2.;

  return sum;
}
[/spoiler]
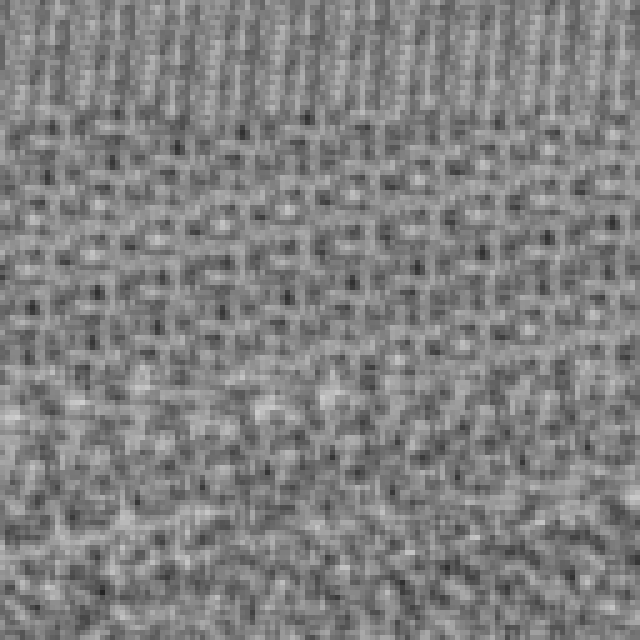
If you didn't figure it out, take a look at the code in the spoiler, and replace your existing smoothNoise method with it. Reduce your number of tiles to 8., then build and run.

Your texture is starting to look more natural, with smoother transitions between tiles. Compare the image above (smooth noise) with the one below (random noise) to appreciate the impact of the smoothing function.

Great job so far :]