Building Complex UI in Flutter: Magic 8-Ball
Learn how to build complex user interfaces in Flutter by creating a nearly 3D Magic 8-Ball using standard Flutter components. By Nic Ford.
Flutter provides a great set of basic Material and Cupertino widgets — but maybe you want something a little different. A novel UI can give a user a far richer experience.
This tutorial describes how to create a nearly 3D Magic 8-Ball in Flutter! Using only standard Flutter components, you’ll develop an app that presents an 8-ball that you can spin to reveal its predictions.
During this process you’ll learn about:
- Color
Gradients, and what they contribute to a 2.5D world. -
Matrix4transformations, and how they morph a widget. - The
Offsetclass — a simple structure that makes calculations easy. - Pan gestures, and how to map where they happen into your UX.
So, you’ll take that flat, old device screen and look at it with a little more — ahem — depth.
Getting Started
Download the starter project using the Download Materials button at the top or bottom of this tutorial. Open it in your favorite editor, build and run.
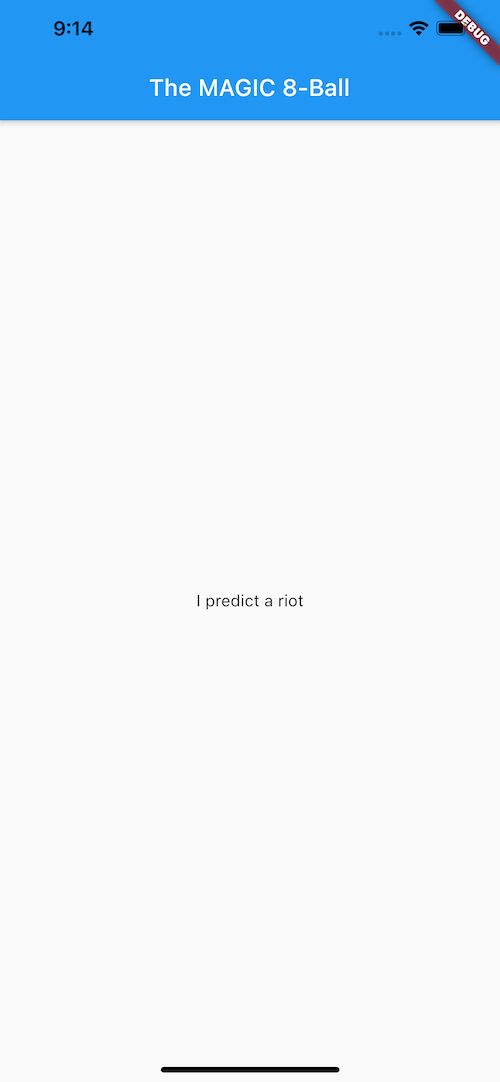
Right now you can only see a very simple UI like the one shown above. Don’t worry, through this tutorial you’ll add the required logic to build your beautiful Magic 8-Ball in Flutter!
The project file structure looks like this:

The following Dart files are pre-built for you:
- main.dart: The entry point for the whole shebang.
- rules_of_the_oracle.dart: Simple instructions text.
-
prediction.dart: A
Predictionwidget that draws the Magic 8-Ball’s blue prediction triangle using aCustomPainter— which is outside the scope of this tutorial, so was pre-built for you — plus an obfuscated array of predictions.
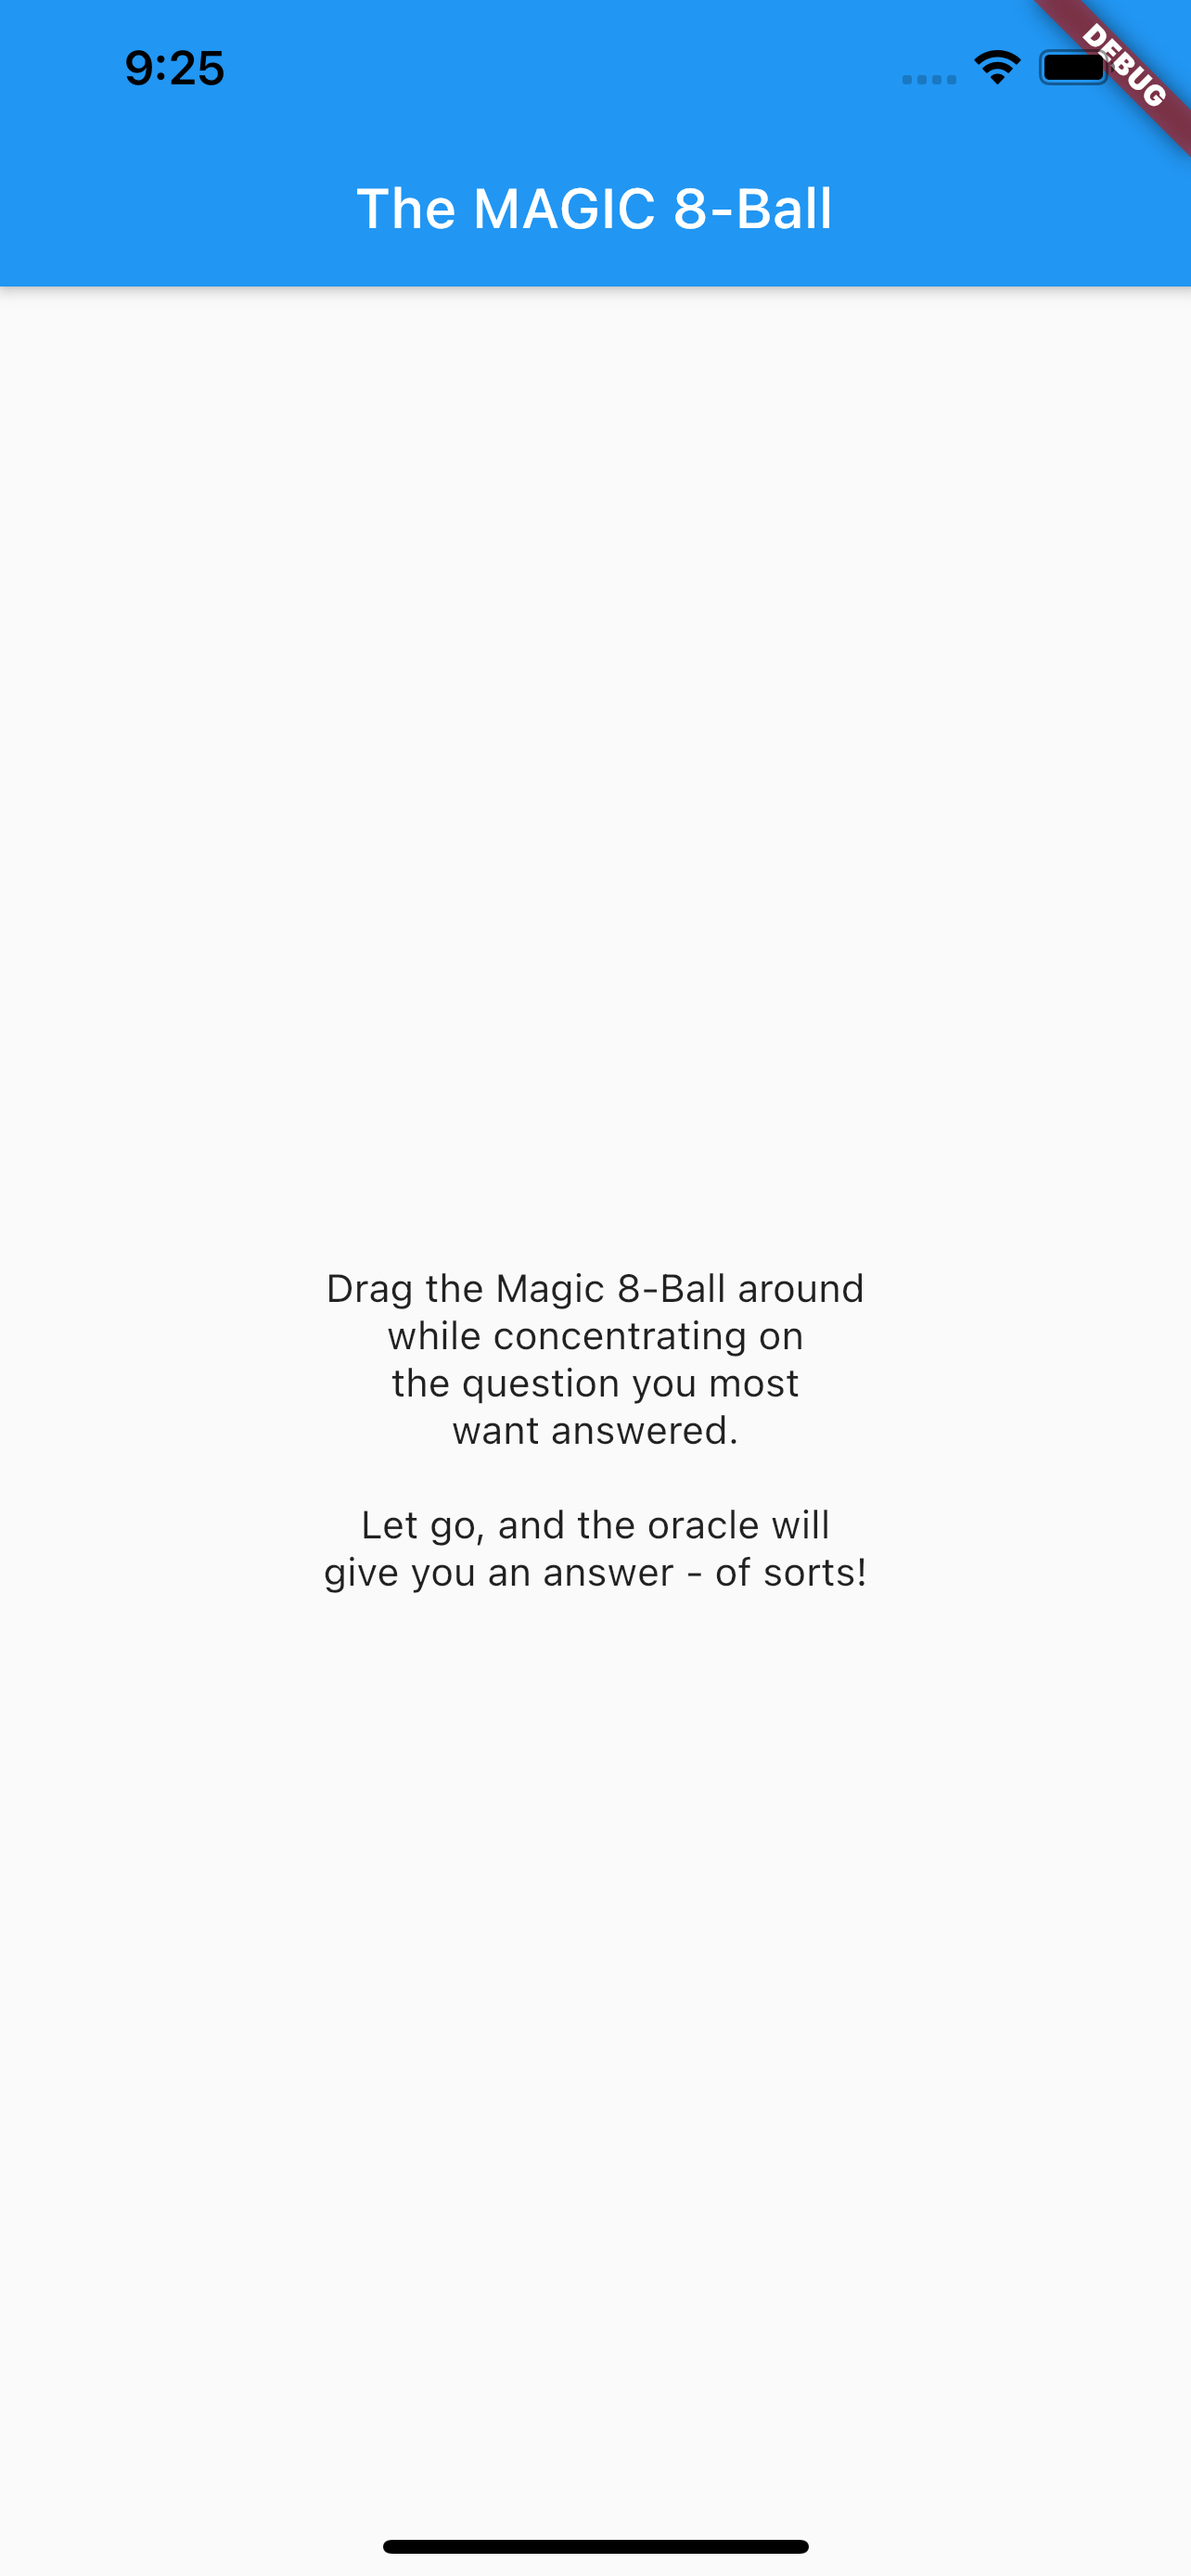
Start by opening components/rules_of_the_oracle.dart and changing the text:
'Drag the Magic 8-Ball around\n'
'while concentrating on\n'
'the question you most\n'
'want answered.\n\n'
'Let go, and the oracle will\n'
'give you an answer - of sorts!',
Save the file and let the app hot reload to see the effect of this change:
Now you need an 8-ball to spin — but before you start, some theory…
Creating Novel User Experiences: Beyond Material and Cupertino
Flutter enables you to create amazing user experiences right from the get-go. Whether using Material widgets, Cupertino or a combination of the two, everything you want to do has been catered for.
But look around, and you’ll see many apps don’t follow those rules. They know a novel user experience — so long as it follows a basic grammar — can be a stimulating one. Sometimes this is done to differ from the competition; other times, maybe, to realize a quick and intuitive engagement that would otherwise be hard to achieve; and sometimes, it’s art that just exists to give a soupçon of delight.
Here’s a great example. By adding a 3D twist to a standard storefront, Minh Pham has made something really special.

Understanding 2.5D
You can use a number of techniques to render a 3D object onto a two-dimensional surface. Mathematical 3D models probably give the best results — but they’re computationally costly and slow. So what can you do?
Easy. You can cheat.
One of the most popular cheats is the 2.5D — also known as the three-quarter or pseudo-3D — perspective, halfway between 2D and 3D. Two-dimensional images are rendered in such a way that the final effect looks three-dimensional. By composing 3D objects from 2D assets, you’ve done much of the hard work up front — so it’s far cheaper and quicker. Of course, you’ll have to make compromises — and you’ll hit those as the app progresses.
Understanding Neumorphic Design
One cheat you’ll use to great effect is neumorphic design. UI elements are rendered as if a light source is shining on them: Edges and features are highlighted or throw shadows. Neumorphic design is a subject that deserves a tutorial all its own — and luckily you have one, albeit outside the Flutter domain, here: How to Create a Neumorphic Design With SwiftUI.
But you’re probably itching to start. It’s time to build an 8-ball!
Building the Magic 8-Ball in Flutter
Start with the ball itself, or, as you may like to think of it, the Sphere of Destiny.
Create a components/sphere_of_destiny.dart file and add this code:
import 'package:flutter/material.dart';

class SphereOfDestiny extends StatelessWidget {
  const SphereOfDestiny({
    Key? key,
    required this.diameter
  }) : super(key: key);

  final double diameter;

  @override
  Widget build(BuildContext context) {
    return Container(

    );
  }
}
This code just defines SphereOfDestiny as a StatelessWidget. Note that it requires the diameter of the sphere as a double. You’ll work on the build method next.
Key?, with a trailing query mark. Throughout this tutorial you’ll use sound null safety. To understand null safety in more detail, check out our tutorial on Non Nullable Dart.
Style and color Container, making it fit the space available:
return Container(
  width: diameter,
  height: diameter,
  decoration: BoxDecoration(
    color: Colors.black,
    shape: BoxShape.circle
  ),
);
By adding BoxDecoration, you tell Container how you want it to look: circular and black, in this case.
Go to the end of line 61 in main.dart. Hit Return to create a new line, and type SphereOfDestiny(diameter: 200),. Save your file and hot reload the app.

Now you have a black circle — but you want a sphere, a bit of depth. Enter neumorphic-cheat number one. In SphereOfDestiny replace the BoxDecoration color: line with:
gradient: RadialGradient(
  colors: const [Colors.grey, Colors.black],
),
Instead of a single, flat background color for Container, you’ve given it a gradient, grey at the center point to black at the edges.
Hot reload the app and now your circle looks a little more spherical.
