Introduction to TextMesh Pro in Unity
Learn about TextMesh Pro in Unity by creating a spooky text-based adventure game where the style of the text changes based on what happens in the story. By Johnny Thompson.
Getting Started With TextMesh Pro
Before you continue, switch from the Game view to the Scene view so you can see the Text and RectTransform areas on your screen. To match the screenshots, press the 2D button in the Scene view to switch to 2D mode and focus on the Screens GameObject.
Set 2-Intro as the active screen. To add a new TextMeshProUGUI object, right-click 2-Intro and select UI ▸ Text – TextMeshPro. This gives 2-Intro a child object called Text (TMP).
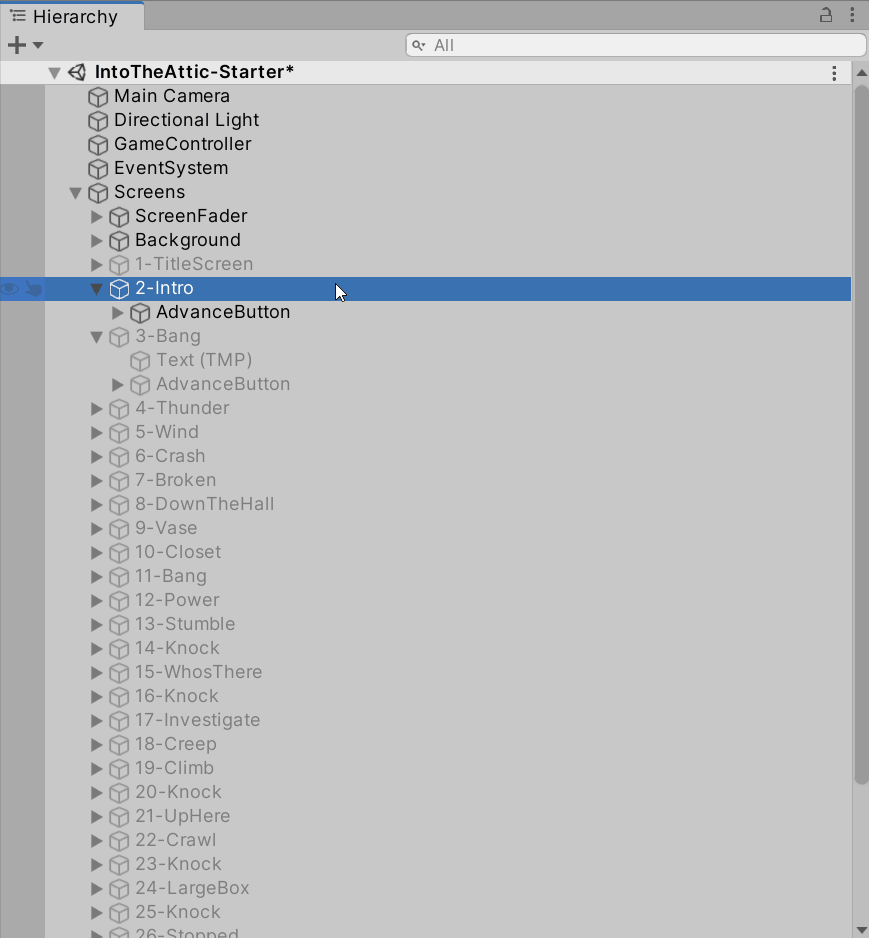
Select Text (TMP) and make the text area larger by changing the Anchor Presets on the Rect Transform component to stretch horizontally and vertically. Next, set left, right and top to 50, then bottom to 350.

To add text to the TextMeshProUGUI component, you need to type in the Text Input field. Add some introduction text to set the scene for the game: “One rainy night in the middle of January…”
The text now displays in the text area in the scene.
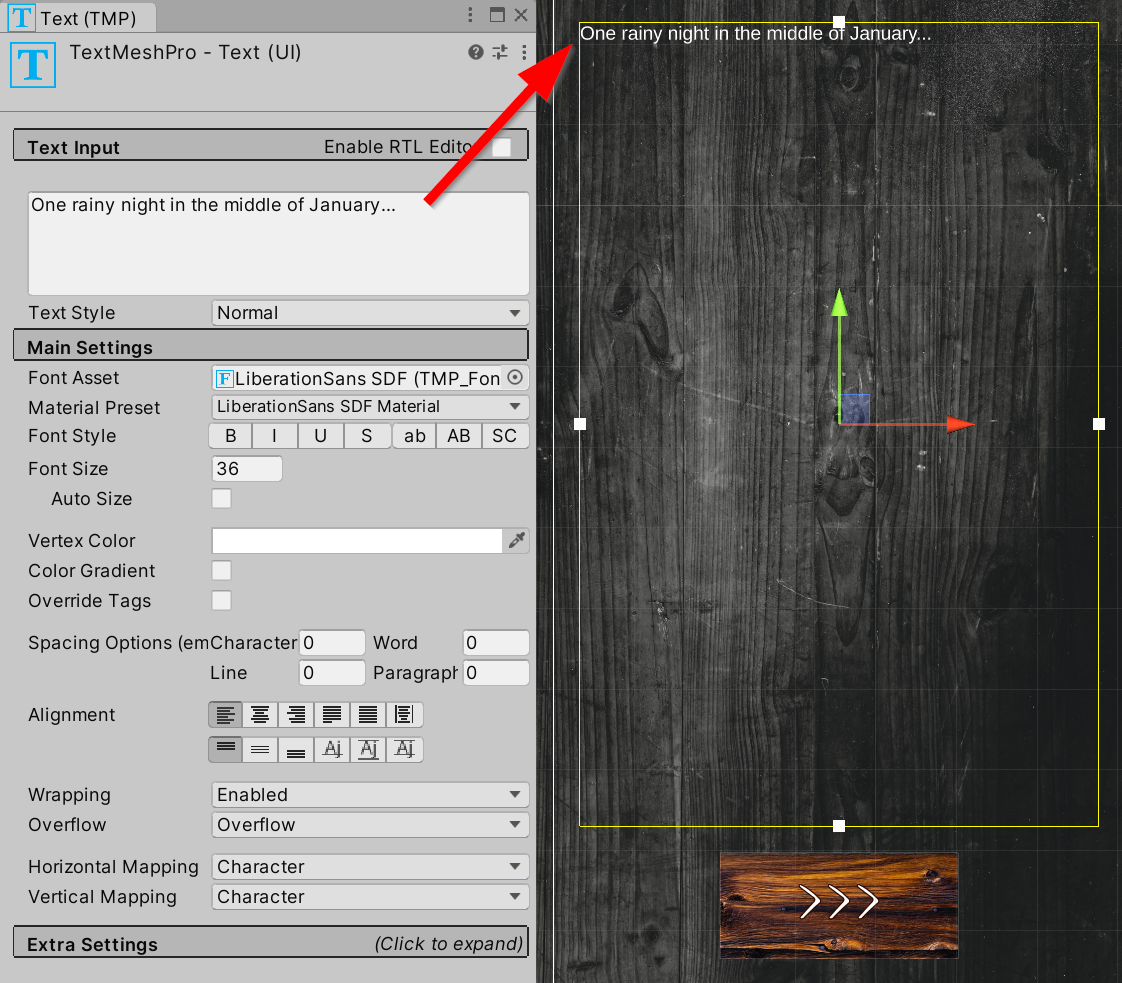
By default, the text is a bit plain. To fix this, you’ll change the standard styling options in Main Settings.
First, change the font by clicking the bullseye icon next to the existing Font Asset, then select NewTegomin-Regular SDF. The font immediately updates in the scene.
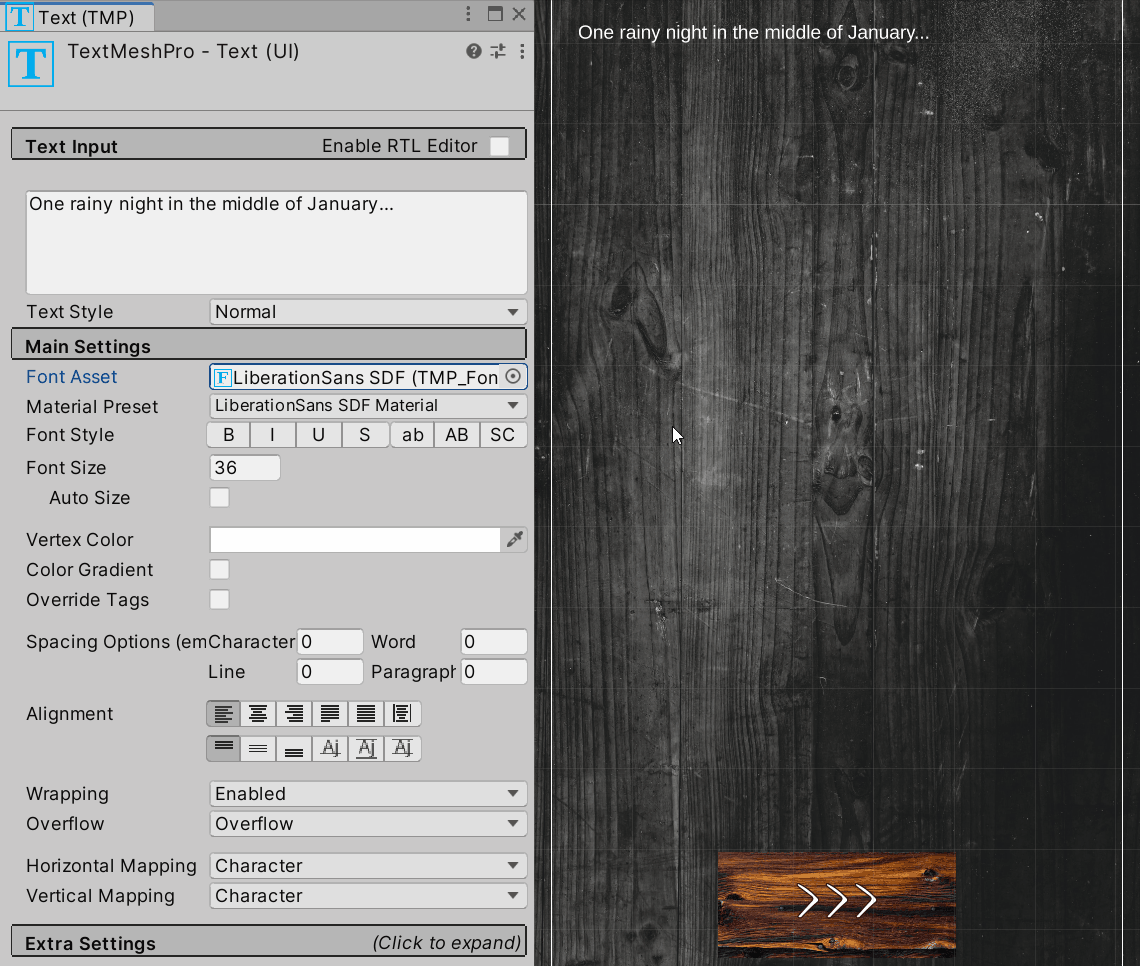
Next, perform the following steps:
- Make the text larger by changing Font Size to 150.
- Set Line Spacing to -50 to decrease the spacing between each line.
- Finally, center the text by selecting the Center and Middle alignment options.
The text now looks much more interesting. Ominous, even…

Setting Font Color and Gradient
Moving on, disable 2-Intro, then enable 3-Bang.
Select the child Text (TMP) and make the text stand out by:
- Changing the Font Style to bold and uppercase.
- Increasing Font Size to 300.
- Changing Vertex Color to yellow by clicking the field and choosing yellow in the color selector window.

That should wake a person up!
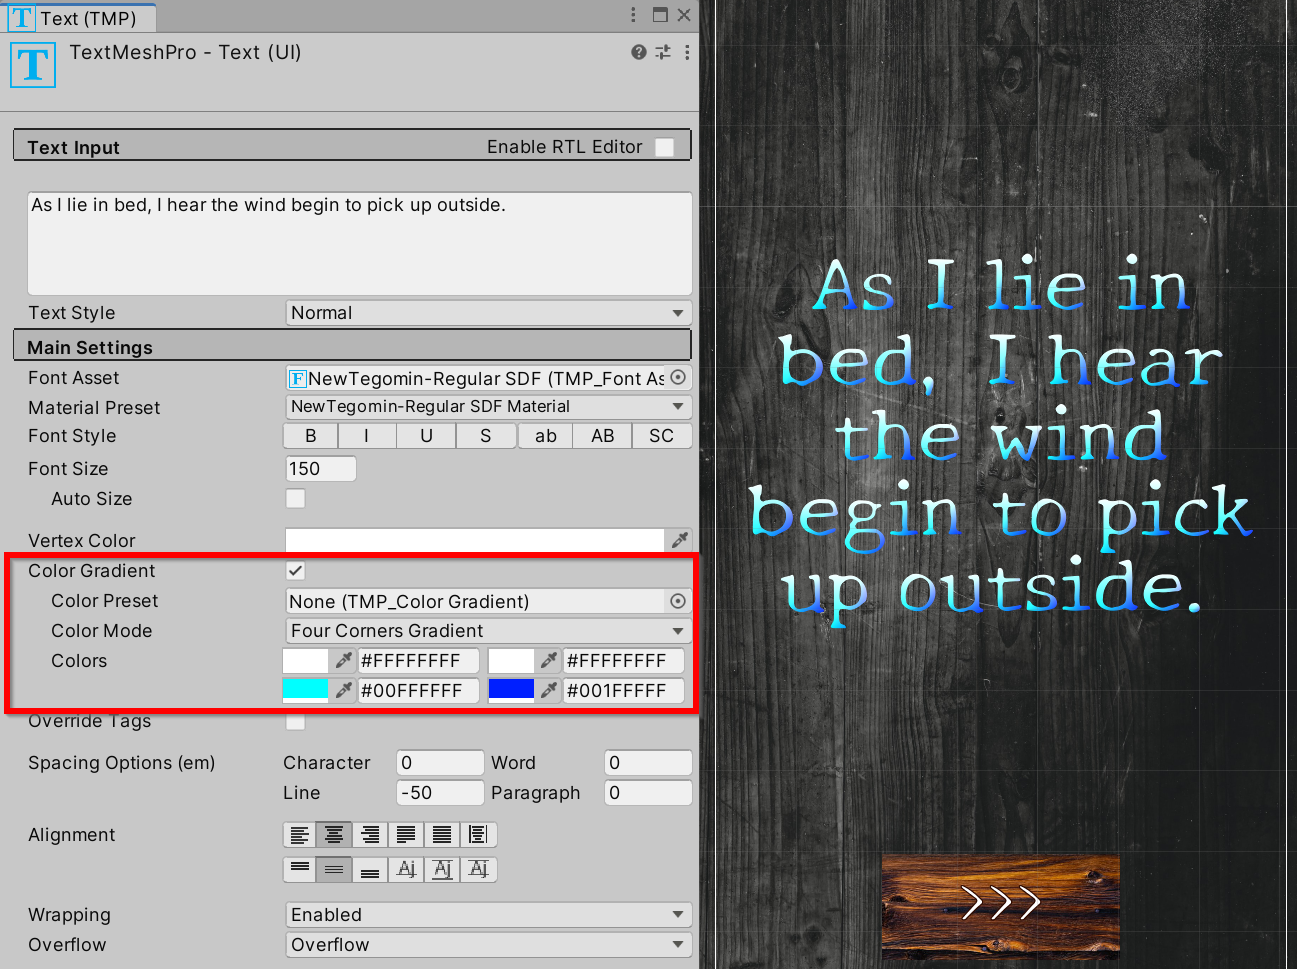
Next, set 5-Wind as the active screen.
Select Text (TMP) and make the text feel cold by adding a color gradient. Check Color Gradient, then change Color Mode to Four Corners Gradient.
Set the top two corners to white, the bottom left to cyan, and the bottom right to blue. Notice how the gradient applies across each individual character. Brrrr!
Adding Rich Text in TextMesh Pro
So far, the styling options you’ve worked with all apply to the entire text block. However, there are many cases where you only need to apply styling to a portion of the text. Maybe you need one sentence, word, or even character to look different than the rest. To do this, you can use Rich Text tags.
Rich Text tags work like HTML tags. Angle brackets — <> — indicate an opening tag. Angle brackets with a forward slash </> indicate a closing tag. The tag affects all text between the opening and closing brackets.
A common use of Rich Text tags is to italicize a portion of text. Test this out on screen 6-Crash.
In the Text Input field, place an italic opening tag <i> before the word sharp and a closing tag </i> after the word crash. The words sharp crash are now italicized, putting emphasis on those words.

Another common Rich Text tag is the color tag. This tag, along with several others, has properties that you can set within the tag.
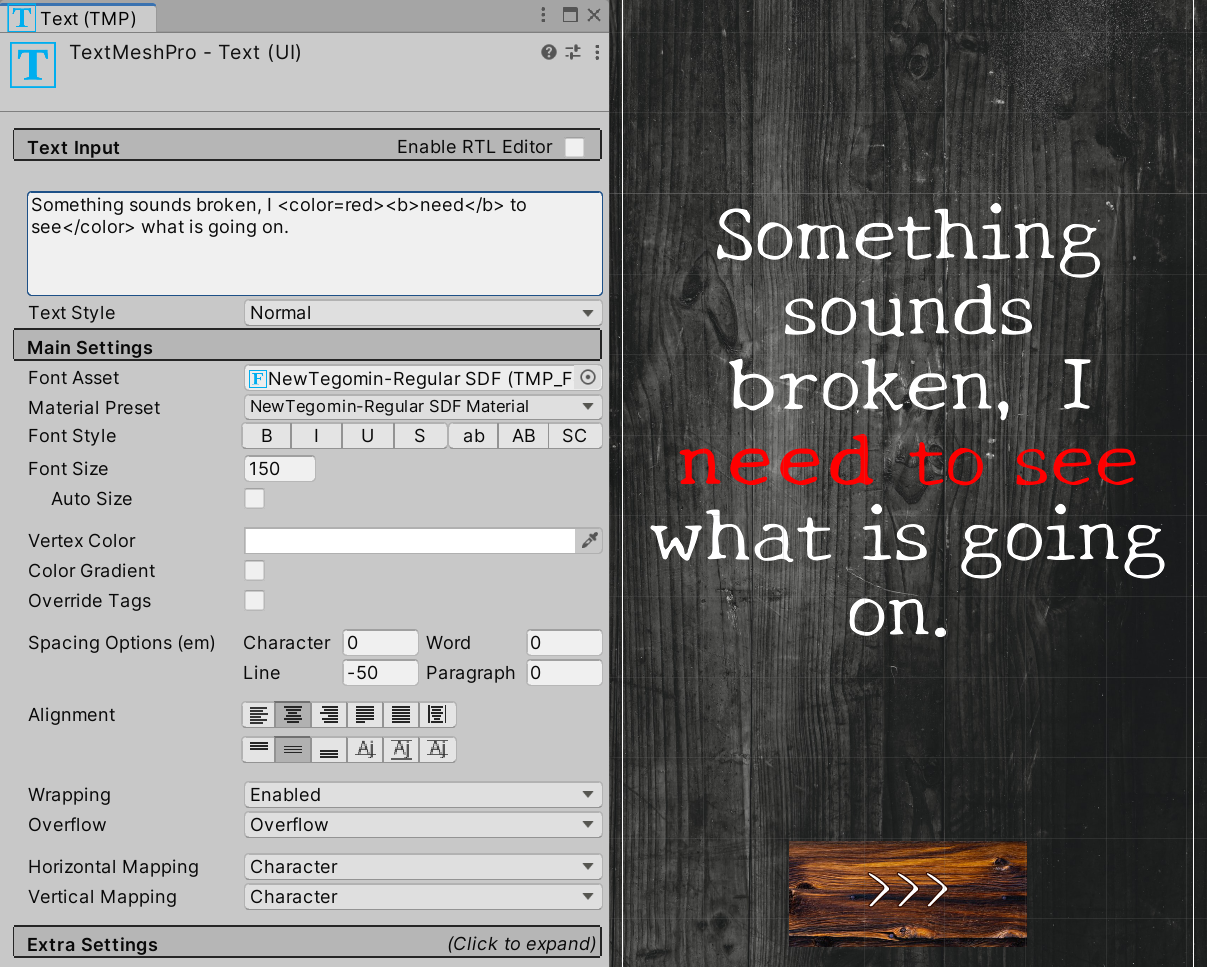
On screen 7-Broken, make the words need to see red by adding the <color=red> and </color> tags around those words.
<color=#ff0000> or <color=#ff0000ff> to specify the alpha value.
Another thing to note about Rich Text tags is that they support nesting. Try this out by putting the bold <b> </b> tags around the word need. Once complete, your text should look like this:
What could have possibly made that noise?
Indenting Lines
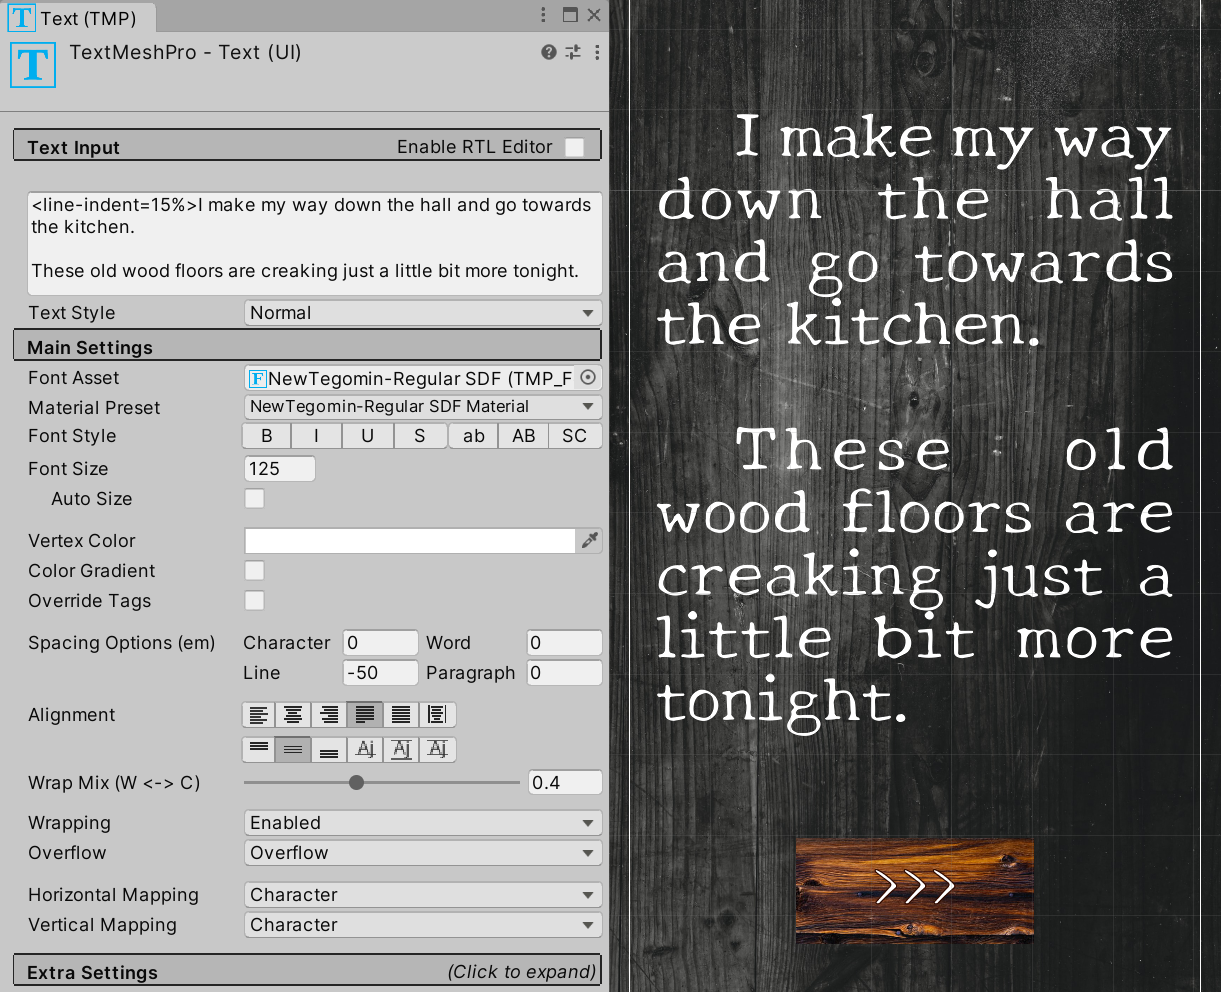
Activate screen 8-DownTheHall.
Put the <line-indent=15%> tag at the beginning of the text. This will indent each line by 15% of the width of the text area. In this case, you don’t need a closing tag because you want to indent both lines.
Using Overflow Settings
Activate screen 9-Vase.
Notice here that the text covers part of the image. To avoid this, you can specify how to handle long text in the Overflow settings.
Select Text (TMP) and notice how the text continues past the lower boundary of the Rect Transform. That’s because the Overflow setting is set to Overflow, meaning the text continues past the edge of the container.
Also, note that the text does not overflow to the left or right of the container. That’s because Wrapping is set to Enabled. If you disable it, all the text appears on a single line that extends to the left and right of the container.

To get the text off the main part of the image, use the Linked overflow mode. This mode overflows extra text into a second TextMeshProUGUI component.
Right-click Text (TMP) and select duplicate. This makes the text settings and styling options identical on both objects.
Select the new object and name it Text (TMP) Overflow.
Set Top to 1200 and Bottom to 350 on the Rect Transform.
Clear the Text Input field.

Select the original Text (TMP), set Overflow to Linked and drag the new Text (TMP) Overflow into the open field.

The text will now overflow from the top Text (TMP) to the lower Text (TMP) Overflow.

Phew, just a vase! Better grab that broom and tidy up.
Adding Inline Images to Text
There may be a time where you need to add an icon or an image inline with your text. You could use this to give a player information about an item they just picked up or to let them know what a specific button does in your game.
With TextMesh Pro, you can reference specific sprites on a sprite sheet and add them inline with other text using a Rich Text tag.
To see this in action, you’ll add an icon of a flashlight after the word flashlight. Start by setting 13-Stumble as the active screen, then select the icon at Assets/RW/Sprites/FlashlightIcon.png.
In Import Settings, change Texture Type to Sprite (2D and UI).

Right-click on FlashlightIcon.png and select Create ▸ TextMeshPro ▸ Sprite Asset to create a Sprite Asset in the same folder.
Select Text (TMP) and click the Extra Settings header to expand the additional settings. Next, drag the FlashlightIcon Sprite Asset into the Sprite Asset field.
![]()
Insert the <sprite index=0> tag after the word flashlight in Text Input. The flashlight icon now displays inline.