Non-Nullable Dart: Understanding Null Safety
Learn how to use null safety in Dart. Get to know Dart’s type system and how to utilize language features in production code. By Sardor Islomov.
Sign up/Sign in
With a free Kodeco account you can download source code, track your progress, bookmark, personalise your learner profile and more!
Create accountAlready a member of Kodeco? Sign in
Sign up/Sign in
With a free Kodeco account you can download source code, track your progress, bookmark, personalise your learner profile and more!
Create accountAlready a member of Kodeco? Sign in
Sign up/Sign in
With a free Kodeco account you can download source code, track your progress, bookmark, personalise your learner profile and more!
Create accountAlready a member of Kodeco? Sign in
Contents
Non-Nullable Dart: Understanding Null Safety
30 mins
- Getting Started
- Getting to Know the App
- Understanding Sound Null Safety
- Exploring the Dart Type System
- Enabling Null Safety
- Migrating to Null-Safe Dart
- Creating Model Classes
- Reviewing the Person Class
- Creating the User Class
- Creating Friend and FamilyMember Classes With Nullable Types
- Declaring Nullable Types
- Creating FamilyMember With a Nullable Property
- Using Late Variables and Lazy Initialization
- Retrieving Data From Widgets
- Understanding the Never Type
- Understanding Flow Analysis
- Testing the Never Type
- Using Type Promotion
- Displaying Member Names on the Home Screen
- Displaying User Details in the Dialog
- Retrieving User Input From the TextFields
- Displaying the Dialog With the User Information
- Displaying the User Relationship
- Clearing the UI
- Sound Null Safety In a Nutshell
- Where to Go From Here?
Null safety helps you solve one of the most common errors in software development: NullPointerException. This exception and other types of bugs cost millions of dollars for businesses and corporations. As a result, many companies recruit developers with good error-handling skills.
Null safety is not a new concept. Other languages such as Swift, Kotlin and Rust, have implemented null safety based on their type systems and language features. Dart has also recently introduced sound null safety.
In this tutorial, you’ll build ProfileApp, a small app that saves data about users and their relationships. In the process, you’ll learn about:
- Sound null safety.
- How to create a Flutter app with null-safe code.
- The type system in Dart.
- How to work with nullable types.
- What type promotion is and how Dart automatically promotes types.
- The migration types you can use to make your existing code null safe.
Getting Started
Download the starter project by clicking the Download Materials button at the top or bottom of the tutorial. After the download completes, unzip the file to a suitable location.
ProfileApp consists of two screens and one dialog. In the first screen, the user enters their own data. In the second, they can add relatives or friends based on their preferences. Finally, users can review the entered data in the dialog widget. Follow the instructions in the next section to try the app out for yourself.
Getting to Know the App
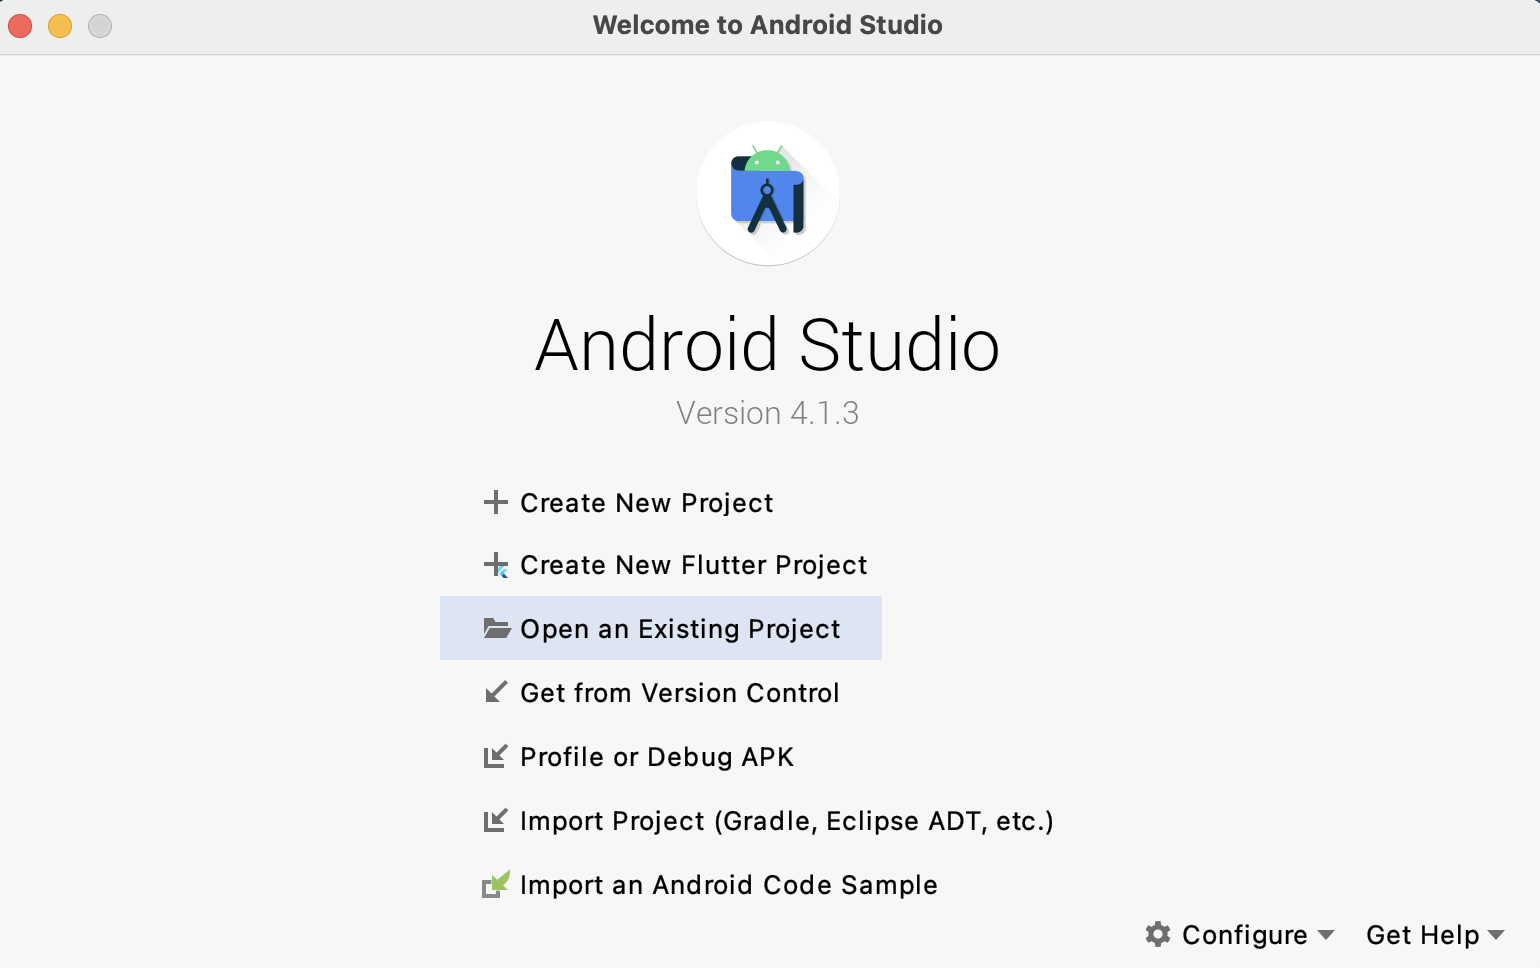
Open the starter project in Android Studio by clicking Open an Existing Project in the Welcome to Android Studio window:
Browse to the location where you unzipped the file. Choose the starter folder and click Open:
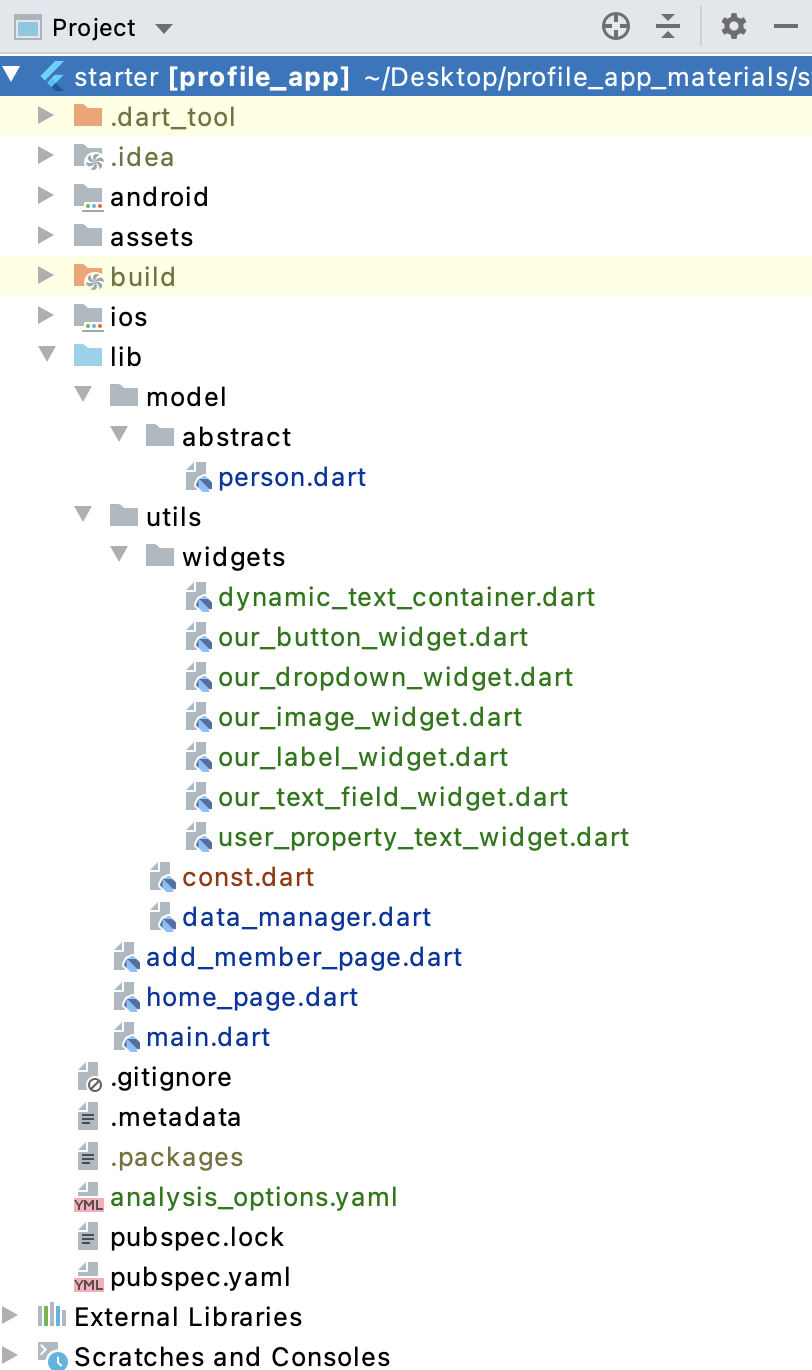
The project structure should look like this:
The project already contains most of the UI code. You’ll concentrate on using model classes to save user-entered data and integrating that data into the existing UI components.
Inside Android Studio, open the terminal and enter flutter pub get to get all the packages:
Build and run the app. You’ll see the home page:
Tapping the + button opens the Add member page. You can add friends or family members here:
Go back to the previous screen. Tap the Save & Preview button and the User details dialog appears:
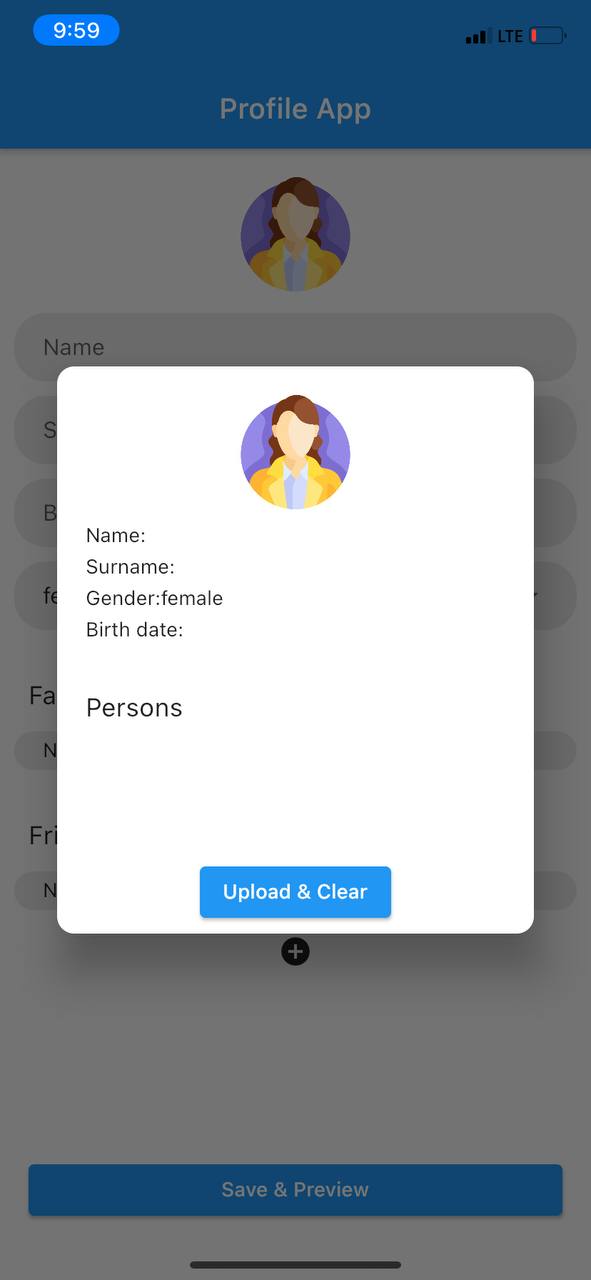
Right now, you can add people, but they don’t appear on the home page. Furthermore, the dialog is missing some information. You’ll fix these issues using null-safe code. Next, you’ll learn about what sound null safety is.
Understanding Sound Null Safety
Null is just the absence of a value for an object, which Dart needs to be able to represent. null
helps developers deal with the unknown in their code.
When any exception is not handled, the app will show a red error screen. If you try to call a method or getter on a null object, Dart will throw a NoSuchMethodError
. This is essentially the same as a NullPointerException
from other languages such as Java. For the purposes of this article, the term NullPointerException (NPE) will be used to discuss null errors since it is the more commonly used term.
The main issue with the NullPointerException is that it can happen at almost any part of the app if not well handled. Checking for nulls every now and then throughout your app isn’t the best either. For these reasons and more, handling nulls at the language level is probably the best way to avoid the dreaded NullPointerEception.
To build on this idea, the Dart team introduced sound null safety. This means that variables are considered non-nullable by default. If you don’t give an object null support when you create it, it will never get a null
. As a result, you avoid null reference errors in your code.
Before going into details about null safety and how it works, you have to understand the type system in Dart. The Dart team relied on the type system when they implemented null safety.
Exploring the Dart Type System
Dart divides types into two groups:
- Nullable types
- Non-Nullable types
Nullable types can contain either a value or null. There are certain types of operators that help you work with nullable types. The figure below is an example representing a nullable String
:
Non-Nullable types can only contain values. Nulls are not permitted.
The type hierarchy of Dart is as follows: Object?
is at the top and Never
is at the bottom. You’ll rarely use Never
, though. Any code that returns or evaluates to Never
either throws an exception or aborts the program.
Now that you know what null safety is, you need to enable it before you can work with it.
Enabling Null Safety
Dart introduced a stable version of null safety in version 2.12.0. On the terminal, you can run flutter –version to verify your version is at least up to version 2.12.0. Alternatively, you can simply follow the steps below to download the latest release from the stable channel.
In the terminal, run the flutter channel command to check which channel you are currently using:
Run the flutter channel stable command to switch to the stable channel:
Update to the latest version by running the flutter upgrade command:
Open pubspec.yaml and confirm your SDK version under the environment
section looks like below:
environment:
sdk: ">=2.12.0 <3.0.0"
This changes the Dart version to 2.12.0.
Finally, run flutter upgrade again to avoid future problems with Android Studio:
Congratulations! You’ve just migrated your project to null safety. You can now use null safety in your project.
Migrating to Null-Safe Dart
Dart introduced null safety in 2.12.0, but there are old Dart codes in production. Since the Dart team can’t migrate your code automatically. You have two options:
- Migrate using a tool that makes easily predictable changes for you. Based on your needs, you can choose to apply those changes or not.
- Migrate manually, where you can easily predict most of the changes that need null safety and migrate accordingly. This involves manually refactoring your code.
Creating Model Classes
For this project, you’ll create three models: Friend
, FamilyMember
and User
. These model classes will help you hold and manage user-entered data.
User
‘s main responsibility is to hold Friend
, FamilyMember
and primitive information about the user.
All three extend an abstract class, Person
, which defines fields common to these models. This class is already defined for you in the starter project.
Reviewing the Person Class
Inside lib/model/abstract, open person.dart. Person
‘s constructor takes a set of required
properties, namely: name, surname, birth date and gender:
abstract class Person {
String name;
String surname;
String birthDate;
String gender;
//1
Person({
required this.name,
required this.surname,
required this.birthDate,
required this.gender});
//2
abstract String whoAmI;
}
Here’s how it works:
- You need to initialize every class property in Dart. If you can’t initialize the property via a class constructor, you must declare it as a nullable type. By using the
required
keyword, you make the property required so you don’t have to declare it as nullable. - Dart treats abstract classes differently. It gives you a compile-time error if you don’t initialize fields or make them nullable. To allow the fields to be implemented and to prevent compile-time errors, you mark the fields as abstract, which lets the child class implement them.
Creating the User Class
Create user.dart under lib/model and extend it from Person
:
class User extends Person {
User() : super();
@override
String whoAmI;
}
Because Person
requires a set of parameters, you pass these parameters from User
to Person
using super()
. The final class should look like this:
class User extends Person {
User({required String name,
required String surname,
required String birthDate,
required String gender})
: super(name: name, surname: surname, birthDate: birthDate, gender: gender);
@override
String whoAmI = ' a user';
}
Creating Friend and FamilyMember Classes With Nullable Types
Add a new file friend.dart under lib/model. Then create a class called Friend
extending it from Person
:
import 'abstract/person.dart';
class Friend extends Person {
//1
Friend(
{required String name,
required String surname,
required String birthDate,
required String gender})
:super(name: name, surname: surname, birthDate: birthDate, gender: gender);
//2
@override
String whoAmI = 'a friend';
}
In the code above, you:
- Declare
Friend
with all required arguments, then callsuper
with the arguments. - Implement an abstract field based on
Friend
.
Declaring Nullable Types
In real life, a friend has a relationship with the user. They could be a high school friend, a colleague, or a next-door neighbor. To define the relationship, add a nullable called relation
to Friend
:
String? relation;
Dart uses the nullable operator ?
, to declare nullable types. Thus, you just need to append ?
to the variable type and it becomes nullable.
?
symbol from relation
, Dart complains that it isn’t initialized and forces you to make it nullable or initialize it with a value.Now, add relation
to Friend
as an optional argument:
String? relation;
Friend(
{required String name,
required String surname,
required String birthDate,
required String gender, this.relation})
:super(name: name, surname: surname, birthDate: birthDate, gender: gender);
You didn’t mark relation
as required
in the constructor because you want to be able to create an instance of a Friend
without declaring the relationship. Dart will assign null
to it at runtime.
Creating FamilyMember With a Nullable Property
Create family_member.dart under lib/model and extend it from Person
. Then declare a nullable profession
field.
import 'abstract/person.dart';
class FamilyMember extends Person {
String? profession;
FamilyMember(
{required String name,
required String surname,
required String birthDate,
required String gender, this.profession})
: super(name: name, surname: surname, birthDate: birthDate, gender: gender);
@override
String whoAmI = 'a family member';
}
Here, you’re extending Person
and implementing its abstract variable, whoAmi
. You also added profession
. This property is nullable because a person may or may not have a profession.
Using Late Variables and Lazy Initialization
To display friends and family members on the home screen, you need to create them in _AddMemberPageState
. This class is in lib/add_member_page.dart.
Add late Person _person
inside _addMember()
in _AddMemberPageState
:
void _addMember() {
late Person _person;
}
This object will hold a Friend
or FamilyMember
.
Use late
on variables when you’re sure you’ll initialize them before using them. Use late
with class properties.
Sometimes, you can’t initialize properties in the constructor, but you’ll define them in other methods of your class. In that case, you mark those properties with late
.
Another advantage of late
is lazy initialization. Dart will not initialize late
properties until they’re used for the first time. This can be useful during app initialization, when an expression is costly or might not be needed.
Retrieving Data From Widgets
To create a _person
object, you need to retrieve data from the widgets. To do that, update _addMember()
to the following:
void _addMember() {
//1
late final Person _person;
final name = _nameController.text;
final surname = _surnameController.text;
final birthDate = _birthDateController.text;
final gender = _dropDownGender;
final profession = _professionController.text;
final friendRelation = _friendController.text;
//2
if (_dropDownMember.contains(ProjectConst.FAMILY_MEMBER)) {
_person = FamilyMember(
name: name,
surname: surname,
birthDate: birthDate,
gender: gender,
profession: profession.isEmpty ? null : profession,
);
} else {
_person = Friend(
name: name,
surname: surname,
birthDate: birthDate,
gender: gender,
relation: friendRelation.isEmpty ? null : friendRelation);
}
//3
DataManager.addPerson(_person);
Navigator.pop(context);
}
Here’s what’s happening:
- You retrieve user-entered information from the text fields.
- Based on the type of relationship the user selected, you create a
Friend
orFamilyMember
. Pay attention to the last property of each object. Ifrelation
orprofession
is empty, it passesnull
because you defined these properties as nullable. -
DataManager
is already defined in lib/utils/data_manager.dart. It adds a_person
into a static list so you can access it from the home screen.Navigator.pop()
closes the current screen.
Build and run. You can now add members to the list:
But on the home screen, you can’t see members in the Friends or Family members sections:
You’ll see how to fix that shortly. Before that, take a look at Dart’s Never
type.
Understanding the Never Type
Never
is at the bottom of the Dart type system. It has no value. You don’t really use Never
in your code; when an expression returns Never
, the program will throw an exception or abort when the execution reaches it.
However, for the sake of this tutorial, you’ll use Never
to test a scenario when the app promotes errors to the user interface because it encounters an unhandled exception.
Add checkRelation()
to Friend
. This method checks whether relation
is defined:
String? checkRelation() {
//1
if (relation != null) {
return relation;
//2
} else {
relationIsNotDefined();
}
}
Never relationIsNotDefined() {
throw ArgumentError('Friend relation is not defined');
}
This is how the method works:
- This condition checks whether
relation
isnull
. If it isn’t null, the condition returnsrelation
. - If
relation
isnull
, the condition callsrelationsIsNotDefined()
, which throws anArgumentError
exception. Notice how the code is not wrapped in a try-catch statement.Never
signals flow analysis that the app will throw an exception when it reachesrelationsIsNotDefined()
.
Understanding Flow Analysis
Flow analysis is a mechanism that determines the control flow of a program. Dart uses it most of the time at runtime for type promotion and code reachability analysis.
Flow analysis helps you write null-safe code. By analyzing the code at compile time, it prompts you to handle nullable types better in order to avoid NullPointerExceptions. It comes embedded in the Dart language.
In summary, the main responsibilities of flow analysis are:
- Reachability analysis, which is the process of evaluating a function or expression.
- Code warnings.
- Null checks at compile time and runtime.
- Type promotion.
- Ensuring you assign values to all local and global variables.
Testing the Never Type
Call checkRelation()
inside _addMember()
in _AddMemberPageState
. Before calling checkRelation()
, you need to cast _person
to Friend
using as
. Make it the last call in the else
block:
(_person as Friend).checkRelation();
Build and run. Go to the Add member page and fill in the information:
Don’t provide a value for Friend Relation. Press Add member. Your program should throw an exception.
When you open your Dart analysis terminal, you’ll see the exception:
To add a friend to the list, comment out the call to checkRelation()
. Now, hot restart the app and submit the information. The app will work as it did before.
Using Type Promotion
To display user names on the home screen, you need to write two methods that filter the list of people
into separate groups: friends and family members. Each method appends the names of the people to the names
variable.
Open data_manager.dart inside lib/utils. Define these methods as static in DataManager:
import 'package:profile_app/model/family_member.dart';
import 'package:profile_app/model/friend.dart';
class DataManager {
DataManager._();
static List people = List.empty(growable: true);
static void addPerson(Person person) {
people.add(person);
}
//1
static String getFamilyMemberNames() {
var names = '';
for (var i = 0; i < people.length; i++) {
final person = people[i];
//2
if (person is FamilyMember) {
names += '${person.name} ${person.surname},';
}
}
return names;
}
//3
static String getFriendNames() {
var names = '';
for (var i = 0; i < people.length; i++) {
final person = people[i];
//4
if (person is Friend) {
names += '${person.name} ${person.surname},';
}
}
return names;
}
}
The code above:
- Goes through the list of
people
to get onlyFamilyMember
s, then puts their names intonames
. - Checks if
person
is of typeFamilyMember
. Notice how you don’t have to castperson
toFamilyMember
. Automatic type promotion takes care of that. Dart automatically promotesperson
toFamilyMember
, allowing you to access its properties and methods. - Similar to the method you used to get
FamilyMember
s, except it getsFriend
s instead. - Checks if
person
is of typeFriend
, then, if true, automatically promotesperson
to the typeFriend
. This allows you to access the methods and properties available toFriend
.
Displaying Member Names on the Home Screen
To display the names of the Family members and Friends, you need to define _updateNames()
in _HomePageState
, which you’ll find in home_page.dart.
void _updateNames() {
setState(() {
_friendNames = DataManager.getFriendNames();
_familyMemberNames = DataManager.getFamilyMemberNames();
});
}
This simply assigns friend and family member names to _friendNames
and _familyMemberNames
using DataManager
. setState()
rebuilds the widget tree.
Inside _HomePageState
, you’ll find IconButton
. Call _updateNames()
in .then()
:
IconButton(
icon: const Icon(Icons.add_circle),
onPressed: () {
Navigator.of(context)
.push(MaterialPageRoute(
builder: (context) => const AddMemberPage()))
.then((value) => {_updateNames()});
}),
This updates the names in _HomePageState
after you add a member to AddMemberPage
.
Build and run. Go to the Add member page to add a friend:
Add family members to the user profile:
On the home screen, you can now view the people you added in the friend and family sections:
At this point, you’ve set up the two screens, but you still can’t see the member details in the dialog. You’ll address that next.
Displaying User Details in the Dialog
To show user data in the dialog, you first need to finish setting up User
. Specifically, you need to add friendsAndFamily
to User
:
late List friendsAndFamily;
Although friendsAndFamily
could be either nullable or late, you declared it late
to avoid null checks and casting before you use it.
Retrieving User Input From the TextFields
Declare _user
in _HomePageState:
User? _user;
When a user taps Save & Preview, it triggers _displayUserInfo()
. Add this block of code to _displayUserInfo()
to collect the information the user entered:
void _displayUserInfo() {
// 1
final name = _nameController.text;
final surname = _surnameController.text;
final birthDate = _birthDateController.text;
final gender = _dropdownValue;
//2
_user = User(name: name, surname: surname, birthDate: birthDate, gender: gender);
//3
_user!.friendsAndFamily = DataManager.persons;
//4
_showPreview();
}
Here’s what the code does:
- Retrieves user-provided data from the
TextField
s. - Creates a new
_user
. - Assigns a list of people to
_user
. However, before you assign anything, you need to ensure that_user
isn’tnull
. To do this, you use the Postfix null assertion bang operator,!
, to cast the nullable_user
to its non-nullable type. This is called casting away nullability. But if_user
is notnull
from this code, why do you need to cast it to a non-nullable type? Because you declared that_user
is nullable. Consequently, Dart believes it might have been assigned anull
somewhere in the code. To be on the safe side, Dart requires you to cast it before you can access its properties. -
_showPreview()
is a predefined method that shows user information in a dialog.
Displaying the Dialog With the User Information
You need to display the user’s provided information in the corresponding UserTextWidget
widgets in _showPreview()
.
First, fix the user’s name:
UserTextWidget('${ProjectConst.NAME}:${_user?.name}'),
Here, you access the name of the user using Dart’s null-aware operator, ?.
. You use that operator because you declared _user
as a nullable field, implying the field can be null
. Without the null-aware operator, the program could crash if _user
is null
. In this case, it will return null
.
Notice that you didn’t use the bang (!
) operator because, even when _user
is null
, the bang operator will try to forcefully cast it to a non-nullable _user
type, which will result in an error.
Next, fix the other widgets in _showPreview()
with their respective user details:
...
UserTextWidget('${ProjectConst.SURNAME}:${_user?.surname}'),
UserTextWidget('${ProjectConst.GENDER}:${_user?.gender.toString()}'),
UserTextWidget('${ProjectConst.BIRTH_DATE_LABEL}:${_user?.birthDate}'),
Build and run, then enter information about the user:
Tap Save & Preview to see the information in the dialog:
You’ve set up everything except the user relationship. You’ll do that next.
Displaying the User Relationship
To display friends and family members, you need to modify the ListView
in _showPreview()
. Make sure the ListView
looks like this:
ListView.builder(
padding: const EdgeInsets.all(ProjectConst.value8),
// 1
itemCount: _user?.friendsAndFamily.length ?? 0,
itemBuilder: (BuildContext context, int index) {
//2
final person = _user!.friendsAndFamily[index];
return Center(child: Text('${person.name} is ${person.whoAmI}'));
})
This is how ListView
implements the friends and family members:
- Checks whether
_user
object isnull
. Based on the result, it setsListView
‘s size either to the list size or to 0. You don’t need to checkfriendsAndFamily
because it is not nullable.friendsAndFamily
is always initialized when you create_user
inside_displayUserInfo()
. - Gets a
person
based on the index fromfriendsAndFamily
and displays it inText
.
At this point, you’ll see a preview dialog containing all the information about the user.
Build and run, then enter the user’s information:
Tap the Save & Preview button to see the information in the dialog widget:
Clearing the UI
If the user taps the Upload & Clear button, the dialog disappears but the input fields do not. To clear them, implement a new _clearUI()
:
void _clearUI(){
setState(() {
//1
_nameController.text = '';
_surnameController.text = '';
_birthDateController.text = '';
_familyMemberNames = '';
_friendNames = '';
_dropdownValue = ProjectConst.FEMALE;
_genderImage = ProjectConst.FEMALE_IMAGE;
//2
_user = null;
//3
DataManager.people.clear();
});
}
Essentially, this code:
- Clears the inputs by assigning empty values to them.
- Resets
_user
tonull
. Pay attention to thenull
. Remember, all code by default is safe. If you’d created a non-nullable_user
like this:User _user
, then you wouldn’t be able to assign a null to it. - Clears the list of
people
fromDataManager
.
Now, call _clearUI()
inside _onClearClicked()
. This method triggers when the user clicks the Upload & Clear button.
void _onClearClicked() {
_clearUI();
Navigator.pop(context);
}
This clears the user input and closes the dialog.
Build and run, then enter a user’s information:
Press Upload & Clear and you’ll see that the fields clear now:
Congratulations, you finished ProfileApp! Best of all, it’s null-safe. Even if some NullPointer errors come up, your app can handle them.
Sound Null Safety In a Nutshell
Dart has three main operators to work with null
:
-
Null-aware operators: The null aware accessor
?.
, which accesses properties of its operand, is an example. If the operand is null, then it will not throw an exception. Instead, it shows null text. -
Bang operator: Use (
!
) to cast away nullability. It tries to cast a nullable type to a non-nullable type, throwing an exception if the operand isnull
. -
If-null operator:
??
is shorthand for anif else
condition. If the left side of the??
operator isnull
, then it will use its right side.
Where to Go From Here?
Download the completed project files by clicking the Download Materials button at the top or bottom of the tutorial.
In this non-nullable Dart tutorial, you learned:
- How to write null-safe code for a new or an existing Flutter project.
- The Dart type system.
- Nullable types and how to declare them.
- Type promotions.
- Abstract types and how Dart treats them.
You can expand your knowledge about null safety in Dart further by reading Dart’s Understanding Null Safety documentation.
If you’d like to learn more about Flutter, check out our Flutter video courses and articles.
We hope you enjoyed this tutorial. If you have any questions or comments, please join the forum discussion below!