Templating Vapor Applications with Leaf
Use Leaf, Vapor’s templating engine, to build a front-end website to consume your server-side Swift API! By Tim Condon.
Your First View
Next, you must tell Vapor where the app is running, because you might run the App from a standalone Xcode project or inside a workspace. To do this, set a custom working directory in Xcode.
Option-Click the Run button in Xcode to open the scheme editor.
On the Options tab, click to enable Use custom working directory and select the directory where the Package.swift file lives:

Finally, before you run the app, you need to have PostgreSQL running on your system. You’ll run the Postgres server in a Docker container.
Open Terminal and enter the following command:
docker run --name postgres -e POSTGRES_DB=vapor_database \
  -e POSTGRES_USER=vapor_username -e POSTGRES_PASSWORD=vapor_password \
  -p 5432:5432 -d postgres
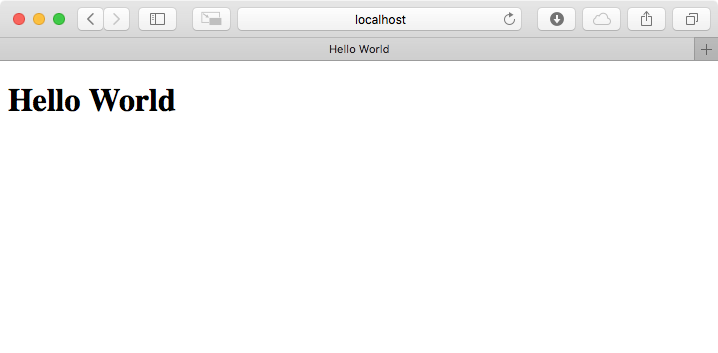
Build and run the application, remembering to choose the Run scheme, then open your browser.
Enter the URL http://localhost:8080 and you’ll receive the page generated from the template:
Dynamic Views with Variables
Right now, the template is just a static page and not very impressive. Let’s make it more dynamic by having it display the title as defined by the route!
Open index.leaf and change the <title> line to the following:
<title>#(title) | Acronyms</title>
This will display the value of a variable called title using the #() Leaf function.
Like much of Vapor, Leaf takes advantage of Codable to handle data. However, Leaf only accepts input data, so your models only need to conform to Encodable. These data models are much like view models in the MVVM design pattern.
At the bottom of WebsiteController.swift, create a new struct that will contain the title, like the following:
struct IndexContext: Encodable {
  let title: String
}
Next, change indexHandler(_:) to pass an IndexContext to the template as the second parameter. The method’s implementation should look like the following:
func indexHandler(_ req: Request) -> EventLoopFuture<View> {
    // 1
    let context = IndexContext(title: "Home page")
    // 2
    return req.view.render("index", context)
}
Here’s what the new code does:
-
Create an
IndexContextcontaining the desired title. -
Pass the
contextto Leaf as the second parameter torender(_:_:).
Build and run, then refresh the page in the browser. You’ll see the updated title:

Advanced Templates
So far the the current index.leaf template is only using the #() Leaf function to display a variable’s value. Leaf’s functions are referred to as Tags.
There are more advanced tags, such as #if() and #for(), and you can even write your own – but we’re going to focus on the two just mentioned in the rest of this tutorial.
Conditional Rendering
Since the index.leaf template is for home page of the TIL website, it should display a list of all the acronyms. However, it also needs to handle the possibility that no acronyms are in the database.
This is a perfect use case for Leaf’s #if() tag!
In WebsiteController.swift, add a new property to IndexContext underneath title:
let acronyms: [Acronym]?
This property will store the list of acronyms in the database or nil if none are found. An Optional will represent the empty state because Leaf’s #if() tag can check for nil values as well as evaluating boolean expressions.
Next, update WebsiteController.indexHandler(_:) to get all the acronyms from the database using Fluent and insert them in the IndexContext.
Replace the implementation once more with the following:
func indexHandler(_ req: Request) -> EventLoopFuture<View> {
    // 1
    Acronym.query(on: req.db).all().flatMap { acronyms in
        // 2
        let acronymsData = acronyms.isEmpty ? nil : acronyms
        let context = IndexContext(
          title: "Home page",
          acronyms: acronymsData)
        return req.view.render("index", context)
    }
}
Here’s what this does:
Note: If you’re unfamiliar with Fluent, review the tutorial Using Fluent and Persisting Models in Vapor.
-
Use a Fluent query to get all the acronyms from the database.
Note: If you’re unfamiliar with Fluent, review the tutorial Using Fluent and Persisting Models in Vapor.
-
Add the acronyms to
IndexContextif there are any, otherwise set the variable tonil.
Note: If you’re unfamiliar with Fluent, review the tutorial Using Fluent and Persisting Models in Vapor.
Finally open index.leaf and replace the parts between the <body> tags with the following:
<!-- 1 -->
<h1>Acronyms</h1>

<!-- 2 -->
#if(acronyms):
  <!-- 3 -->
  <table>
    <thead>
      <tr>
        <th>Short</th>
        <th>Long</th>
      </tr>
    </thead>
    <tbody>
      <!-- 4 -->
    </tbody>
  </table>
<!-- 5 -->
#else:
  <h2>There aren’t any acronyms yet!</h2>
#endif
Here’s what the updated template does:
- Declare a new heading, “Acronyms”.
-
Uses Leaf’s
#if()tag to see if theacronymsvariable is set. -
If
acronymsis set, create an HTML table. The table has a header row —<thead>— with two columns, Short and Long. -
Leave an empty place to return to in the next section that will loop through all acronyms to display using Leaf’s
#fortag. - If there are no acronyms, print a suitable message.
Looping Through Values
Since the template is displaying an unknown amount of acronyms, it needs to loop through the provided array and display each element’s values.
This is where Leaf’s #for() tag is used. It works similarly to Swift’s for loop.
In index.leaf, where the table body – <tbody> – was left blank, add the following code:
<!-- 1 -->
#for(acronym in acronyms):
  <!-- 2 -->
  <tr>
    <!-- 3 -->
    <td>#(acronym.short)</td>
    <td>#(acronym.long)</td>
  </tr>
<!-- 4 -->
#endfor
Here’s what the new template code does:
-
Uses Leaf’s
#for()tag to loop through all of the acronyms. -
Creates a table row —
<tr>— for each acronym. -
Creates a table cell –
<td>– to display each property of the acronym using Leaf’s#()tag. -
Tells Leaf that the
#for()tag has finished.
Build and run, then refresh the page in the browser.
If you have no acronyms in the database, you’ll see the correct message:

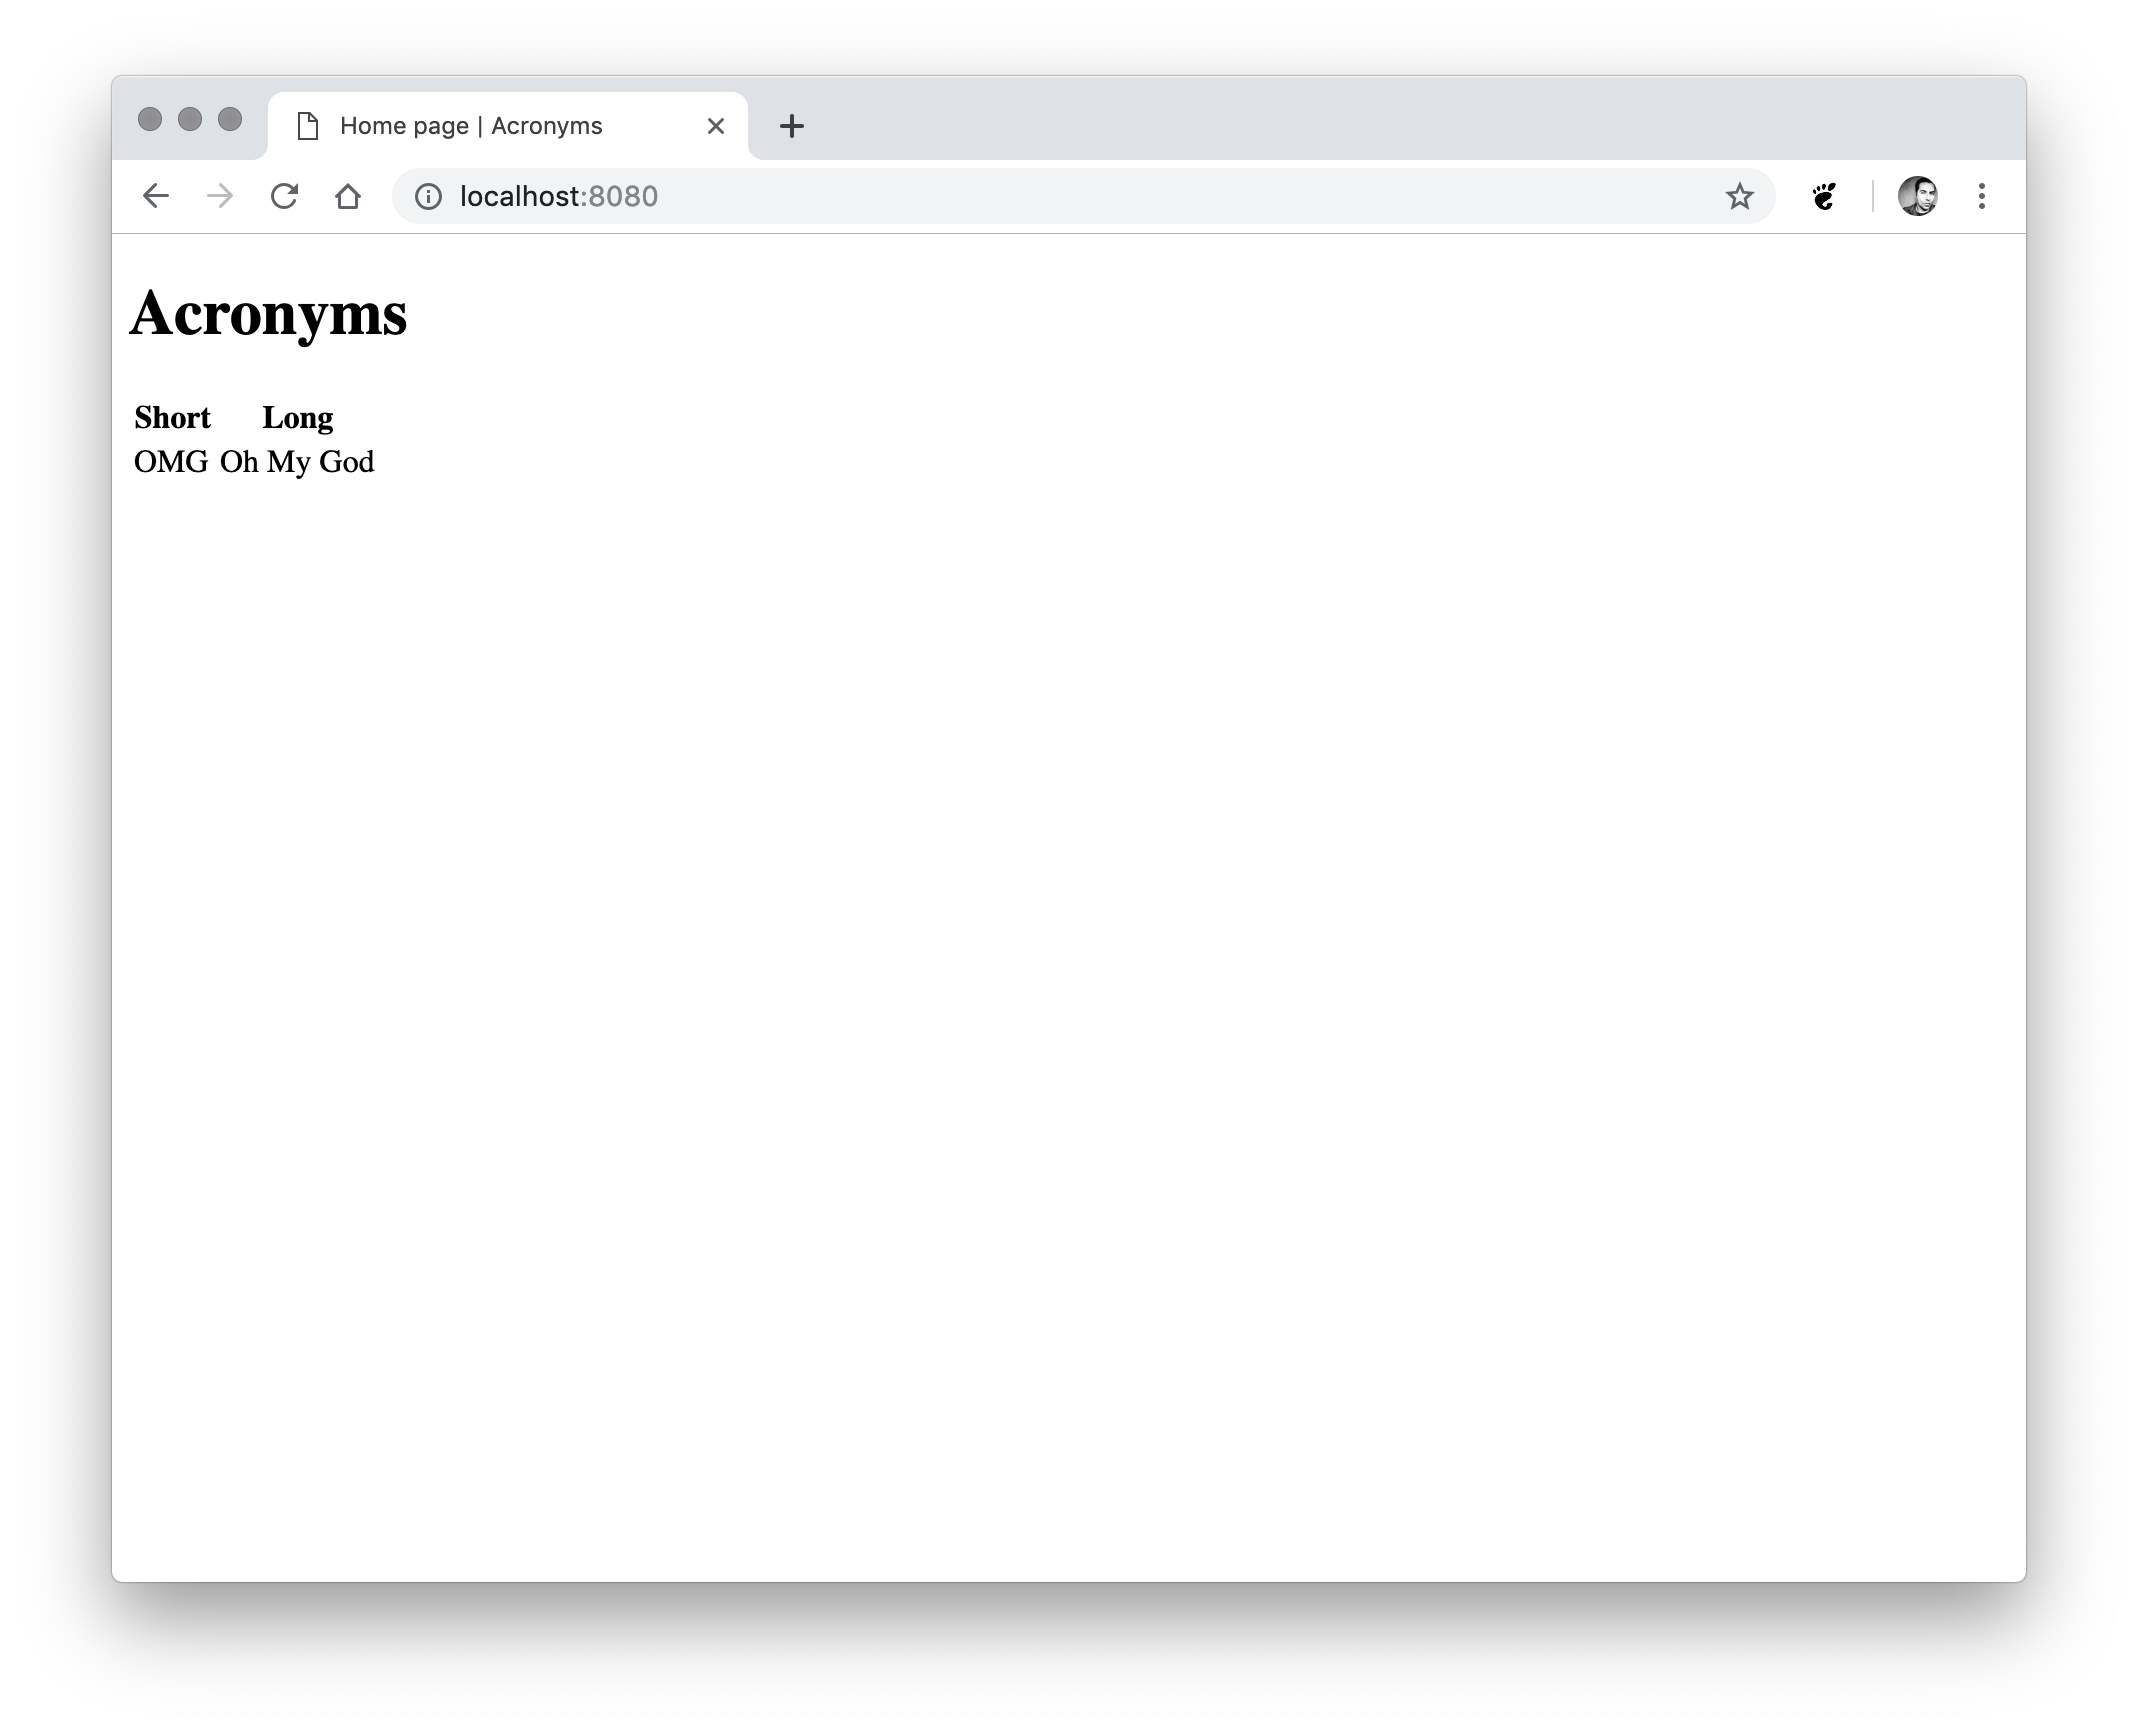
If there are acronyms in the database, you’ll see them in the table:

Inserting Acronyms
To test the page with acronyms, you can use the RESTed macOS app to add acronyms into the database, as described in our Fluent tutorial.
First, add a user into the database by sending a POST request to http://localhost:8080/api/users in RESTed as follows:

Then, grab the id of the new user, and add it (as parameter userID) into another POST request to http://localhost:8080/api/acronyms that is setup as follows:

Once you’ve sent the request to add a new acronym, you can refresh your page in the browser to see acronyms pulled from the database.