Apple Pay Tutorial: Getting Started
Enter the world of mobile payments on iOS in this Apple Pay tutorial! You’ll learn how to implement Apple Pay in your iOS apps to collect payment for physical goods and services. By Erik Kerber.
Adding Variable Shipping Costs
Open Swag.swift and add the following struct to the top of the file:
struct ShippingMethod {
  let price: NSDecimalNumber
  let title: String
  let description: String

  init(price: NSDecimalNumber, title: String, description: String) {
    self.price = price
    self.title = title
    self.description = description
  }

  static let ShippingMethodOptions = [
    ShippingMethod(price: NSDecimalNumber(string: "5.00"), title: "Carrier Pigeon", description: "You'll get it someday."),
    ShippingMethod(price: NSDecimalNumber(string: "100.00"), title: "Racecar", description: "Vrrrroom! Get it by tomorrow!"),
    ShippingMethod(price: NSDecimalNumber(string: "9000000.00"), title: "Rocket Ship", description: "Look out your window!"),
  ]
}
This creates a ShippingMethod struct that includes the price, title, and a description of the shipping method. It also defines the set of shipping methods you offer — unfortunately, your users now know why you are able to offer $5 shipping! :]
Modify the SwagType enum as shown below:
enum SwagType {
  case Delivered(method: ShippingMethod)
  case Electronic
}
Your enum now includes an associated value of type ShippingMethod with SwagType.Delivered.
Now that you have a non-fixed shipping price and an associated value, delete the hardcoded shippingPrice in the Swag struct and modify the total() method as shown below:
func total() -> NSDecimalNumber {
  switch (swagType) {
  case .Delivered(let method):
    return price.decimalNumberByAdding(method.price)
  case .Electronic:
    return price
  }
}
Now open up SwagListViewController.swift and initialize every SwagType.Delivered enum in the swagList declaration with the cheapest ShippingMode value:
SwagType.Delivered(method: ShippingMethod.ShippingMethodOptions.first!)
Open BuySwagViewController.swift and update the purchase(sender:) method as follows:
switch (swag.swagType) {
case .Delivered(let method):
  summaryItems.append(PKPaymentSummaryItem(label: "Shipping", amount: method.method.price))
case .Electronic:
  break
}
This adds the shipping line item to reflect the new associated shipping values.
Finally, replace the switch statement in the same method that determines the requiredShippingAddressFields with the following:
switch (swag.swagType) {
case .Delivered(let method):
  var shippingMethods = [PKShippingMethod]()

  for shippingMethod in ShippingMethod.ShippingMethodOptions {
    let method = PKShippingMethod(label: shippingMethod.title, amount: shippingMethod.price)
    method.identifier = shippingMethod.title
    method.detail = shippingMethod.description
    shippingMethods.append(method)
  }

  request.shippingMethods = shippingMethods
case .Electronic:
  break
}
This code iterates through the available shipping methods and creates an instance of PKShippingMethod for each one. The title, price, and detail will all be visible on the Apple Pay sheet, while the identifier will be used later to reference the selected shipping method.
Notice that you only set the shippingMethods property if you have PKShippingMethods to add to it. The Apple Pay APIs can be very finicky and fail if you don’t add anything to the shippingMethods array.
Build and run your app; select a deliverable physical item to see your new shipping methods in action:

Each shipping method has an associated shipping cost, so you’ll want to update the line items and total price when the user selects a new shipping method. Fortunately, this is very similar to the way you handled the selection of shipping addresses earlier.
Responding to Changes in the Shipping Method
Add the following code to your BuySwagViewController extension:
func paymentAuthorizationViewController(controller: PKPaymentAuthorizationViewController!, didSelectShippingMethod shippingMethod: PKShippingMethod!, completion: ((PKPaymentAuthorizationStatus, [AnyObject]!) -> Void)!) {
  let shippingMethod = ShippingMethod.ShippingMethodOptions.filter {(method) in method.title == shippingMethod.identifier}.first!
  swag.swagType = SwagType.Delivered(method: shippingMethod)
  completion(PKPaymentAuthorizationStatus.Success, nil)
}
In the above method, you determine which delivery method is selected by matching the title with the identifier. The SwagType is set to Delivered, which is associated with the newly selected ShippingMethod.
For the time being, you invoke the callback with nil. This means the shipping method will update, but the line items and total won’t update. For this to happen, you’ll need to re-calculate the summary items.
Break out the code from purchase(sender:) that builds the summary items into a new method and call it calculateSummaryItemsFromSwag(swag:):
func calculateSummaryItemsFromSwag(swag: Swag) -> [PKPaymentSummaryItem] {
  var summaryItems = [PKPaymentSummaryItem]()
  summaryItems.append(PKPaymentSummaryItem(label: swag.title, amount: swag.price))

  switch (swag.swagType) {
  case .Delivered(let method):
    summaryItems.append(PKPaymentSummaryItem(label: "Shipping", amount:method.price))
  case .Electronic:
    break
  }

  summaryItems.append(PKPaymentSummaryItem(label: "Razeware", amount: swag.total()))

  return summaryItems
}
Don’t forget to remove the old code, and modify purchase(sender:) to call your new method as follows:
request.paymentSummaryItems = calculateSummaryItemsFromSwag(swag)
Finally, replace the call to the completion handler at the end of paymentAuthorizationViewController(controller:, didSelectShippingMethod:, completion:) with the following:
completion(PKPaymentAuthorizationStatus.Success, calculateSummaryItemsFromSwag(swag))
Here you simply pass the re-calculated totals as part of signalling a successful payment.
Build and run your app; tap any physical item to see your new shipping choices and totals in action. Now you can have your set of RayWenderlich.com stickers sent to your door via rocketship! Let’s hope you have a landing pad in your front yard! :]
Fulfilling Payment Transactions
Now that you have a fully functional Apple Pay sheet, you’ll want to request that these charges be fulfilled. Apple Pay, of course, doesn’t fulfill payment transactions; it only only authorizes transactions and creates tokens that allow payments to be processed.
To process transactions, you’ll use the online payment processor Stripe. One of the nice things about Stripe, besides being easy to set up, is that it comes with a built-in test payment environment so you can easily test purchases in your app without incurring real charges — which is important when selecting the “Rocket Ship” shipping method! :]
Note:This section is meant to demonstrate the server side of completing an Apple Pay transaction. To follow this portion of the tutorial, sign up for a free Stripe account at www.stripe.com.
Depending on your situation, your company may already process payments using existing systems other than Stripe. In that case, you can still follow along with this section, but you might have slightly different ways of managing Certificate Signing Requests and private keys.
Generating Apple Pay Certificates
The first things you’ll need to do after creating your Stripe account is to tell Stripe about your app and generate a certificate using a Certificate Signing Request, or CSR provided by Stripe.
Head to the Apple Pay section of your Stripe account at https://dashboard.stripe.com/account/apple_pay. Press Create New Certificate to download a .certSigningRequest file.
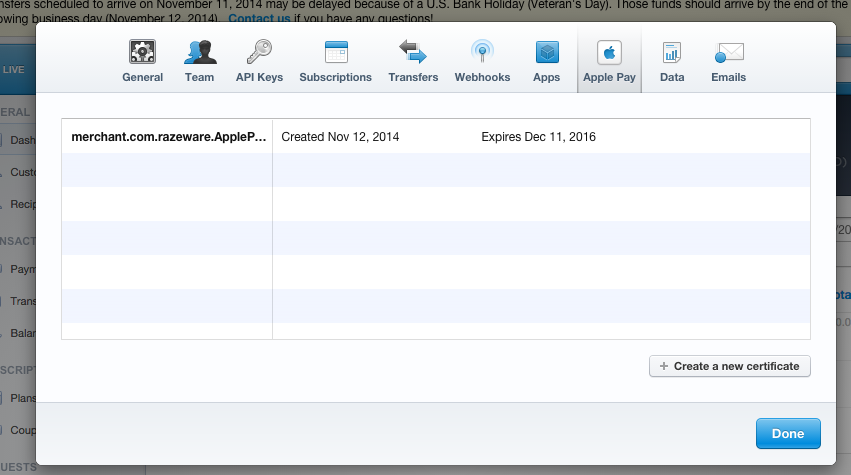
Now go to your developer portal and navigate to Member Center\Certificates, Identifiers & Profiles\Identifier\Merchant IDs. Select your app’s merchant ID and click Edit.
Navigate to Create Certificate\Continue\Choose File, select the .certSigningRequest you downloaded from Stripe and then click Generate. Click Download to receive your .cer file.
Go back to Stripe, in the Apple Pay section where you created the CSR and upload your new certificate file. Click on the API Keys section of your account; record the Test Secret Key and Test Publishable Key for use later in your app. These test keys will let you to make “fake” payments from Apple Pay — use the live ones at your own risk! :]
You’re all set to send payment requests with your merchant ID to Stripe to be decrypted and processed.
Right now your app isn’t doing anything other than invoking a successful completion handler in paymentAuthorizationViewController(controller:, didAuthorizePayment:, completion:) when the user authorizes a payment.
Your task is to take the authorization token and send it to Stripe for processing. This consists of three steps:
- Send the authorization token via the
PKPaymentobject to Stripe for decryption. If successful, Stripe returns their own “Stripe” token. - Send the Stripe token to a server of your own to let your backend know about the order and perform any necessary processing.
- Sending the Stripe token back to Stripe to trigger the charge.