Apple Pay Tutorial: Getting Started
Enter the world of mobile payments on iOS in this Apple Pay tutorial! You’ll learn how to implement Apple Pay in your iOS apps to collect payment for physical goods and services. By Erik Kerber.
Handling Shipping, Billing, and Contact Information
Add the following code to purchase(sender:) just after the rest of your PKPaymentRequest setup code:
request.requiredShippingAddressFields = PKAddressField.All
Build and run your project; navigate to the Apple Pay sheet and take a look at all of the details filled out for you:
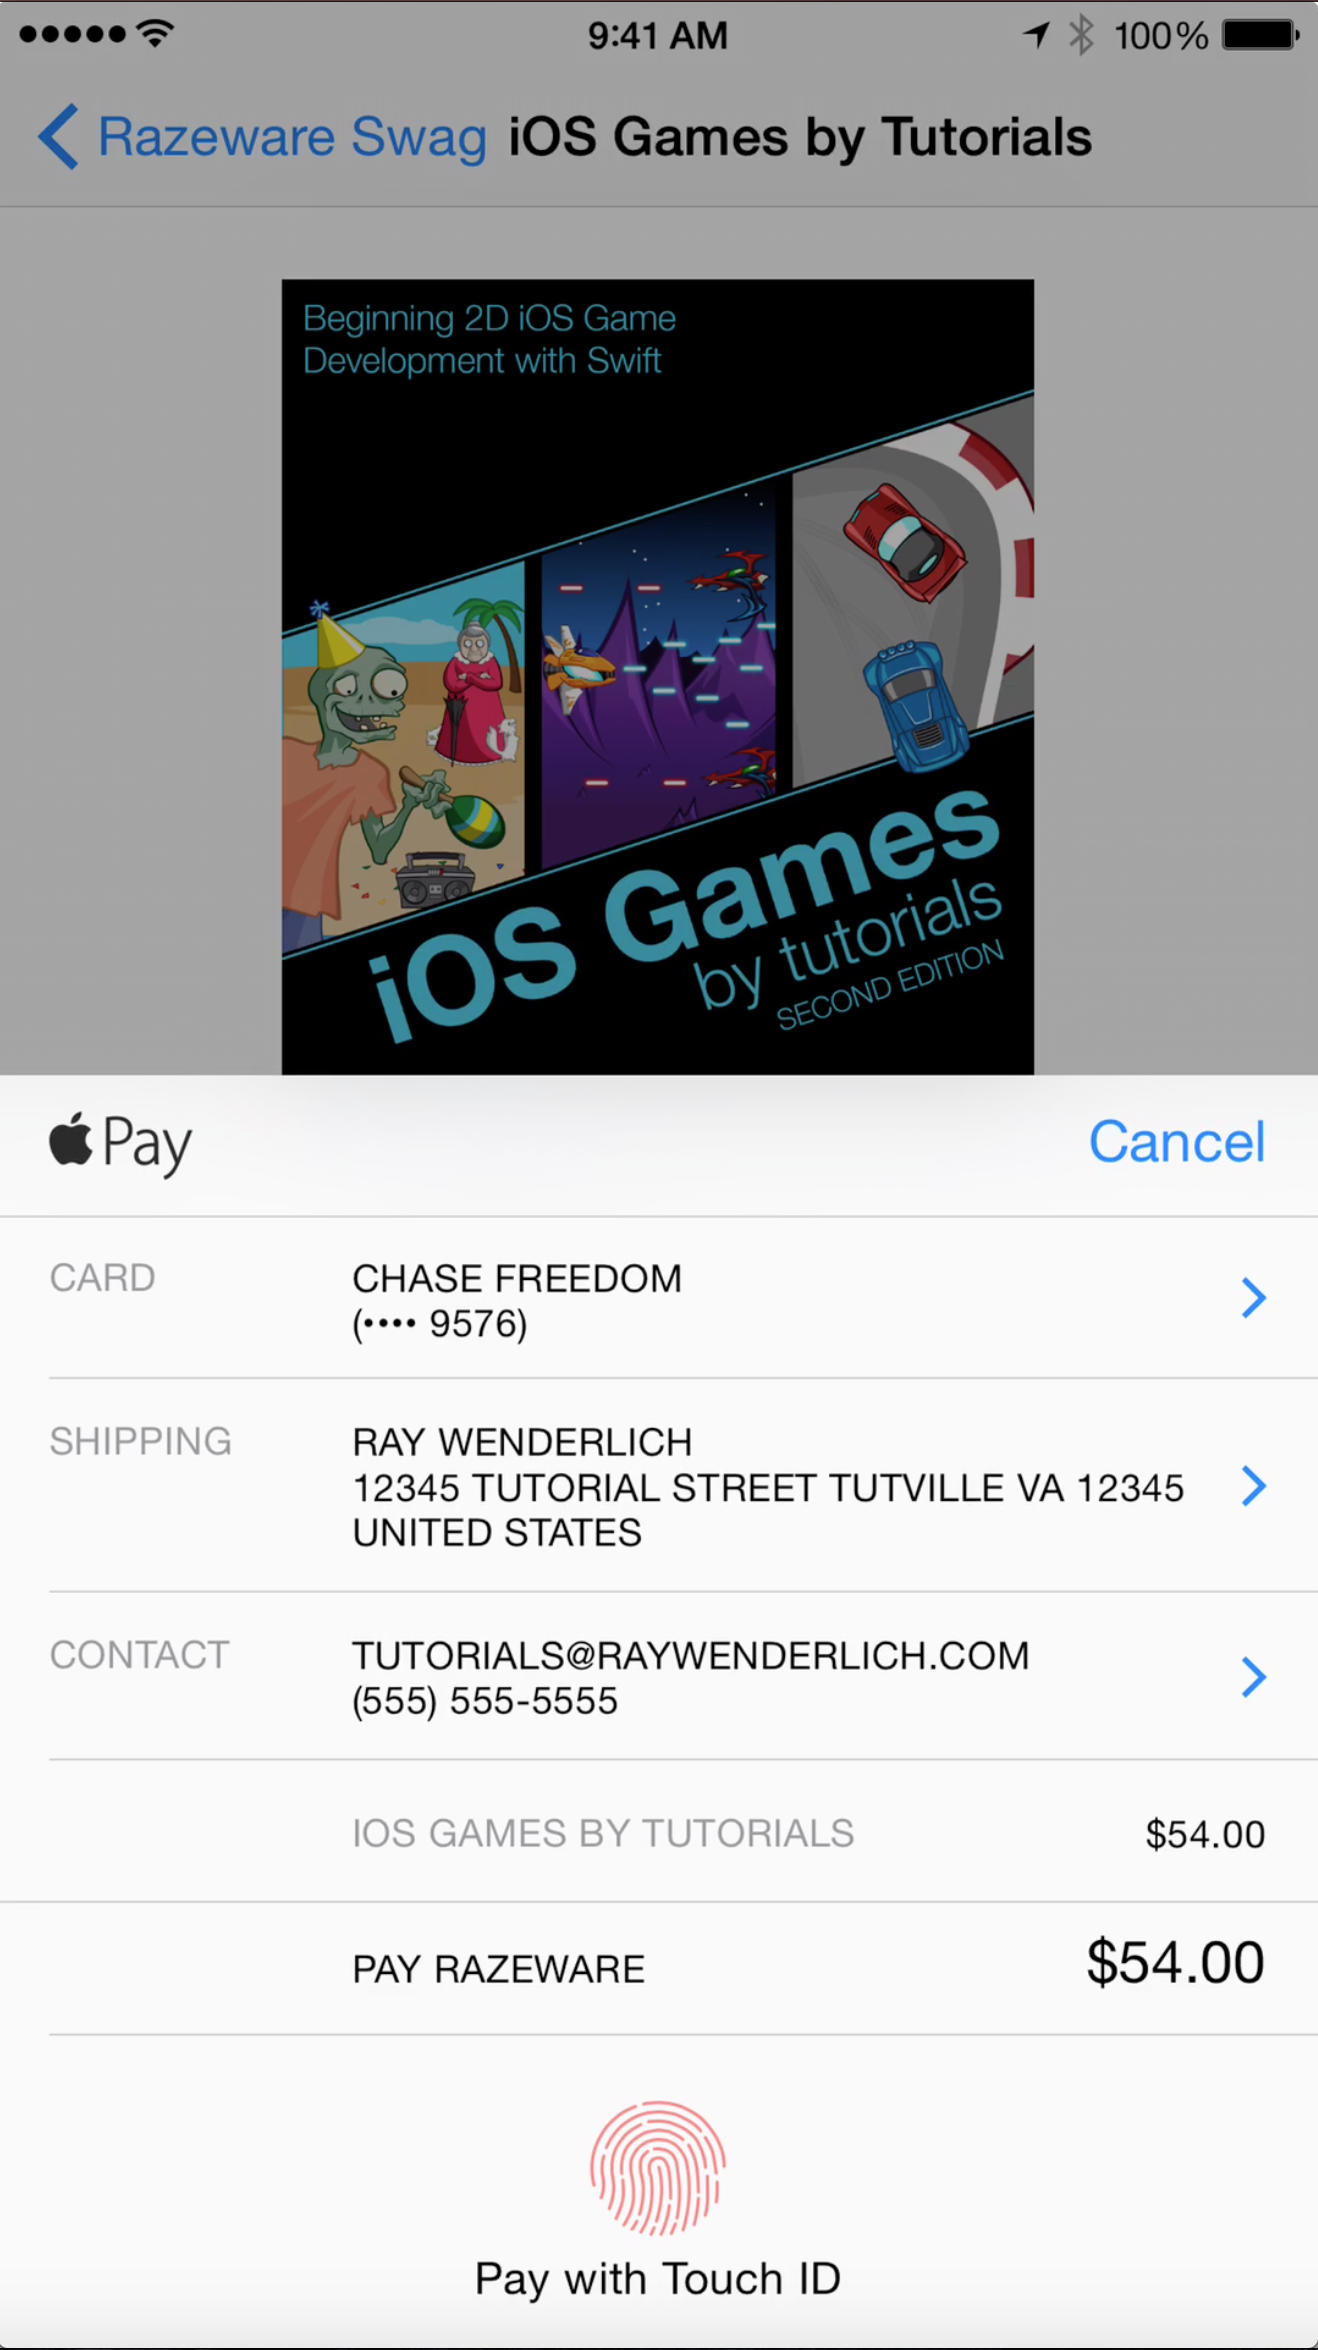
That looks pretty impressive, but part of being a good Apple Pay citizen is to only ask the user for the information that’s absolutely necessary to complete the order.
In your case, you’ll need the shipping address for any physical swag that needs to be shipped, and possibly a phone number in case something goes wrong with the shipping. For digital items, you’ll just need the email address where to send the product or download link once purchased. The PKAddressField is a bitmask, so you can simply use bitwise OR (the | operator) on the shipping flags you need.
Modify the code that sets requiredShippingAddressFields as follows:
switch (swag.swagType) {
  case SwagType.Delivered:
    request.requiredShippingAddressFields = PKAddressField.PostalAddress | PKAddressField.Phone
  case SwagType.Electronic:
    request.requiredShippingAddressFields = PKAddressField.Email
}
Build and run your project; select a piece of swag and check out the new, lightweight Apple Pay sheet:

You’ll also need to add shipping costs to the order — in this case, a flat $5 to keep this part of the project simple.
Adding Shipping Costs
Open Swag.swift and add the following code below the property declarations:
let shippingPrice: NSDecimalNumber = NSDecimalNumber(string: "5.0")
This sets your shipping price to a fixed nominal amount.
You now need to calculate the total price; this is the base price of the product plus the shipping cost for physical products only.
Add the following method to the class:
func total() -> NSDecimalNumber {
  if (swagType == SwagType.Delivered) {
    return price.decimalNumberByAdding(shippingPrice)
  } else {
    return price
  }
}
If this swag item need to be delivered, you add the shipping cost; otherwise, it’s an electronic product and the total price is just the price of the item.
Finally, go back to BuySwagViewController.swift and modify the creation of your paymentSummaryItems to reflect your new summary item list:
var summaryItems = [PKPaymentSummaryItem]()
summaryItems.append(PKPaymentSummaryItem(label: swag.title, amount: swag.price))

if (swag.swagType == .Delivered) {
  summaryItems.append(PKPaymentSummaryItem(label: "Shipping", amount: swag.shippingPrice))
}

summaryItems.append(PKPaymentSummaryItem(label: "Razeware", amount: swag.total()))

request.paymentSummaryItems = summaryItems
Build and run your app; select a physical product like a T-shirt and you should see all line items, including shipping, as well as the new calculated total at the bottom. For electronic purchases, such as PDF books, you should see only the price of the book and the total without any shipping costs applied. Leaving out the line item for “shipping” avoids confusing your user when they’re purchasing a downloadable product.

Now that shipping addresses show up in the Apple Pay sheet for delivered items, you’ll need to manage changes to the shipping address.
Responding to Changes in the Shipping Address
Add the following code to the BuySwagViewController extension:
func paymentAuthorizationViewController(controller: PKPaymentAuthorizationViewController!, didSelectShippingAddress address: ABRecord!, completion: ((PKPaymentAuthorizationStatus, [AnyObject]!, [AnyObject]!) -> Void)!) {
    completion(status: PKPaymentAuthorizationStatus.Success, shippingMethods: nil, summaryItems: nil)
}
This delegate method works much like paymentAuthorizationViewController(controller:payment:completion:) as it lets long-running tasks complete due to address or shipping changes made on the Apple Pay sheet. In real-world apps, you might make a service call to calculate sales tax, determine if you can ship to the new address, or if it is even a real address at all!
The callback has two additional parameters:
-
shippingMethods: An updated list of shipping methods applicable to this address — you’ll deal with this a bit later in the tutorial. -
summaryItems: An updated list of summary items based on the new address, such as appropriate tax amounts for the selected state.
You can pass nil for any of these callback parameters, which results in no changes to that field. If the new address resulted in new shipping methods or additional tax, then you would pass those new values into the callback.
You’ll notice that the address supplied is an AddressBook of type ABAddress. It will take a bit of work to convert this to something your app can use.
Create a new Swift file, name it Address.swift and add the following struct definition to the file:
struct Address {
  var Street: String?
  var City: String?
  var State: String?
  var Zip: String?
  var FirstName: String?
  var LastName: String?

  init() {
  }
}
This Address struct will store your address information.
Head back to BuySwagViewController.swift and add the following method:
func createShippingAddressFromRef(address: ABRecord!) -> Address {
  var shippingAddress: Address = Address()

  shippingAddress.FirstName = ABRecordCopyValue(address, kABPersonFirstNameProperty)?.takeRetainedValue() as? String
  shippingAddress.LastName = ABRecordCopyValue(address, kABPersonLastNameProperty)?.takeRetainedValue() as? String

  let addressProperty : ABMultiValueRef = ABRecordCopyValue(address, kABPersonAddressProperty).takeUnretainedValue() as ABMultiValueRef
  if let dict : NSDictionary = ABMultiValueCopyValueAtIndex(addressProperty, 0).takeUnretainedValue() as? NSDictionary {
    shippingAddress.Street = dict[String(kABPersonAddressStreetKey)] as? String
    shippingAddress.City = dict[String(kABPersonAddressCityKey)] as? String
    shippingAddress.State = dict[String(kABPersonAddressStateKey)] as? String
    shippingAddress.Zip = dict[String(kABPersonAddressZIPKey)] as? String
  }

  return shippingAddress
}
This does the heavy lifting of moving data from an ABRecord into the Address struct. If you’re unfamiliar with AddressBook, check out the Address Book Tutorial in iOS on our site to help get you up to speed.
The Apple Pay address book is pretty relaxed in what information it requires for an address, so you’ll have to make sure you have all the information you need.
Find the empty implementation of paymentAuthorizationViewController(controller:didSelectShippingAddress:completion:) you added earlier, and add the following code:
let shippingAddress = createShippingAddressFromRef(address)

switch (shippingAddress.State, shippingAddress.City, shippingAddress.Zip) {
  case (.Some(let state), .Some(let city), .Some(let zip)):
    completion(status: PKPaymentAuthorizationStatus.Success, shippingMethods: nil, summaryItems: nil)
  default:
    completion(status: PKPaymentAuthorizationStatus.InvalidShippingPostalAddress, shippingMethods: nil, summaryItems: nil)
}
This tests whether the city, state and ZIP values are valid. If so, you call the completion handler with the .Success status; otherwise, you use the .InvalidShippingPostalAddress and Apple Pay will prompt the user to fix the invalid field.
Build and run your app; create a new address without a ZIP code in your Apple Pay address book and watch what happens when you invoke the InvalidShippingPostalAddress callback:

The address field turns red which indicates to the user that they’ve missed a required detail in their shipping address.
Note: If you put a breakpoint after the call to createShippingAddressFromRef(address:), you’ll notice that even though the selected address might have all the information you asked for, only City, State, and Zip are populated.
This is a privacy feature of Apple Pay; you only have access to all the user’s information after they authorize the payment. The basic information available to you before authorization should be sufficient to determine if you can ship to this location, and how much tax to apply.
Now you have a near-fully functional Apple Pay app! Although a flat-fee shipping makes the decision easier for your users, what if they want that cool shirt right now? You can be an awesome digital storekeeper and give them an option to get it delivered sooner.