Custom Thumbnails and Previews with Quick Look on iOS
Learn how to build your own Quick Look preview and thumbnail extensions to display custom file types in iOS. By Chuck Krutsinger .
Defining and Exporting a Document Type
So why didn’t the .thumb file have a thumbnail? Well, the first problem is that the system doesn’t know how to map this file extension to a document type. The system uses Uniform Type Identifiers to define known data formats while also allowing you to define your own proprietary formats such as .thumb. You can follow these same steps to implement a new file type in your future projects.
Defining a Document Type
Follow the steps below to define a new document type:
- In the Project navigator, select the RazeThumb project icon at the top.
- Select the RazeThumb target under Targets.
- Select the Info tab above the target.
- Click the disclosure triangle next to Document Types to expand the section.
- Click the + when revealed.

Fill in the new Document Type with the following details:
- Set Name to Thumb File.
- Set Types to com.raywenderlich.rwthumbfile.
- Set Handler Rank to Owner since this app is the owner of that file type.
- Click where it says Click here to add additional document type properties.
- Set Key to CFBundleTypeRole.
- Leave the Type as String.
- Enter a Value of Editor.
Review your settings. They should match what’s shown below:

Exporting a Document Type
Now that you’ve told the system that your app owns the .thumb document type, you’ll need to export it so that other apps are aware of .thumb files. Here are the steps to do that:
- Click the disclosure triangle next to Exported Type Identifiers.
- Click the + that’s revealed.
- For Description, type Thumb File.
- For Identifier, type com.raywenderlich.rwthumbfile
- For Conforms To, type public.data, public.content.
- For Extensions, type thumb, which is the file extension for this new file type.
Double-check that your settings match what’s shown below:

Build and run:

Look at the thumbnail for greenthumb.thumb. By adding and exporting document type information, you made iOS aware of the .thumb file type. By default, the QuickLook framework will use the app icon (like you see on the Home screen) as the thumbnail since this app owns that file type. So the RazeThumb app icon is now showing up as the thumbnail for all .thumb files on the system. Give yourself another thumbs up!
Quick Look Extensions
So now RazeThumb is using the QuickLook framework to provide a thumbnail for each file, and if you tap each of the files one by one, you’ll also see a rich preview for each file up until you get to greenthumb.thumb:
It’s now time to see how you can take advantages of the new extension points introduced in iOS 13 to improve the experience for your .thumb files.
Adding a Quick Look preview extension
A Quick Look preview extension allows your app to replace the boring preview above with a completely custom view controller. Not only will RazeThumb be able to take advantage of your extension, but all other apps installed will benefit from previewing .thumb files using your extension.
To add the extension to the project, follow these steps:
- Select the RazeThumb project in the Project navigator.
- At the bottom of the window listing Targets, click the + icon.
- Type Preview in the Filter.
- Double-click Quick Look Preview Extension and give it the name ThumbFilePreview.
- Click Finish.
- If prompted, do not activate the new ThumbFilePreview scheme just yet.

There are two files in the RazeThumb app’s Sources folder that your new extension will use when generating a preview. You’ll use ThumbFile.swift to load thumb files and ThumbFileViewController.swift to present the instance of ThumbFile as a preview.
To ensure these files are also included in your newly created ThumbFilePreview target, follow these steps:
- Select ThumbFile.swift in the Project navigator.
- Open the Inspectors on the right-hand side of Xcode and click the document icon to reveal the File inspector.
- Under the Target Membership section, check the box to include the file in both the ThumbFilePreview and RazeThumb targets.
- Select ThumbFileViewController.swift in the Project navigator and repeat the steps above to update the Target Membership again.

Expand the new ThumbFilePreview group in the Project navigator. Xcode has added files called PreviewViewController.swift, MainInterface.storyboard and Info.plist. These are the files that make up the extension.
Invoking a Quick Look Preview Extension
Now, to invoke your extension correctly, you’ll need to associate it with the .thumb file type. Here are the steps for that:
- Open ThumbFilePreview/Info.plist.
- Expand the NSExtension entry and all its sub-entries by Option-clicking the disclosure triangle next to it.
- Hover the mouse over QLSupportedContentTypes and click the + that appears to add an item below it.
- Make Item 0 a String and give it a value of com.raywenderlich.rwthumbfile, which matches the document type identifier you added earlier.
Now that the system knows when to invoke your extension, you need to customize the preview your extension provides. Open PreviewViewController.swift and replace its contents with the following:
import UIKit
import QuickLook

// 1
class PreviewViewController: ThumbFileViewController, QLPreviewingController {
  // 2
  enum ThumbFilePreviewError: Error {
    case unableToOpenFile(atURL: URL)
  }

  func preparePreviewOfFile(
    at url: URL,
    completionHandler handler: @escaping (Error?) -> Void
  ) {
    // 3
    guard let thumbFile = ThumbFile(from: url) else {
      handler(ThumbFilePreviewError.unableToOpenFile(atURL: url))
      return
    }

    // 4
    self.thumbFile = thumbFile

    // 5
    handler(nil)
  }
}
Here’s what you’re doing in the code above:
- Instead of inheriting from
UIViewController, inherit fromThumbFileViewController, which is the view controller that already knows how to display aThumbFileby assigning thethumbFileproperty. - Declare a simple error type that can inform QuickLook that the load failed.
- Inside
preparePreviewOfFile(at:completionHandler:), attempt to load theThumbFilefrom the specified location and return the error in the event of a failure. - Update the view controller to display the thumbnail that was just loaded.
- Notify the provided handler that the preview has finished loading successfully by passing a
nilerror.
Finally, before you run the app again, open ThumbFilePreview/MainInterface.storyboard and delete the “Hello World” label that it added by default.
Build and run and click greenthumb.thumb to invoke your extension:
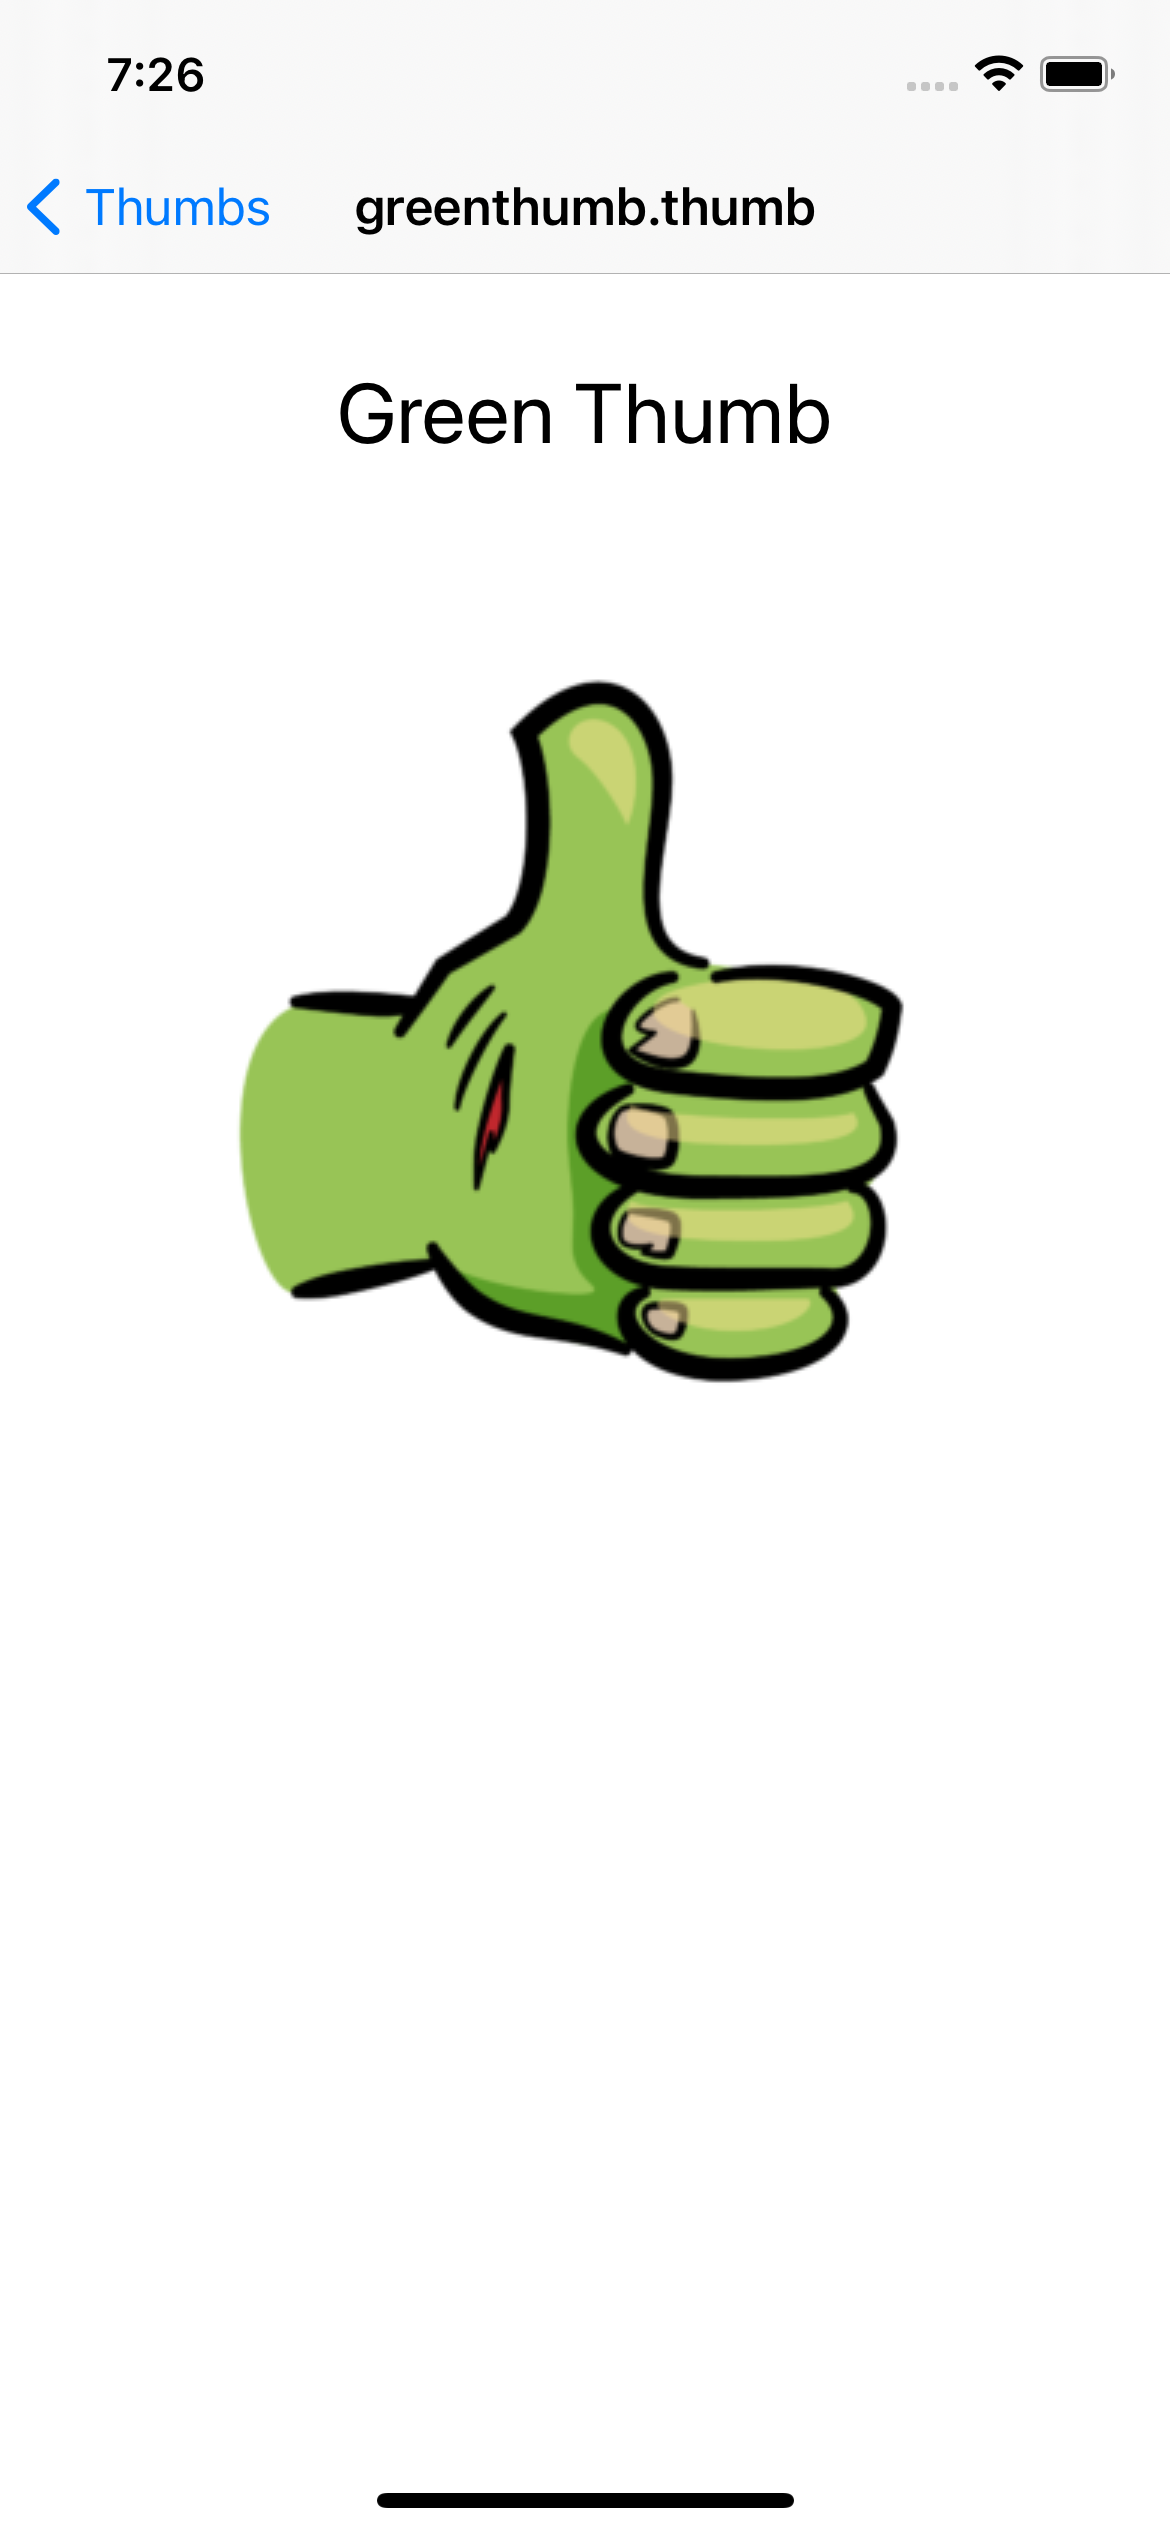
Congratulations! Thanks to the work above, the QuickLook framework can load your extension and generate a much better preview of the .thumb file. Give yourself yet another thumbs up!