Multiplatform App Tutorial: SwiftUI and Xcode 12
Learn how to use Xcode 12’s multiplatform app template and SwiftUI to write a single app that runs on every Apple platform. By Renan Benatti Dias.
Updating the iOS UI
Create another SwiftUI View in the iOS group and name it GemListViewer.swift. This time, make sure to only select the iOS target.

Replace the contents of the view’s body with the following:
// 1
TabView {
  // 2
  NavigationView {
    GemList()
      .listStyle(InsetGroupedListStyle())
  }
  .tabItem { Label("All", systemImage: "list.bullet") }
  .tag(NavigationItem.all)
  // 3
  NavigationView {
    FavoriteGems()
      .listStyle(InsetGroupedListStyle())
  }
  .tabItem { Label("Favorites", systemImage: "heart.fill") }
  .tag(NavigationItem.favorites)
}
Here’s what’s happening in the code above:
- Declare the
TabViewas the root view, but this time, only for iOS. - Add
GemListas the first view. - Next, add
FavoriteGemsas the second view.
Notice this is exactly the code you currently have in ContentView.swift.
Next, replace the contents of previews with the following code:
Group {
  GemListViewer()

  GemListViewer()
    .previewDevice(PreviewDevice(rawValue: "iPad Air 2"))
}
.environment(
  \.managedObjectContext,
  PersistenceController.preview.container.viewContext)
You set up a preview that will use an iPhone layout by default and, then, add a second preview with an iPad Air 2 layout specified.
Finally, open ContentView.swift once again and replace all of the contents of body with the following single line of code:
GemListViewer()
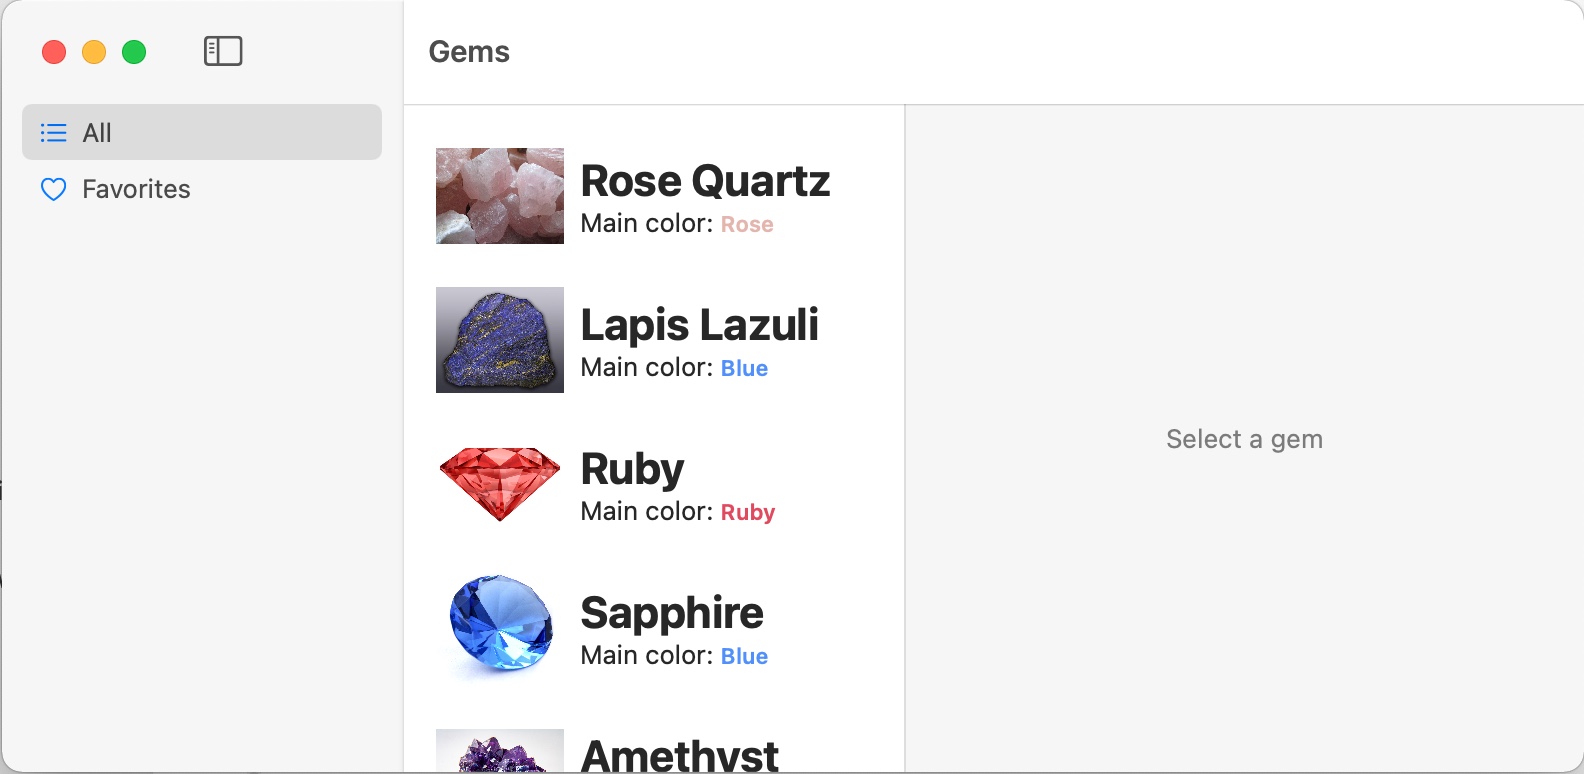
Build and run the iOS target.

Now, build and run the macOS target.
ContentView is a shared view between both platforms. However, your project has two GemListViewers, but one is included only in the macOS target, and the other is included only in the iOS target. With this kind of setup, your app uses the correct GemListViewer for each platform. This opens the possibility of reusing the core views of your application on each platform, but also allows for custom behavior and UIs on each. Having different versions of the same view for each platform allows you to access platform-specific APIs and features like the iOS InsetGroupedListStyle or the macOS sidebar toggle.
Understanding Independent Scenes and View States
SwiftUI already bundles a lot of multiplatform app functionality. Using WindowGroup, you can add support for multiple instances of the app on iPadOS and multiple windows on macOS. It even adds the common keyboard shortcut for opening new windows on macOS, Command-N.
Build and run on macOS. Select a gem and then open a new window with File ▸ New Window. Or, use the keyboard shortcut Command-N.

Notice that using one window doesn’t affect the other’s state. The old window keeps its state, showing the gem you selected. Meanwhile, the new window behaves as a new instance of the app, independent of the original one.
Each scene handles the state of the app and updates its views, but it doesn’t directly influence another scene.

Another common feature SwiftUI brings to macOS is the ability to merge all windows into tabs. Go to Window ▸ Merge All Windows.

Each tab behaves as a different scene with its own state.
Adding Extra Functionality for macOS
A common feature of most macOS apps is the Preferences… menu command. Users will expect to be able to change a setting by going to RayGem ▸ Preferences or using the Command-, shortcut.
You’ll add a simple settings view to the macOS version for users to see useful information about the app like the version number and a button to clear their favorite gems.
Creating the Preferences View
Create a new SwiftUI View file inside the Views group. Name it SettingsView.swift and select the macOS target. Start by adding a couple of methods and a property to the view:
// 1
@State var showAlert = false
// 2
var appVersion: String {
  Bundle.main.infoDictionary?["CFBundleShortVersionString"] as? String ?? ""
}
// 3
func showClearAlert() {
  showAlert.toggle()
}
// 4
func clearFavorites() {
  let viewContext = PersistenceController.shared.container.viewContext
  let gemEntity = Gem.entity()
  let batchUpdateRequest = NSBatchUpdateRequest(entity: gemEntity)
  batchUpdateRequest.propertiesToUpdate = ["favorite": false]

  do {
    try viewContext.execute(batchUpdateRequest)
  } catch {
    print("Handle Error: \(error.localizedDescription)")
  }
}
Here’s what each of these methods and properties does:
- First, declare a
@Stateproperty,showAlert, for showing an alert when users try to clear their favorite gems. - Next, declare the
appVersionproperty, which retrieves this fromCFBundleShortVersionStringin the app bundle. - Create a method that shows the alert when the user clicks Clear Favorites.
- Finally, declare the method to clear the favorite gems from Core Data.
Next, replace the content of body with the following code:
ScrollView {
  VStack {
    Text("Settings")
      .font(.largeTitle)
      .frame(maxWidth: .infinity, alignment: .leading)
      .padding()
    Image("rw-logo")
      .resizable()
      .aspectRatio(contentMode: .fill)
      .frame(width: 400, height: 400)
    Text("RayGem")
      .font(.largeTitle)
    Text("Gem Version: \(appVersion)")
    Section {
      Button(action: showClearAlert) {
        Label("Clear Favorites", systemImage: "trash")
      }
    }
  }
  .frame(width: 600, height: 600)
  .alert(isPresented: $showAlert) {
    Alert(
      title: Text("Are you sure?")
        .font(.title)
        .foregroundColor(.red),
      message: Text("This action cannot be undone."),
      primaryButton: .cancel(),
      secondaryButton: .destructive(
        Text("Clear"),
        action: clearFavorites))
  }
}
Here you create the view’s body with a title, app icon, app name and a Clear Favorites button. You’ll also present an alert when users try to clear their favorite gems, saving them from accidentally deleting all of their favorites.
Next, open AppMain.swift and find the comment // TODO: Add Settings view here. Add this code below the comment:
// 1
#if os(macOS)
// 2
Settings {
  // 3
  SettingsView()
}
#endif
Here’s what this does:
- Test whether the current platform is
macOSusing the#if ospreprocessor directive. This ensures this code only compiles for the macOS version of the app. You can add these checks anywhere in your app to add platform-specific code. Other values you can check includeiOS,tvOSandwatchOS. - Create a second scene of the
Settingstype. - Add the
SettingsViewto that scene.
Build and run. Open the Preferences view by using the keyboard shortcut Command-,. Scroll down and press Clear Favorites.

Your macOS app now has a separate platform-specific preferences window!
Adding a Keyboard Shortcut
Another cool feature on macOS and iPadOS is that of keyboard shortcuts for executing actions. Instead of opening Preferences, scrolling down and clicking the button to clear their favorites, users can use a keyboard shortcut.
Create a new Swift file in the Model group and select both targets. Name it GemCommands.swift and add the following code to the file:
import SwiftUI
import CoreData

// 1
struct GemCommands: Commands {
  var body: some Commands {
    // 2
    CommandMenu("Gems") {
      Button(action: clearFavorites) {
        Label("Clear Favorites", systemImage: "trash")
      }
      // 3
      .keyboardShortcut("C", modifiers: [.command, .shift])
    }
  }

  // 4
  func clearFavorites() {
    let viewContext = PersistenceController.shared.container.viewContext
    let batchUpdateRequest = NSBatchUpdateRequest(entity: Gem.entity())
    batchUpdateRequest.propertiesToUpdate = ["favorite": false]
    do {
      try viewContext.execute(batchUpdateRequest)
    } catch {
      print("Handle Error: \(error.localizedDescription)")
    }
  }
}
Here’s what the code does:
- Define a new type that conforms to the
Commandsprotocol. Like theViewprotocol, this protocol requires you to implement abodyproperty of some commands. - Use
CommandMenuto define a menu on the status bar. Inside theCommandMenu, you define a button to clear favorites. - Add a modifier to the button to add a keyboard shortcut to perform that action.
keyboardShortcut(_:modifiers:)takes two parameters: aStringfor the keyboard shortcut and anOptionSetofEventModifiersto combine to trigger this shortcut. - Define the method to clear the favorites.
Go back to AppMain.swift and add the following code under WindowGroup:
.commands { GemCommands() }
This modifier adds commands to the scene. On macOS, it adds the commands to the status bar.
Build and run on macOS. Favorite some gems and clear them by using the keyboard shortcut Command-Shift-C.

Great work!