View Debugging in Xcode 6
In this tutorial, you will learn view debugging by using some of the awesome new tools provided with Xcode 6! By Scott Berrevoets.
When you’re developing an app, sometimes there may be a bug with your views or auto layout constraints that isn’t easy to find just by looking through your code.
It pays to know the technique of view debugging – and this has never been easier with the advent of Xcode 6.
Instead of printing frames to the console and trying to visualize layouts in your head, you’re now able to inspect an entire view hierarchy visually – right from within Xcode. What an incredible time to be alive!
This tutorial will take you through all the different options that are at your disposal. So, are you ready to write some code? That’s too bad, because you won’t. :]
Instead, you’ll inspect the view hierarchy of an open source library to better understand how it was written — without even looking at any code.
Getting Started
The library you’ll use in this tutorial is JSQMessagesViewController, written by Jesse Squires. The UI for this library should look very familiar, as Jesse built it to look similar to the Messages app.
To get started, head over to the GitHub project page, download the source code, and unzip into a directory.
Note: The library uses CocoaPods to manage its dependencies on other libraries. If you’re unfamiliar with how CocoaPods works, please take a look at this CocoaPods tutorial here on the site before proceeding.
Note: The library uses CocoaPods to manage its dependencies on other libraries. If you’re unfamiliar with how CocoaPods works, please take a look at this CocoaPods tutorial here on the site before proceeding.
Next, navigate to the unzipped project directory in Terminal and run pod install to install the required dependencies. Then, open JSQMessages.xcworkspace and build and run the app on the iPhone 5s simulator. (You can use any simulator, but dimensions in this tutorial are based on a 4-inch display, so choosing the same will make it easier to follow.)
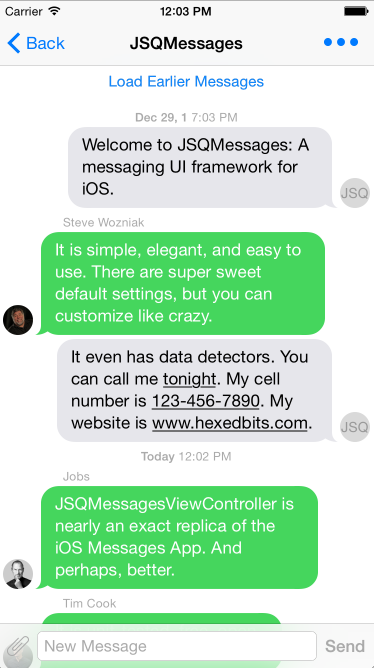
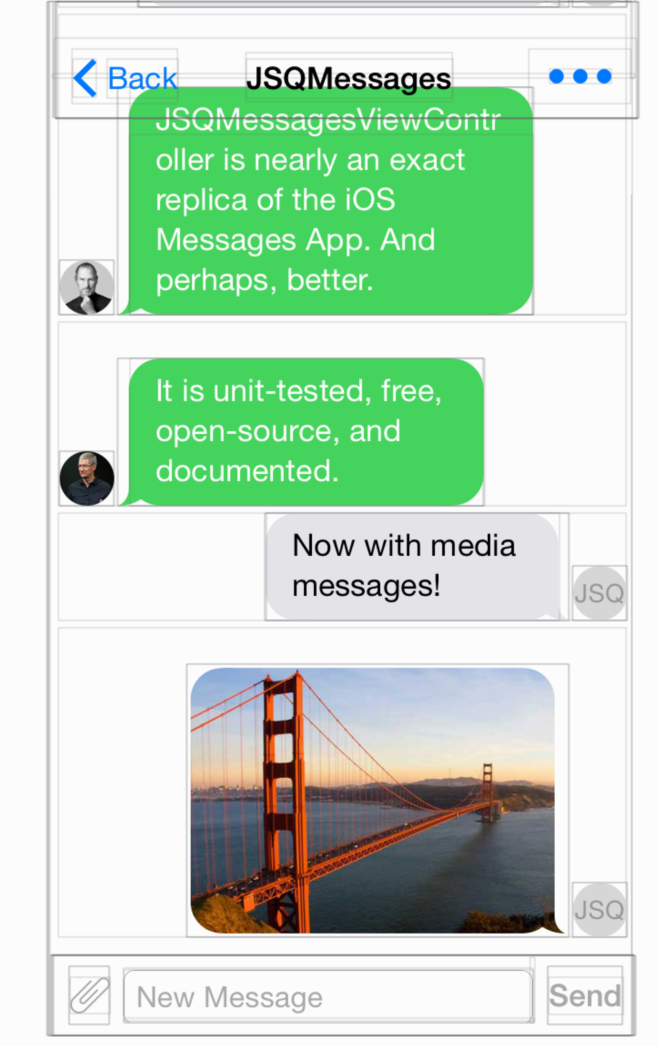
Tap on Push via storyboard and you’ll notice you’re now in a text messaging thread with Steve Jobs and Tim Cook. (This may cause a flutter in your heart and make you question your perception of reality, but it’s not really them.) This is the view you’ll inspect.
Even Steve Wozniak joins the fun!
Even Steve Wozniak joins the fun!
Go back to Xcode and click on the Debug View Hierarchy button in the Debug bar. Alternatively, go to Debug\View Debugging\Capture View Hierarchy.

Xcode is now interrupting your app and handing the reigns to the debugger, just as if you had paused your app with the pause button on the Debug bar.
In addition, Xcode replaces the code editor with a canvas in which it draws the entire view hierarchy of the key window of your app, including thin lines (called wireframes) that indicate the boundaries of every view.
You may know that when you add a subview to a view hierarchy, you’re adding a layer on top of the current stack of views. Because most views don’t overlap, it looks like all views are just part of one big layer when you run your app. The screen you’re currently looking at is pretty close to that, but with a bunch of extra lines.
So how is that useful? Well, right now you’re seeing a visual of the view stack from overhead, but what if you could visualize where the layers fall within the stack? Click and drag in the canvas, and you’ll see that instead of a flat 2D view, you’re actually interacting with a 3D model of your view hierarchy.
You can view the hierarchy from the side, top, bottom, a corner and even from the back!

Note: It’s possible your canvas isn’t showing the same views as this tutorial assumes. To make sure you’re on the same page, press cmd + 6 to get to the Debug navigator.
At the bottom of the pane, you’ll see two buttons on the left. Deselect both of these buttons, as seen in this image. If not, some views will be hidden on the canvas.
![]()
Exploring the View Hierarchy
The most natural and common perspective of this 3D model is to look at it from the left side — you’ll see why a little later in this tutorial — so manipulate it to get a point of view like the one below.

This gives your view hierarchy some perspective that’s very useful if you want to visualize how it’s built. However, there seems to be many empty views at the “bottom” (on the left) of the stack. What’s that all about?
Click on the left-most view (i.e. the one in the very back) and you’ll see that Xcode highlights it to indicate your selection. You’ll also see the Jump Bar (just above the Canvas) update to show a UIWindow as the last item — that last item will always reflect the currently selected view and its class type.

Since this app uses only one window, it’s safe to assume the UIWindow at the start of the Jump Bar is the app’s key window, or in other words, the window property on AppDelegate.
OK, it’s good to know how to find the window, but it’s unlikely that you’ll need to inspect that. What about the next view? In the canvas, click on the view to the right (i.e. on top) of the window and look at the Jump Bar again. UILayoutContainerView. That’s not even a public class!

From there, the view hierarchy looks like this:
-
UINavigationTransitionView: The container view in which navigation controller transitions happen -
UIViewControllerWrapperView: A wrapper view that contains the view controller’sviewproperty -
UIView: The top-level view of a view controller (the same as a view controller’sviewproperty) -
JSQMessagesCollectionView: The collection view used by this project to display all messages