Running Your Scheduled Job
Build and run your app.
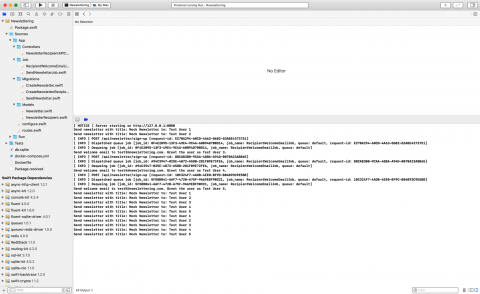
Vapor Queue Build And Run No Empty Queue Message
The first thing you notice is that the warning in the console is gone. That means your Vapor app registered your scheduled job and the worker is running.
Next, create a few extra recipients in your API client and wait for the job to be executed. You’ll see something like below:
Send newsletter with title: Mock Newsletter to: Test User 1
Send newsletter with title: Mock Newsletter to: Test User 2
Send newsletter with title: Mock Newsletter to: Test User 3
Send newsletter with title: Mock Newsletter to: Test User 4
It prints a line for each recipient in your database, letting you know that the newsletter was sent to them.
Congratulations! You now understand the fundamentals of queues in Vapor and how to schedule jobs.
Where to Go From Here?
You can download the completed project files by clicking the Download Materials button at the top or bottom of this tutorial.
In this article, you learned what a job queue is, how to use it to run parts of your code in a background thread and how to dispatch specific jobs for sending a welcome email to your new recipient.
You also learned how to schedule jobs that you want to run at some point in the future or at recurring times.
If you’re looking for a challenge beyond this tutorial, here are a few things you could try:
- Use the Mailgun package to parse your
WelcomeEmail payload into a real email and send it with Mailgun.
- Try using one of the other drivers that the Vapor community has created, such as QueuesFluentDriver or QueuesMongoDriver.
- Set up a second microservice and have it process your job queue instead of doing it in-process.
If you want to learn more about queues and the Vapor Queues package, you can find the official documentation here.
We hope you enjoyed this tutorial! If you have any questions or comments, please join the forum discussion below!
