Getting Started with AWS AppSync for iOS
Learn how to consume GraphQL APIs in your SwiftUI iOS apps in a simple and type-safe way using AWS AppSync framework. By Alex Brown.
Setting up Your Data
Open TodoListViewModel.swift. Add the following code inside the class implementation:
@Published var todos: [Todo] = []
@Published var completedTodos: [Todo] = []
TodoListViewModel conforms to ObservableObject. Conforming to this protocol allows the object to publish updates when the state changes. Using the @Published property wrapper tells the object to broadcast changes through its publisher to anyone listening. SwiftUI uses this to redraw the UI when the object updates.
If you want to learn more about ObservableObject, check out Combine: Asynchronous Programming with Swift.
Next, open TodoListView.swift and add the following code inside the view implementation:
@ObservedObject var viewModel = TodoListViewModel()
Here you’re creating a reference to TodoListViewModel using the @ObservedObject property wrapper. Creating a property in this way tells SwiftUI that you care about the state of this object and it should respond to changes.
Adding Sections
Next you’ll define two sections, one for to dos and one for completed to dos. Generally speaking, you want to aim to keep the body property light. With that in mind, you’ll define these two sections as computed properties.
Add the first section to TodoListView:
var todoSection: some View {
  // 1
  Group {
    // 2
    if viewModel.todos.isEmpty {
      Text("Nothing to do!")
    } else {
      // 3
      ForEach(viewModel.todos, id: \.id) { todo in
        // 4
        TodoRowView(todoItem: todo) { todo in
          withAnimation {
            // Toggle complete
          }
        }
        .padding(.vertical, 6)
      }
      .onDelete(perform: viewModel.deleteTodos)
    }
  }
}
Taking it bit-by-bit:
- You can’t optionally return a
Textview orForEachview, so they’re wrapped inside aGroup. - If there are no to dos in your list, return a
Textview reflecting this. - If there are to dos, loop through each to do inside a
ForEach. - For each to do in the list, generate a
TodoRowViewand pass in the current to do.
You’ll do the same thing next with the completed to dos. Below the todoSection property, add the following:
var completedTodoSection: some View {
  Group {
    if viewModel.completedTodos.isEmpty {
      Text("Completed Tasks Appear Here")
    } else {
      ForEach(viewModel.completedTodos, id: \.id) { todo in
        TodoRowView(todoItem: todo) { todo in
          withAnimation {
            // Toggle complete
          }
        }
        .padding(.vertical, 6)
      }
      .onDelete(perform: viewModel.deleteCompletedTodos)
    }
  }
}
The only difference here is that you’ve replaced references to viewModel.todos with viewModel.completedTodos.
Now you’ve defined your two list sections, it’s time to see them in action!
Replace the contents of body with the following:
// 1
List {
  // 2
  Section(header: Text("Todo")) {
    todoSection
  }
  // 3
  Section(header: Text("Completed")) {
    completedTodoSection
  }
}
// 4
.listStyle(GroupedListStyle())
The code above does the following:
- Creates a list to contain the sections you created earlier.
- Embeds the to do section inside a
Sectionview. - Embeds the completed to dos section inside a
Sectionview. - Gives the list a grouped style. This will separate the sections and apply some default styling.
Build and run to see the result.
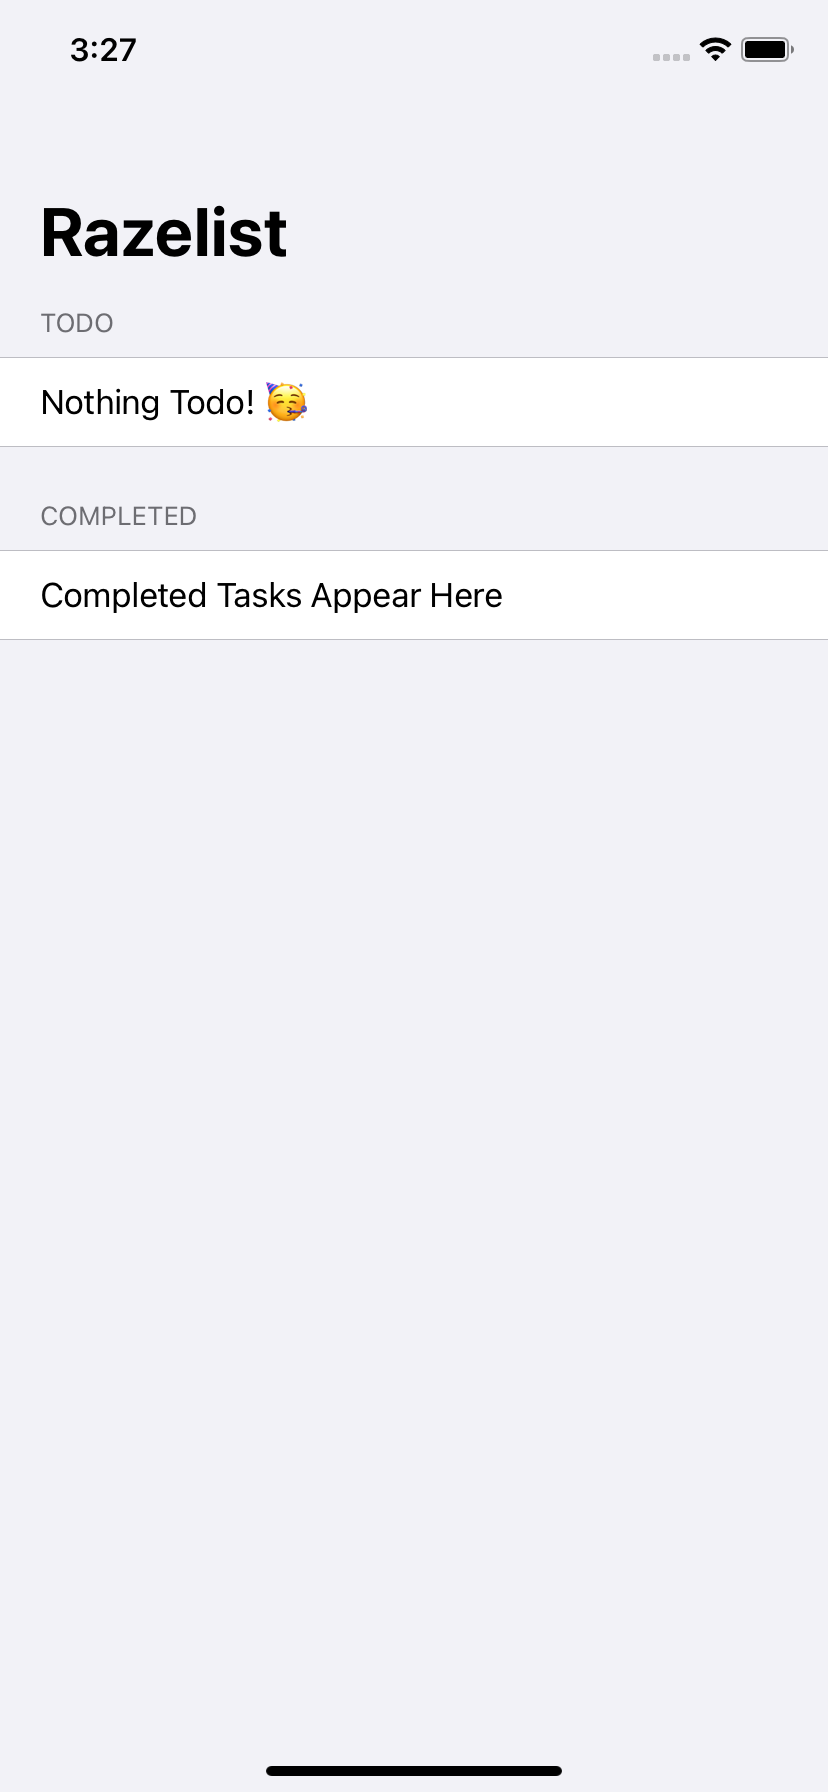
You’re finally rid of the hello world app! Nice.
Adding a To Do
In the final part of this section, you’ll integrate the add to do screen. The UI has already been built, so this is a fairly simple step.
Go to TodoListView.swift and add a new property inside the view implementation:
@State var addNewTodoPresented: Bool = false
This will be in charge of presenting and dismissing the add to do view.
At the bottom of body, on the line after .listStyle(GroupedListStyle()), add the following view modifiers:
// 1
.navigationBarItems(
  trailing: Button(action: { addNewTodoPresented.toggle() }) {
    Image(systemName: "plus")
      .imageScale(.large)
  }
)
// 2
.sheet(isPresented: $addNewTodoPresented) {
  AddTodoView { name, description in
    // add todo
    addNewTodoPresented.toggle()
  }
}
This looks a bit complicated but is actually fairly straightforward:
- The
navigationBarItems(trailing:)view modifier adds navigation items to the navigation bar of the enclosingNavigationView. You’re adding a single button here, which togglesaddNewTodoPresentedwhen tapped. - The
sheet(isPresented:content:)view modifier presents a model when theisPresentedstate istrue. The closure returns the view to be presented. In this case, you’re returningAddTodoView.
Build and run to see the result.

You now have an add button in the navigation bar and a screen to add new todos!
Creating and Editing To Dos
You’re all set up and have a functioning UI. The last thing you need to do is wire everything up!
Open TodoListViewModel.swift and add a new import.
import Amplify
Adding To Dos
Next, add the following method:
func createTodo(name: String, description: String?) {
  // 1
  let item = Todo(name: name, description: description, completed: false)
  // 2
  todos.append(item)
  // 3
  Amplify.DataStore.save(item) { result in
    switch result {
    case .success(let savedItem):
      print("Saved item: \(savedItem.name)")
    case .failure(let error):
      print("Could not save item with error: \(error)")
    }
  }
}
With all the configuration from the previous steps, this is all you need to save data to your local and cloud data stores. Here’s what’s happening:
- Creates a new to do item using the variables passed in.
- Adds it to the local
todosarray. - Using the Amplify framework, adds the to do to your data store.
Next open TodoListView.swift, and scroll down to the .sheet modifier at the end of body. In the closure on the line above addNewTodoPresented.toggle(), add a call to the createTodo(name:description:) function.
viewModel.createTodo(name: name, description: description)
You can save todos now, but that’s no good unless you can load them!
Back in TodoListViewModel.swift, replace loadToDos() with the following.
func loadToDos() {
  Amplify.DataStore.query(Todo.self) { result in
    switch result {
    case .success(let todos):
      self.todos = todos.filter { !$0.completed }
      completedTodos = todos.filter { $0.completed }
    case .failure(let error):
      print("Could not query DataStore: \(error)")
    }
  }
}
Now in TodoListView.swift add a new view modifier underneath .sheet.
.onAppear {
  viewModel.loadToDos()
}
Build and run the project to add your first todo!

Completing To Dos
So far, the app is great for showing you what you need to do — but not so good at letting you complete those tasks.
Open TodoListViewModel. Scroll to the bottom and add the following new method after loadTodos():
func toggleComplete(_ todo: Todo) {
  // 1
  var updatedTodo = todo
  updatedTodo.completed.toggle()

  // 2
  Amplify.DataStore.save(updatedTodo) { result in
    switch result {
    case .success(let savedTodo):
      print("Updated item: \(savedTodo.name )")
    case .failure(let error):
      print("Could not update data with error: \(error)")
    }
  }
  // 3
  if updatedTodo.completed {
    if let index = todos.firstIndex(where: { $0.id == todo.id }) {
      todos.remove(at: index)
      completedTodos.insert(updatedTodo, at: 0)
    }
  // 4
  } else {
    if let index = completedTodos.firstIndex(where: { $0.id == todo.id }) {
      completedTodos.remove(at: index)
      todos.insert(updatedTodo, at: 0)
    }
  }
}
Okay, that’s a fair chunk of code. Here’s what it does:
- Make a mutable copy of the to do so it can be modified, then toggle the completed value.
- Using Amplify, save the to do back to your data store.
- If the to do is completed, remove it from
todosand add it tocompletedTodos. - If the to do is not completed, remove it from
completedTodosand add it totodos.
Open TodoListView.swift and navigate to the two properties at the top. In todoSection and completedTodoSection, you’ll notice two placeholder comments // Toggle complete. Replace that comment in both places with the following:
viewModel.toggleComplete(todo)
Build and run the app. Now you can tap each todo in either list and change the completed state with a cool animation!
