Beginning tvOS Development with TVML Tutorial
Learn how to create your first tvOS app for the Apple TV in this TVML tutorial for complete beginners! By Kelvin Lau.
The JavaScript
In the client-server tvOS application, your JavaScript code is typically contained in the server your app connects to. For the purposes of this tutorial, you’ll set up a simple server on your Mac.
Note: From now on, we’ll be working with JavaScript code. Personally, I stay away from using Xcode because of the indentation behaviours associated with working on blank Xcode files. Use an IDE of your choice. If you need a recommendation, I suggest Sublime Text 2 which you can download from here.
Note: From now on, we’ll be working with JavaScript code. Personally, I stay away from using Xcode because of the indentation behaviours associated with working on blank Xcode files. Use an IDE of your choice. If you need a recommendation, I suggest Sublime Text 2 which you can download from here.
Client Code
For the sake of convenience, let’s put the JavaScript code on your Desktop. In your Desktop directory, create a new folder and name it client. Within the client directory, create a new folder and name it js. This folder will serve as the container for your JavaScript files.
With the IDE of your choice, create a new JavaScript file, name it application.js and save it to your js directory. Add the following to application.js
App.onLaunch = function(options) {
  // 1
  var alert = createAlert("Hello World", ""); //leaving 2nd parameter with an empty string
  navigationDocument.presentModal(alert);
}

// 2
var createAlert = function(title, description) {
  var alertString = `<?xml version="1.0" encoding="UTF-8" ?>
    <document>
      <alertTemplate>
        <title>${title}</title>
        <description>${description}</description>
      </alertTemplate>
    </document>`
    var parser = new DOMParser();
    var alertDoc = parser.parseFromString(alertString, "application/xml");
    return alertDoc
}
App.onLaunch is the method that handles the entry point of the JavaScript. The TVApplicationController that was initialized in AppDelegate.swift will pass on its TVApplicationControllerContext here. Later, you’ll make use of context’s contents, but for now, you’re just going to create a simple alert to display on screen.
- Using
createAlertdefined below, we get a TVML document for us to present. ThenavigationDocumentis analogous to aUINavigationControllerin iOS; It serves as the stack that can push, pop, and present TVML documents. -
createAlertis a function that returns a TVML document. You can consider it analogous to aUIAlertControllerin iOS.
At the time of writing, Apple has 18 templates provided for us to use in our TVML apps – you can see the full list and specification in the Apple TV Markup Language Reference.
The alertTemplate used here is one of the 18, and its main purpose is to display important information, such as a message telling the user to perform an action before continuing. Finally, you’re almost ready for your first build and run!
Setting up the Server
Open the Terminal app and enter the following:
cd ~/Desktop/client
python -m SimpleHTTPServer 9001
This starts up a simple Python-based web server in your client directory. Now you’re cleared for takeoff!
Go back to your Xcode project and build and run. You should be greeted with your first tvOS TVML app!

I don’t know about you, but when I first got this working I felt like this guy:

Before moving forward, I’d like to spend time to appreciate the work you’ve done so far.
- You created a
TVApplicationController. This manages the JavaScript code. - You created and attached a
TVApplicationControllerContextto theTVApplicationController. The context hadlaunchOptionsthat was populated with ourBASEURLwhich contained theURLto the server. This context is also where the app finds out which server to connect to. - Control is passed to the JavaScript code.
App.onLaunchkicks in and you returned a TVML alert template to present “Hello World” to the screen.
Note that even though you are running on your local web server, you could have put this on a live web server instead – perhaps hooked up to a database. Cool, eh?
Crafting the TVML
As I’ve pointed out before, createAlert is a function that returns a TVML document. There are many more properties we can manipulate in a TVML document, and as an experiment, you’ll add a button to the current alertTemplate. Head back to your JavaScript code, and take a look at your current implementation of createAlert. Add a button to the template:
var alertString = `<?xml version="1.0" encoding="UTF-8" ?>
  <document>
    <alertTemplate>
      <title>${title}</title>
      <description>${description}</description>
      <button>
        <text>OK</text>
      </button>
    </alertTemplate>
  </document>`
Take a moment to appreciate the intricacies:
- A TVML document starts off by enclosing its contents with
document/ - Next, you define the template. For the purposes of our
createAlertfunction, we use the alertTemplate. - Within the template, you decorate it further with a button, a title, and a description, following the Apple TV Markup Language Reference.
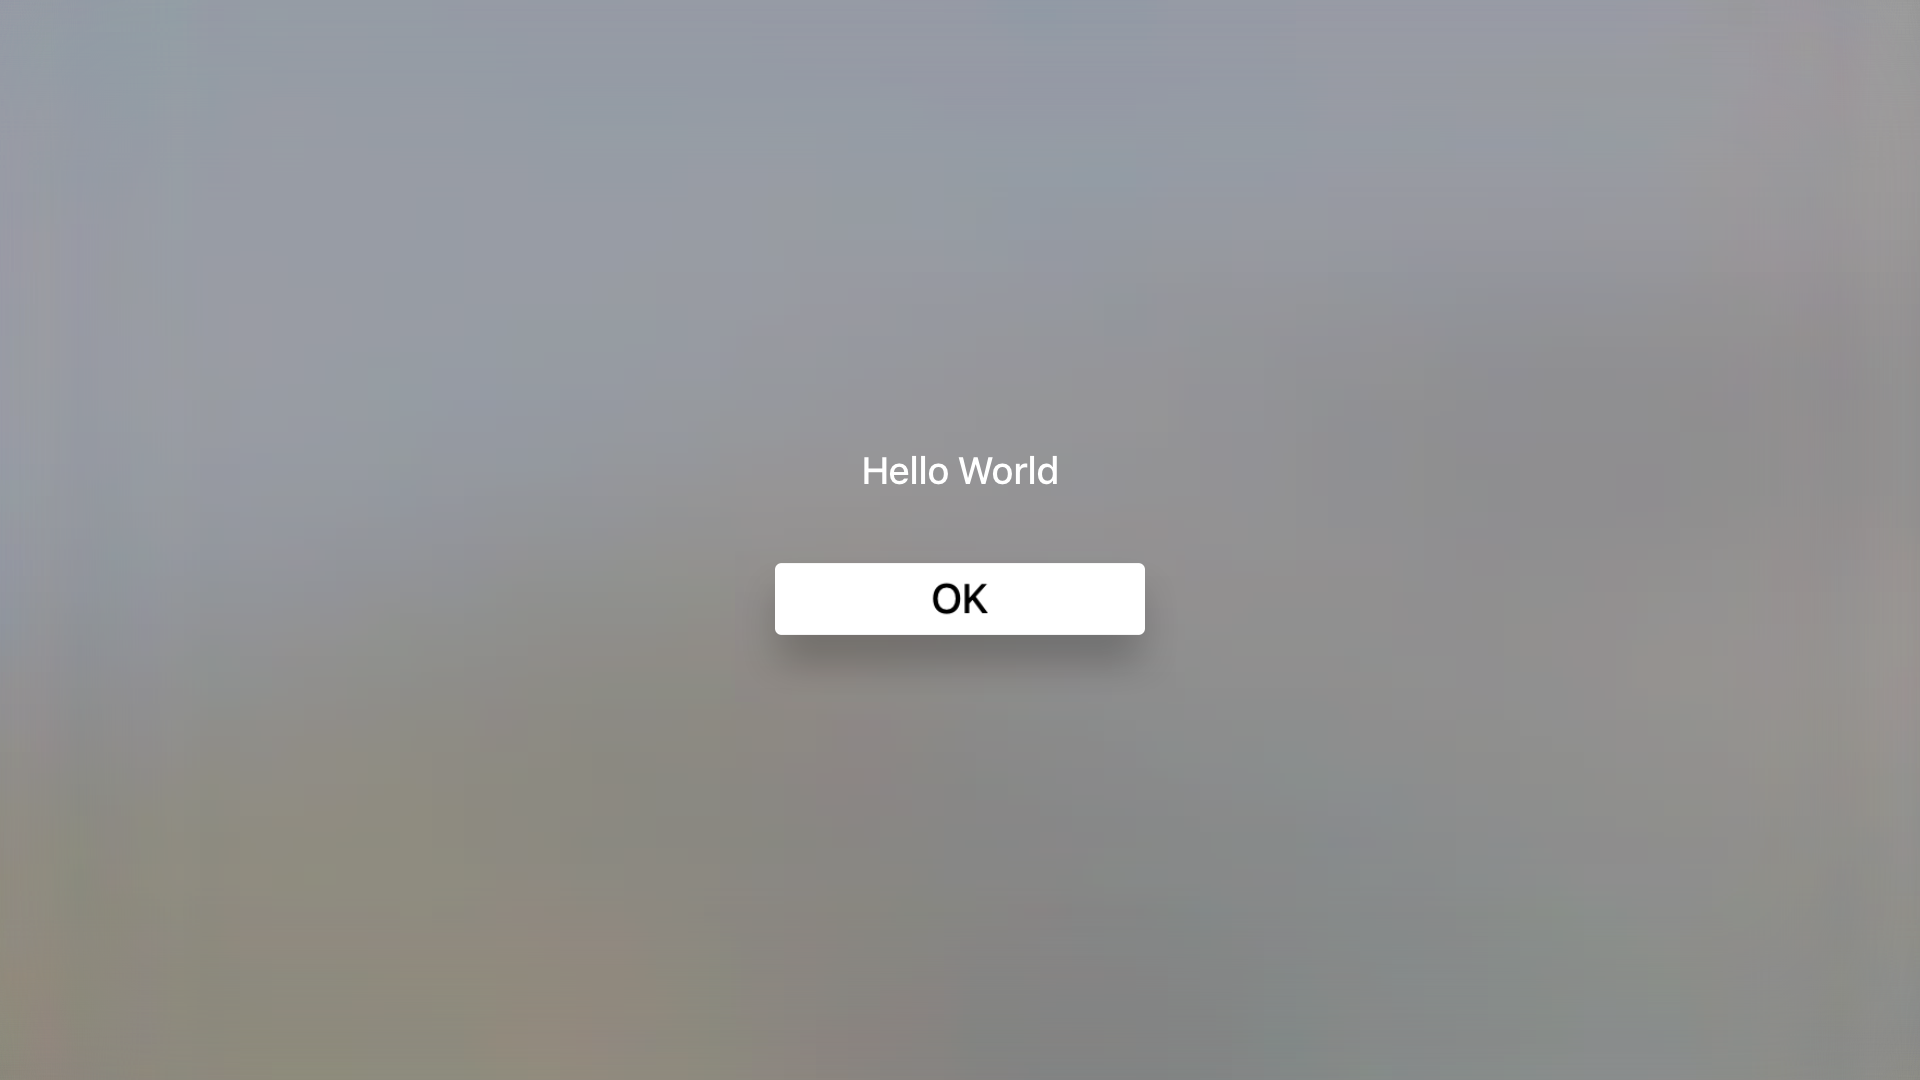
Save your file, and build and run. You should see a button associated with your alert view. Voila, TVML made easy!
Note: The amount of elements you can put within a template vary depending on the specific template. For instance, a loadingTemplate does not allow any buttons. Furthermore, you can customize the font, color, and several other attributes of various items, but that is beyond the scope of this tutorial. A full list of each template’s capabilities can be found in the Apple TV Markup Language Reference.
Note: The amount of elements you can put within a template vary depending on the specific template. For instance, a loadingTemplate does not allow any buttons. Furthermore, you can customize the font, color, and several other attributes of various items, but that is beyond the scope of this tutorial. A full list of each template’s capabilities can be found in the Apple TV Markup Language Reference.
Fleshing out the JavaScript Client
So far, you’ve got something going, and you’re well on our way to our goal. In this section, you’ll spend time abstracting the logic into different classes for better reusability.
Create a new JavaScript file in your client\js folder named Presenter.js. In this file, you’ll declare the class Presenter that will handle the navigation stack. This class will be in charge of popping and pushing documents, and do event handling. Add the following to Presenter.js:
var Presenter = {
  // 1
  makeDocument: function(resource) {
    if (!Presenter.parser) {
      Presenter.parser = new DOMParser();
    }
    var doc = Presenter.parser.parseFromString(resource, "application/xml");
    return doc;
  },
  // 2
  modalDialogPresenter: function(xml) {
    navigationDocument.presentModal(xml);
  },

  // 3
  pushDocument: function(xml) {
    navigationDocument.pushDocument(xml);
  },
}
Let’s review this section by section:
- Remember that
DOMParseris the class that can convert a TVML string into an object-oriented representation; you used this earlier increateAlert. InDOMParseryou only want to create aDOMParseronce and reuse it multiple times, so you only create it if you haven’t already. You then add the same lines you added earlier to parse a TVML string and return the document. - The
modalDialogPresentermethod takes a TVML document and presents it modally on screen - The
pushDocumentmethod pushes a TVML document onto the navigation stack.
Later in the tutorial, you’ll have the Presenter class manage cell selection as well. For now, let’s refactor the current JavaScript code to take Presenter into account. Replace the current implementation of App.onLaunch with the following:
App.onLaunch = function(options) {
  // 1
  var javascriptFiles = [
    `${options.BASEURL}js/Presenter.js`
  ];
  // 2
  evaluateScripts(javascriptFiles, function(success) {
    if(success) {
      var alert = createAlert("Hello World!", "");
      Presenter.modalDialogPresenter(alert);
    } else {
      // 3 Handle the error CHALLENGE!//inside else statement of evaluateScripts.
    }
  });
}
The code is relatively straightforward:
- Create a new array of JavaScript files. Recall earlier we passed in a
BASEURLin thelaunchOptionsproperty of theTVApplicationControllerContext. Now we will use it to create a path to the Presenter.js file. -
evaluateScriptswill load the JavaScript files - Here, you should handle the error. More on this in a second.
First, build and run to make sure that your code still works – now refactored to use your new Presenter class:
Then see if you can solve the challenge indicated by the comment in section 3. If for some reason evaluateScripts fails – perhaps because you mistyped the path to the JavaScript file(s) – you want to display an alert message. Hint: you cannot use the Presenter class to do the presenting, since you’ve failed to load it.
You should be able to do this based on what you’ve learned so far. If you get stuck, check the solution below!
[spoiler title="Solution to Challenge"]
//inside else statement of evaluateScripts.
var errorDoc = createAlert("Evaluate Scripts Error", "Error attempting to evaluate external JavaScript files.");
navigationDocument.presentModal(errorDoc);
To test your error message, change the value of the element inside javascriptFiles. For example, delete a letter: `${options.BASEURL}js/Presentr.js`. (deleted the last e)
[/spoiler]