StoreKit Testing in Xcode 12: Getting Started
Learn to use the new StoreKit testing framework to exercise your in-app purchases right inside Xcode. By Saleh Albuga.
Deleting Transactions
During development, you often need to perform a new purchase of a non-consumable or subscription item to test a scenario or find a bug. The sandbox environment required a new sandbox tester and email address each time. The process was inconvenient.
Sandbox treated repeated purchases using the same sandbox tester as restoring an already purchased item. As a result, code specific to new purchases didn’t execute.
Fortunately, testing this in the local environment is much easier!
First, open IAPHelper.swift. In the SKPaymentTransactionObserver extension, add the following code below paymentQueue(_:updatedTransactions:):
public func paymentQueue(
  _ queue: SKPaymentQueue,
  didRevokeEntitlementsForProductIdentifiers productIdentifiers: [String]
) {
  for identifier in productIdentifiers {
    purchasedProductIdentifiers.remove(identifier)
    UserDefaults.standard.removeObject(forKey: identifier)
    deliverPurchaseNotificationFor(identifier: identifier)
  }
}
paymentQueue(_:didRevokeEntitlementsForProductIdentifiers:) is a delegate method introduced in iOS 14. StoreKit calls it whenever App Store, or the local environment in this case, revokes IAPs for the user. In Xcode, an IAP is revoked when the transaction is deleted or refunded from the transaction manager.
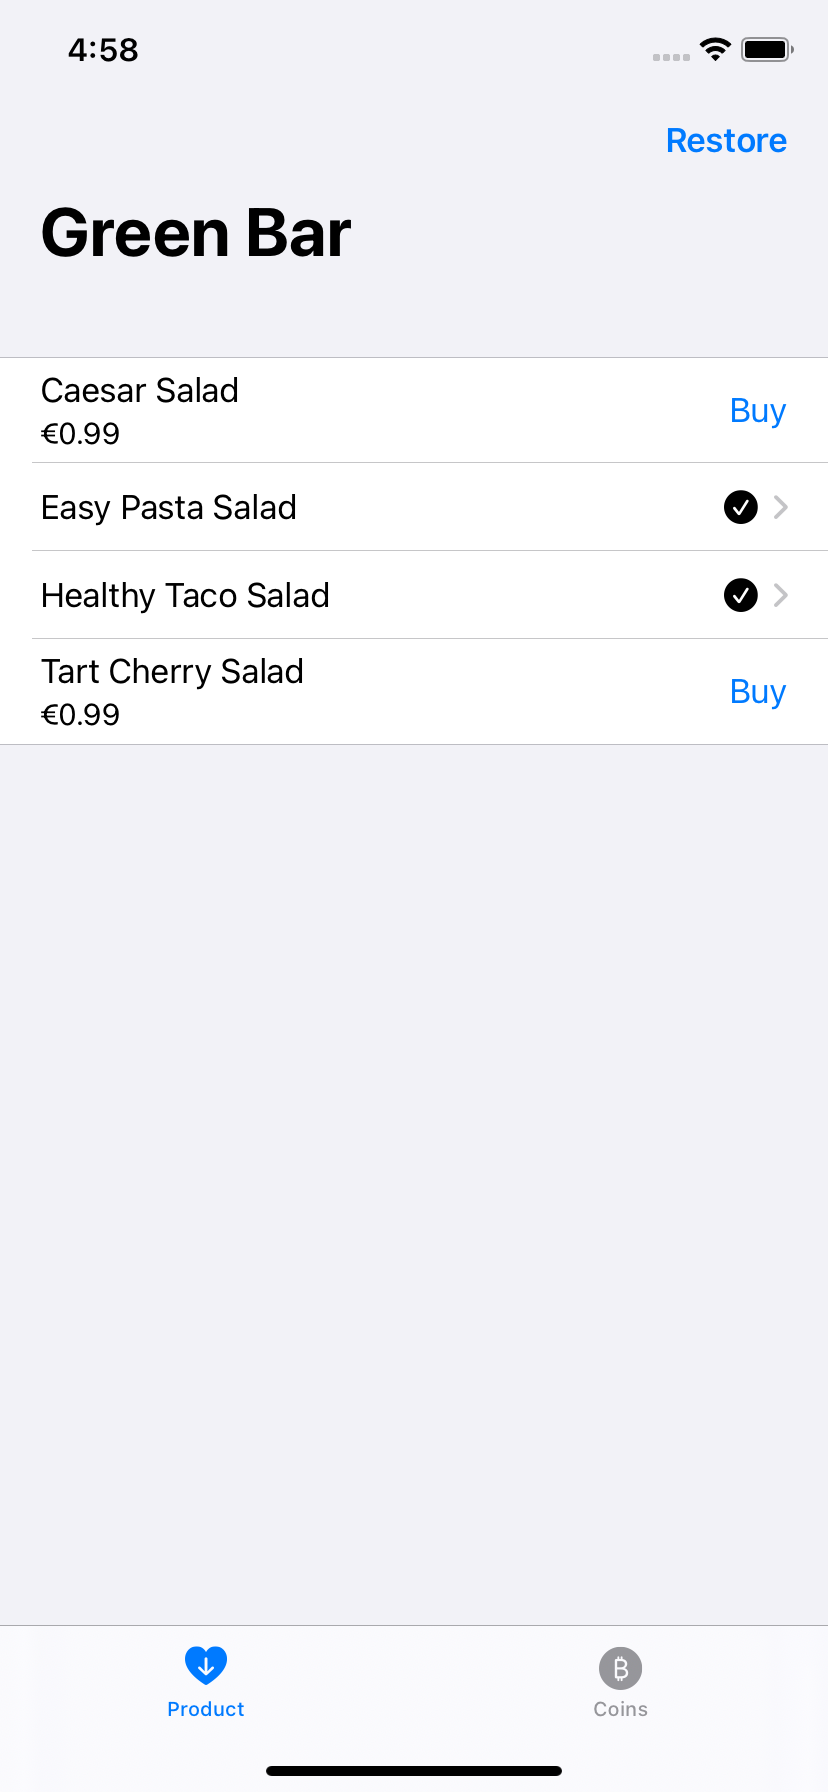
Here, the method removes the revoked product from purchasedProductIdentifiers and UserDefaults. Then, it posts a notification to subscribers that reflects the changes. ProductsView reloads the products and locks the revoked product content as if it wasn’t purchased.
paymentQueue(_:didRevokeEntitlementsForProductIdentifiers:) is not called in either of those versions when deleting or refunding a transaction in the local environment. I’ve reported the issue and it was acknowledged. It appears to be fixed in iOS 14.4.
Deleting a Subscription
In a previous section, you bought a subscription to GreenTimes. By default, the subscription Time Rate is Real Time which means the one month subscription you bought will auto-renew in a month!
Unless you have the time to wait, change it to a more realistic testing value. :]
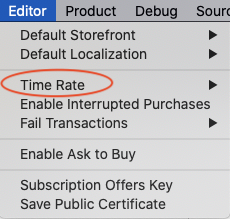
Open Subscriptions.storekit. Then choose Editor ▸ Time Rate from the menu and select 1 Second is 1 Day.
Build and run.

Now open the transaction manager and select the GreenTimes subscription in your transaction manager log. Next, click delete transaction in the top right corner. Click Delete in the confirmation alert.
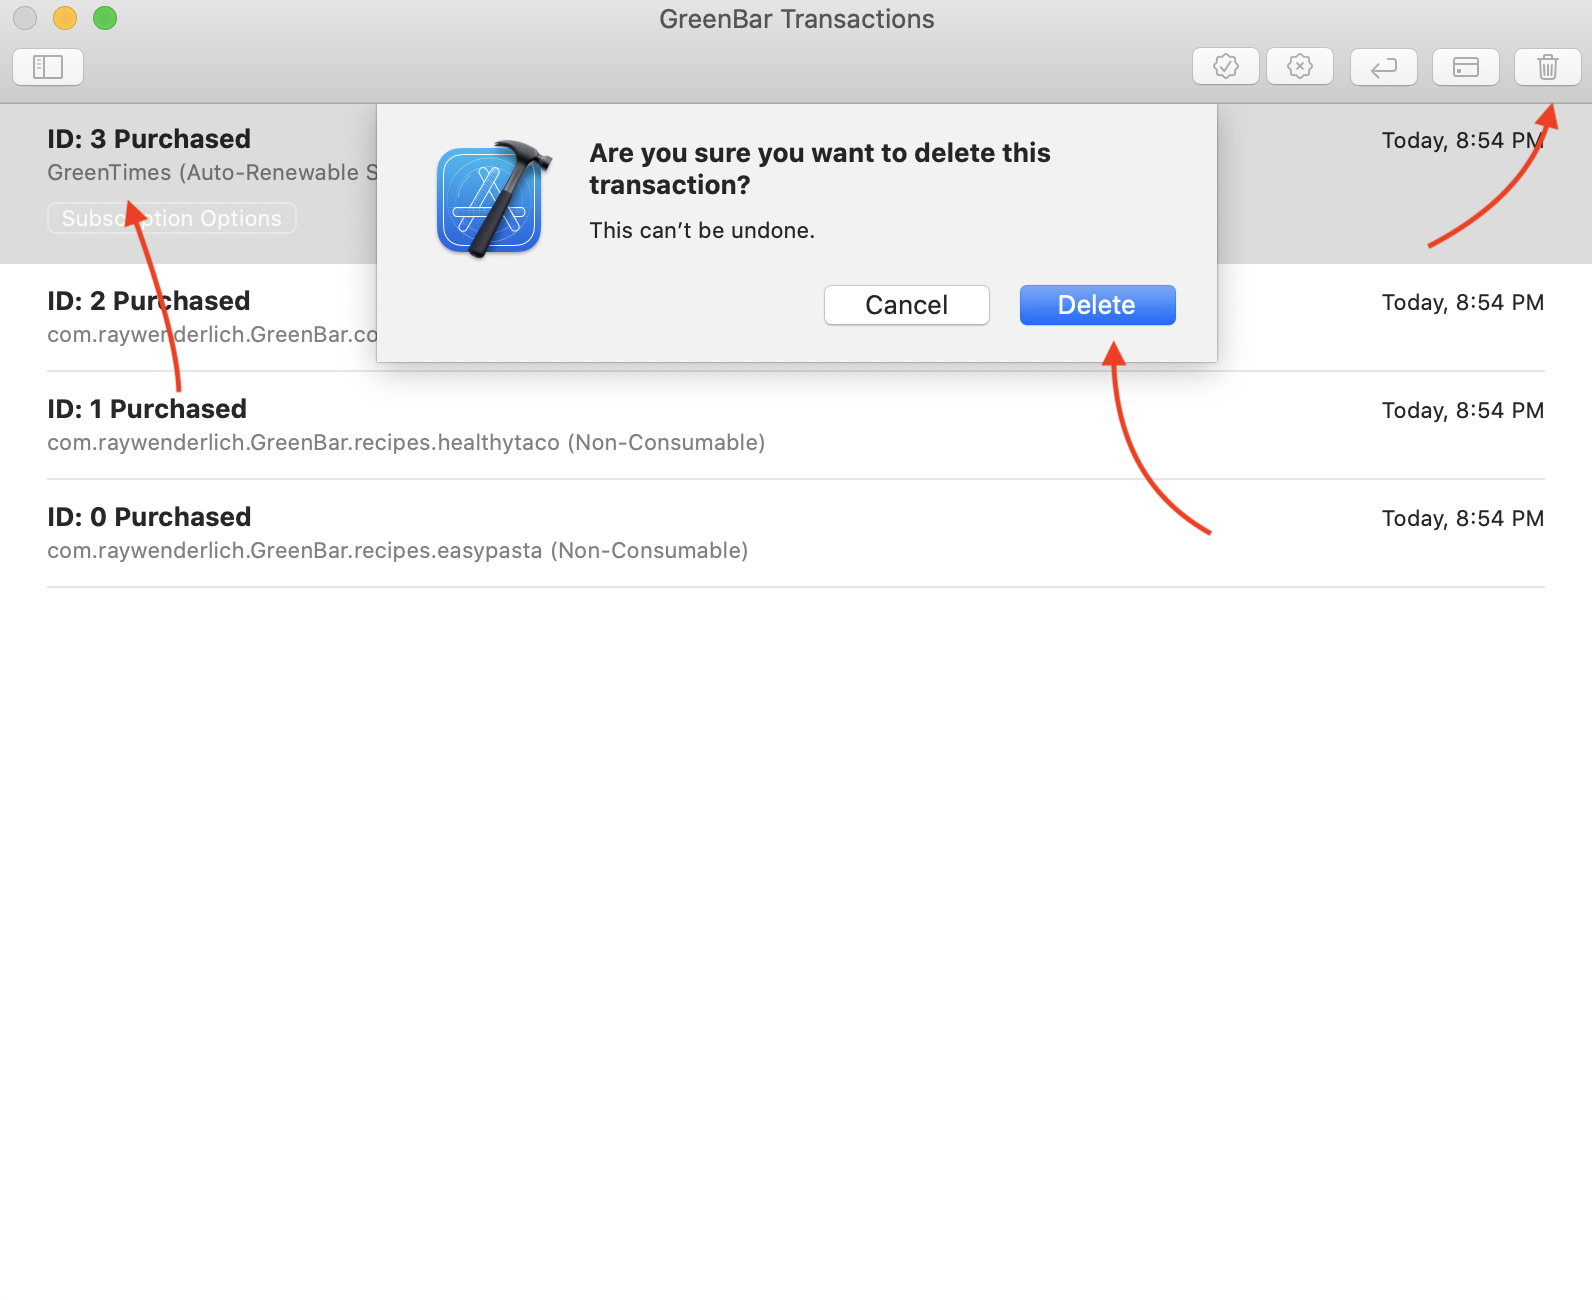
You removed the transaction from the transactions manager. Even better, you canceled your subscription and the app interface updated accordingly!

You can now re-subscribe as if you never subscribed in the first place. Give it a try by clicking Subscribe for GreenTimes.
Now that you’ve resubscribed, you’ll see a new transaction in the transaction manager. Not only that, you’ll see an auto-renewal transaction every 30 seconds!
You can tell it’s a renewal transaction because it refers to the original subscription purchase Transaction ID, in this case 4. This way, you can test if your app is handling the subscription logic properly.

Of course, not every recipe is a winner, so you’ll learn how to simulate refunds next.
Simulating Refunds
In addition to deleting transactions, you can also refund them. Change the active StoreKit configuration file to RecipesAndCoins.storekit. Build and run.
To simulate a refund, open the transaction manager. Then, find and select your previous transaction for Easy Pasta Salad.

You’ll see an enabled option for a purchased non-consumable is refunding. Click Refund Purchases.

The transaction state changed from Purchased to Refunded. In this case, paymentQueue(_:didRevokeEntitlementsForProductIdentifiers:) is also called. GreenBar removes it from the app data and shows the content as available for purchase.

Comparing Testing in Xcode to The Sandbox Environment
In no time, you’ve tested almost all the common scenarios! Instead of starting from App Store Connect, now you can start from Xcode.
Testing from Xcode certainly takes less effort than testing in the sandbox environment. Here are some other important differences between testing in Xcode and Sandbox:
- Unlike Sandbox, Xcode signs receipts in the local environment, not by App Store.
- You can’t select App Store price tiers in StoreKit configuration files.
- If you want to test repurchasing non-consumables, you have to use Xcode.
- You can only test purchasing non-renewing subscriptions in Sandbox.
As you can see, you still need to test in the sandbox environment before releasing your app. You can only test server-to-server scenarios, like production receipt validation, in the sandbox environment.
Automating StoreKitTest Tests
Many developers find manual testing useful in the early stages of development. But when working on updates, manually testing all scenarios can be time-consuming.
In addition to StoreKit testing in Xcode, Apple also introduced the StoreKitTest framework with iOS 14. StoreKitTest lets you create and automate tests for your app’s IAP transactions. In this tutorial, you’ll write tests for four common scenarios:
- Receipt validation
- First time purchases
- Interrupted purchases
- Subscriptions
You’ll work with receipt validation first.
Testing Receipt Validation
Receipt validation is different in Xcode. While Apple’s root certificate signs receipts in Sandbox, a certificate local to Xcode signs receipts in Xcode.
To use the local Xcode certificate, you must first retrieve and store it in your Xcode project. Then you have to tell Xcode to use the certificate when locally validating receipts.
To get the certificate, first open a StoreKit configuration file. Then select Editor ▸ Save Public Certificate from the menu. Save the certificate in the provided Certificates folder.
Next, you’ll change the validation code to use that certificate. Receipt is a helper class with an initializer that loads, reads and validates an IAP receipt.
Open Receipt.swift. Right before validateSigning(_:), you’ll find the certificate definition:
let certificate = "AppleIncRootCertificate"
Replace the definition with:
#if DEBUG
let certificate = "StoreKitTestCertificate"
#else
let certificate = "AppleIncRootCertificate"
#endif
With this code, you told Xcode to use the local certificate when building the app in debug mode and Apple’s root certificate when building otherwise.
Next, in validateSigning(_:) look for verificationResult:
let verificationResult = PKCS7_verify(receipt, nil, store, nil, nil, 0)
And replace it with:
#if DEBUG
let verificationResult = PKCS7_verify(
  receipt, nil, store, nil, nil, PKCS7_NOCHAIN
)
#else
let verificationResult = PKCS7_verify(receipt, nil, store, nil, nil, 0)
#endif
Here, you told Xcode there’s no certificate chain to validate in debug mode because the StoreKit test certificate is a root certificate.
Now with your local certificate in place, you’re ready to start automated testing! You’ll start with a simple test that reads an IAP receipt and validates it after purchasing a recipe.