Beginning Android Development Part One: Installing Android Studio
Learn how to download and install Android Studio in this Beginning Android Development Tutorial. By Megha Bambra.
4.9 (8) · 1 Review
Creating an Emulator
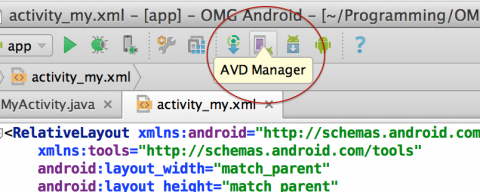
Click AVD Manager. It’s a button near the right side of the toolbar that shows an Android popping its head up next to a device with a purple display:
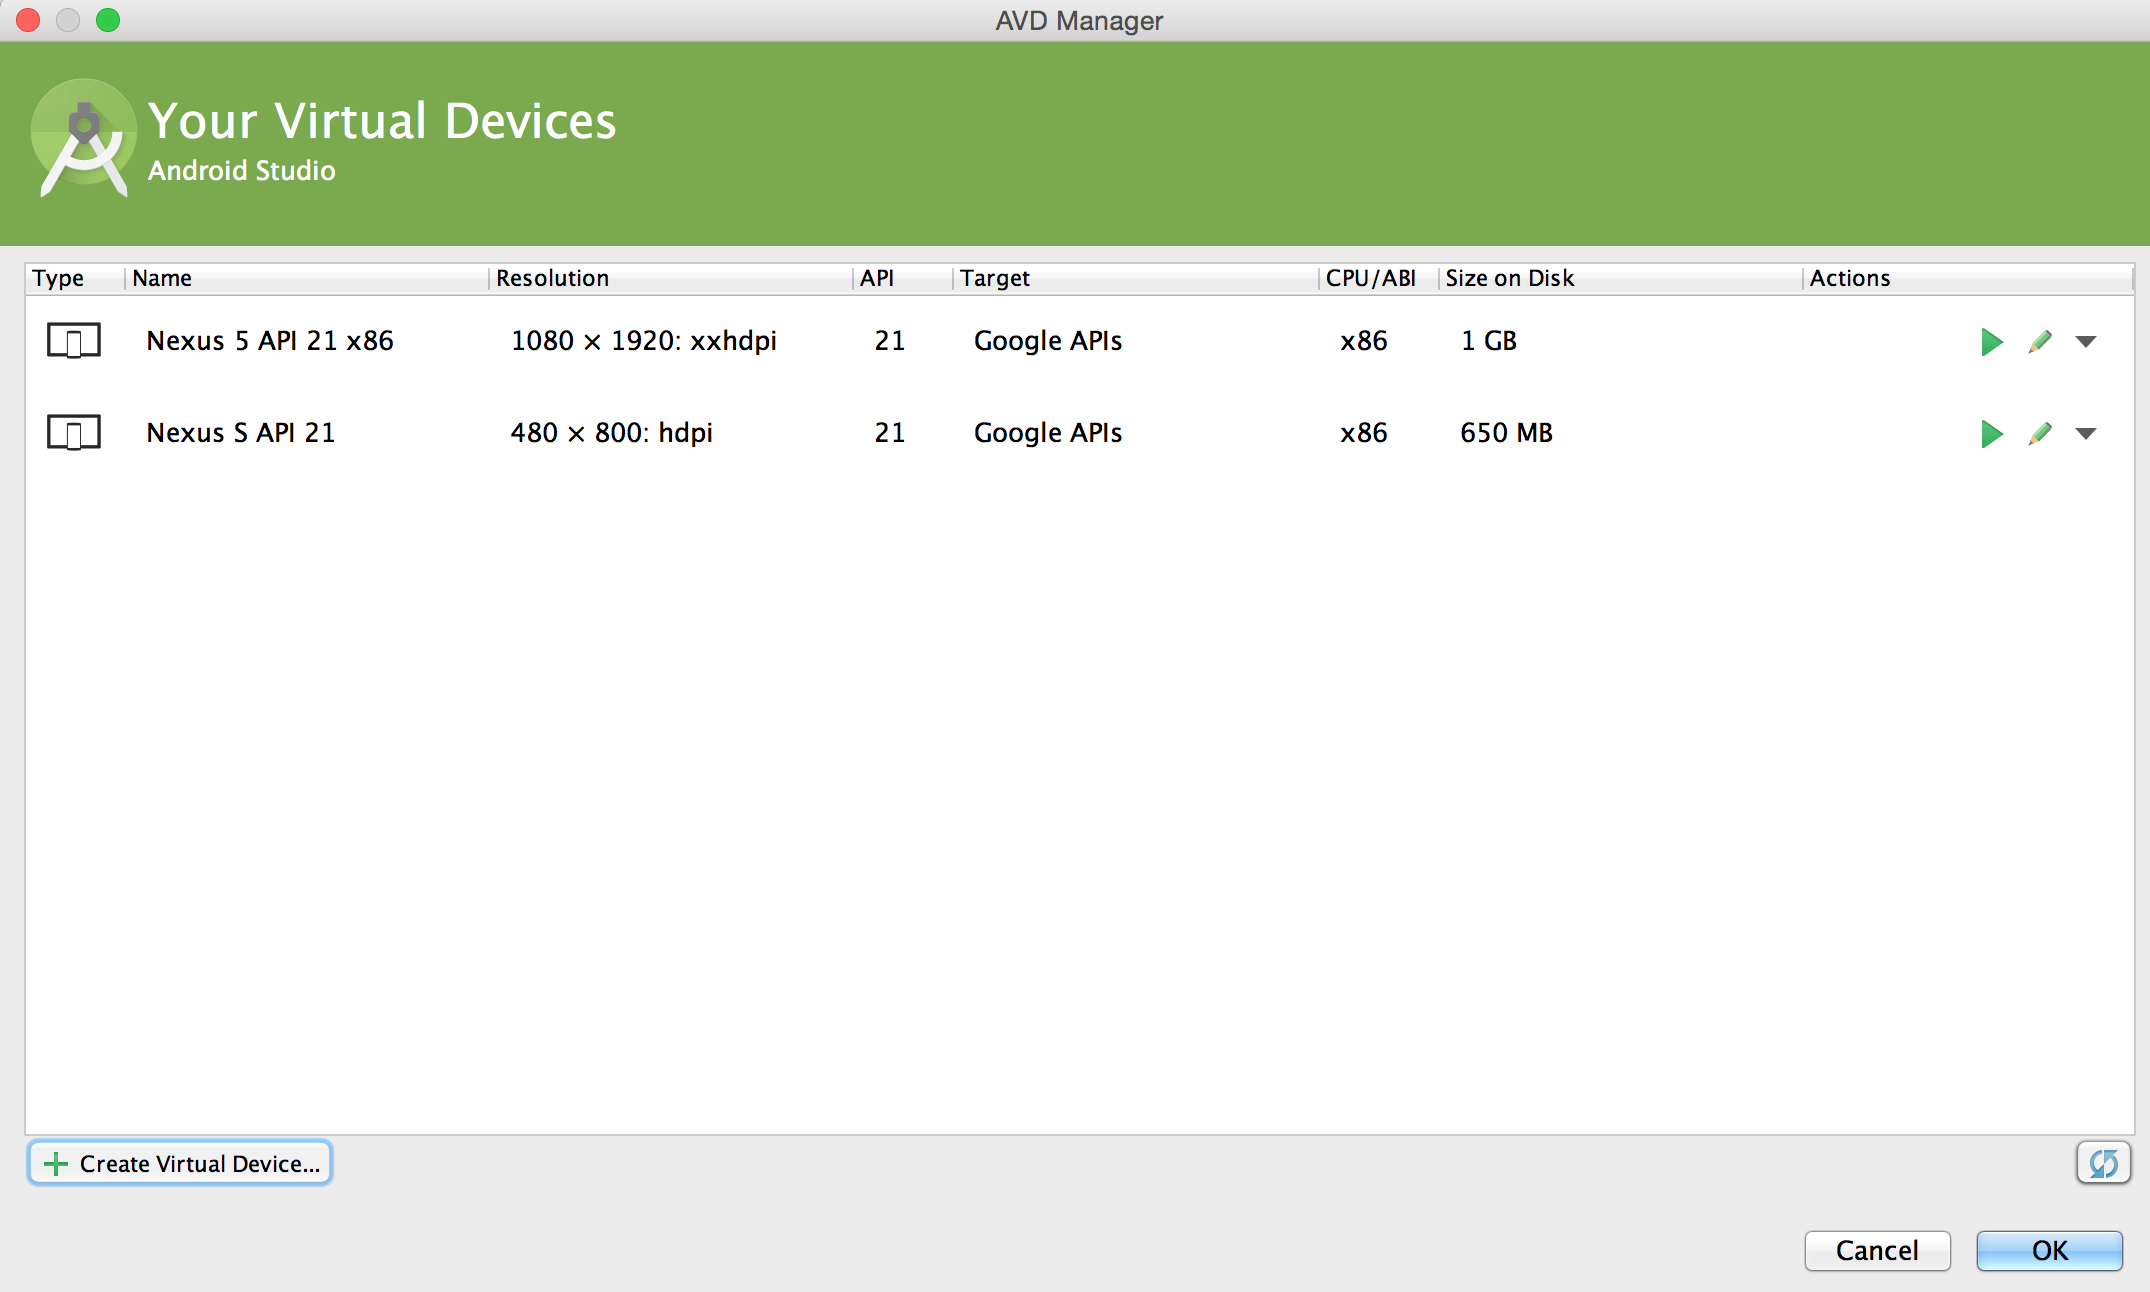
Once AVD Manager opens, you’ll probably see the default emulator and a few details about it, notably what type of emulator it is, what API it’s using, and what CPU instruction set it uses.
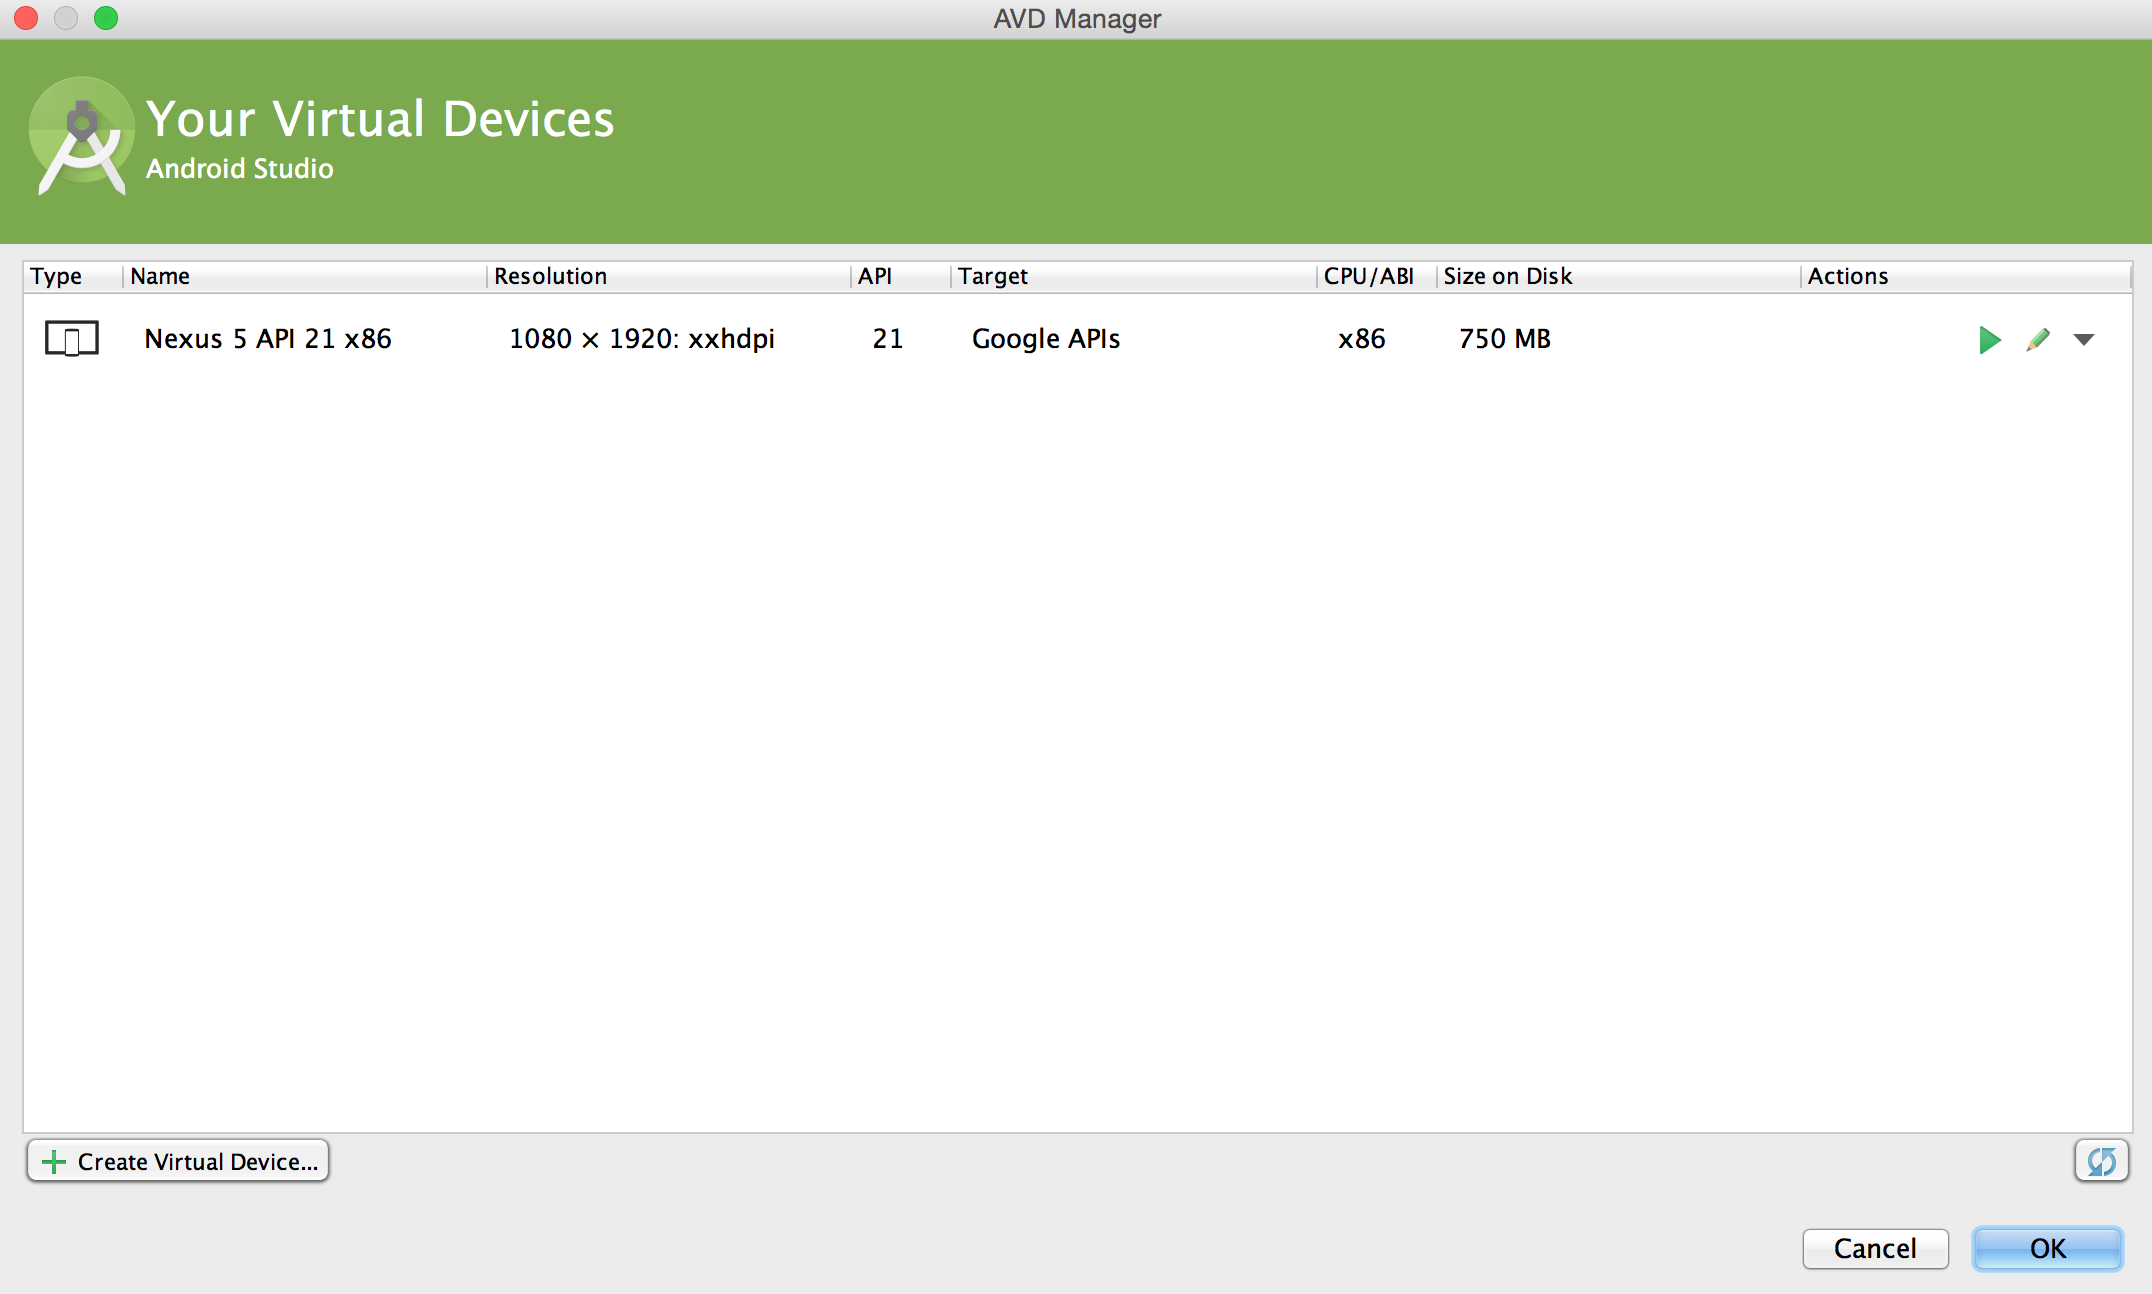
Alternatively, if the default device hasn’t been created for you, you’ll just see an option to create a new device. Either way, work through the process of creating a new AVD so you know how to do it. Click Create Virtual Device… in the bottom left to begin configuring a new virtual device.
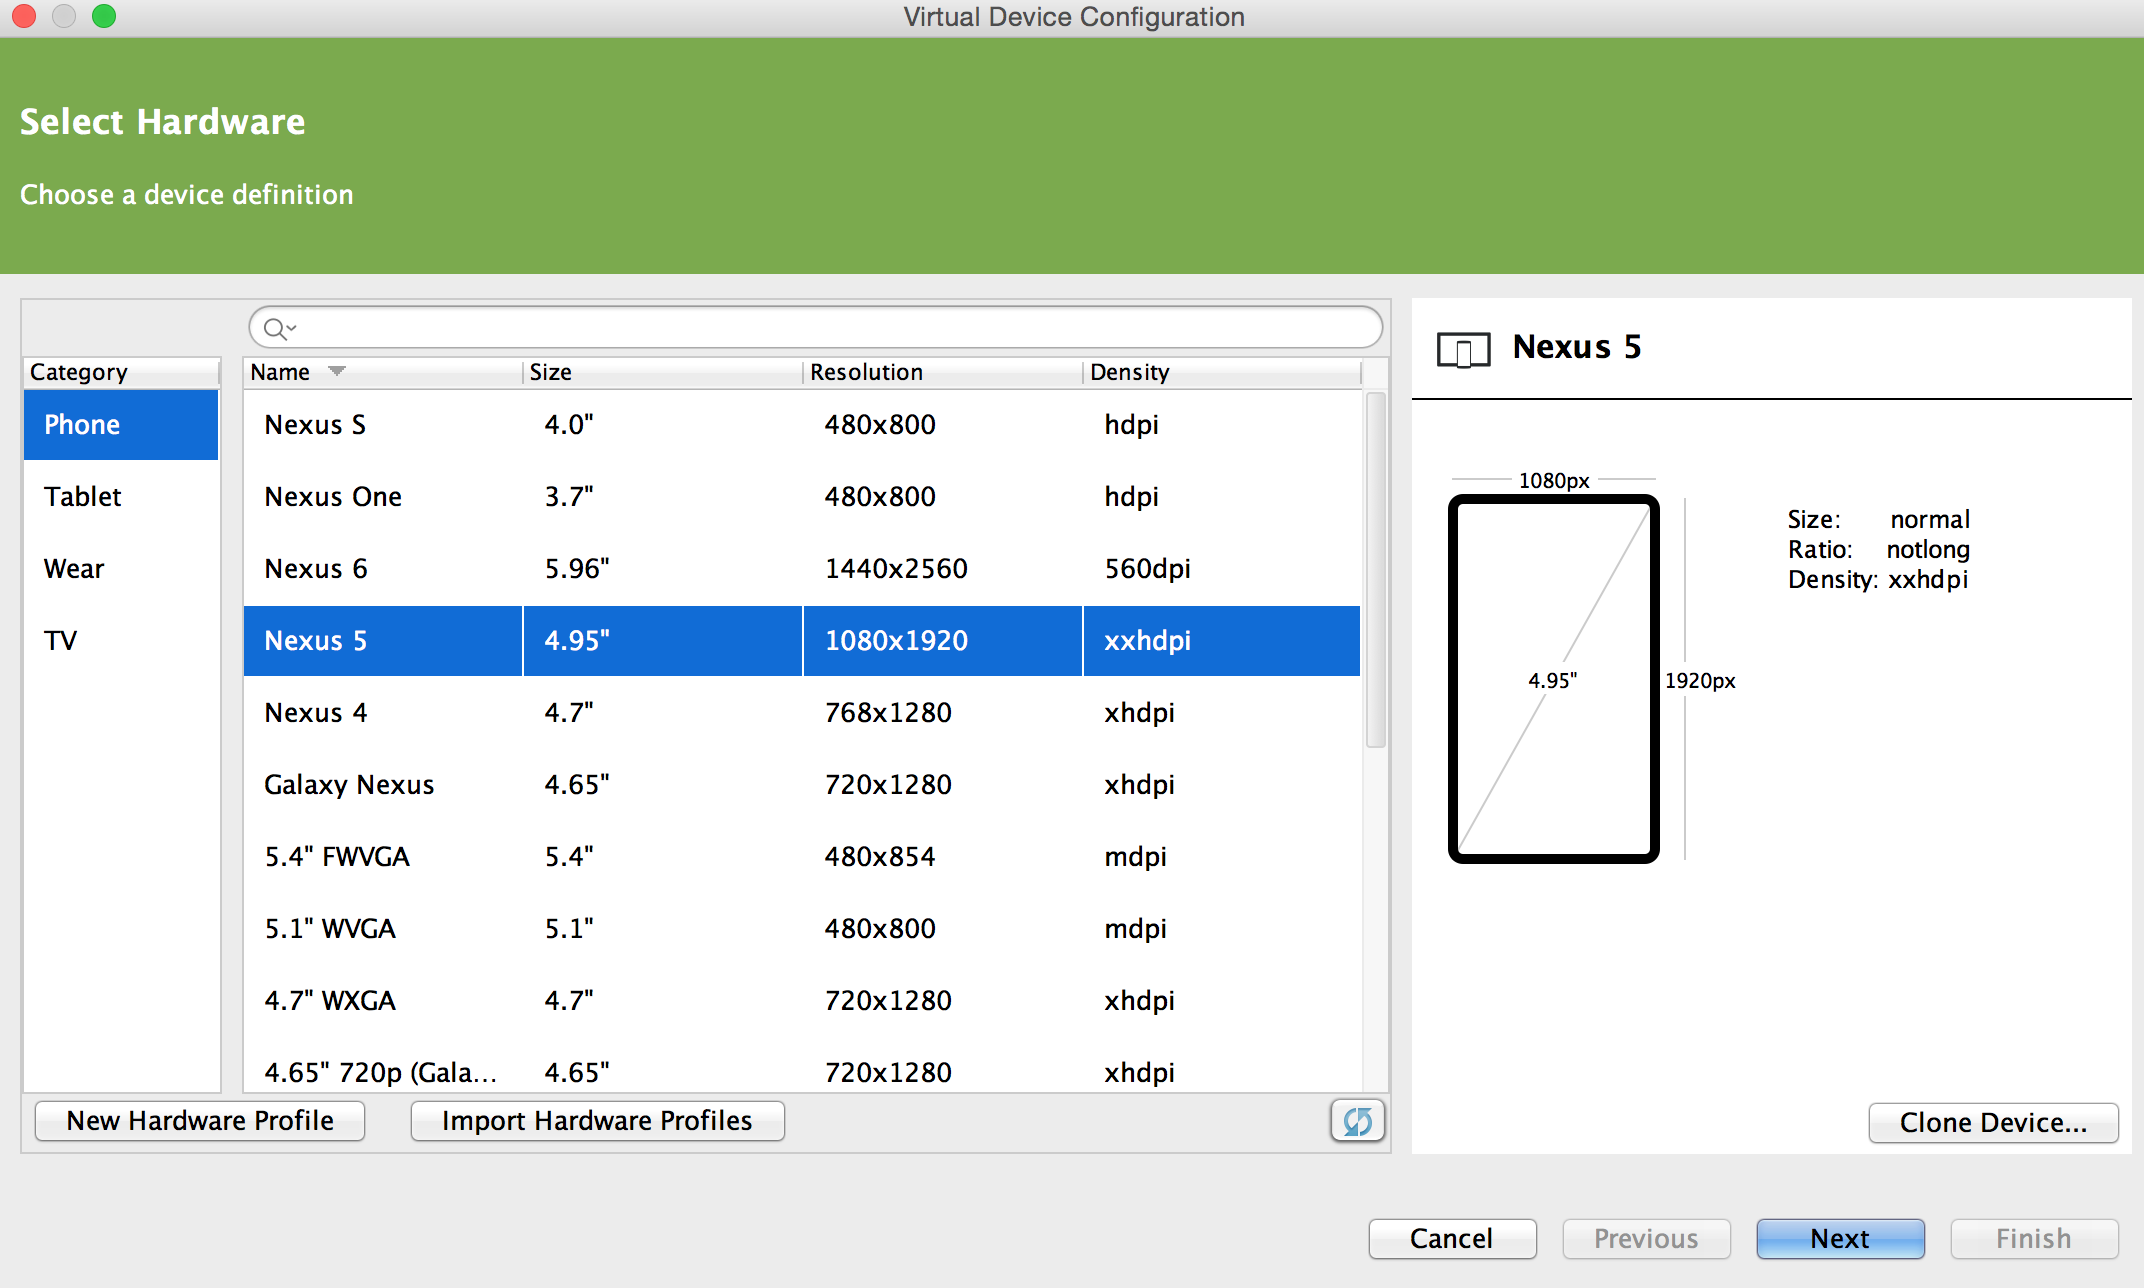
The first decision you need to make is what type of device. The Category list on the left shows all the types of devices you can emulate. In the middle, you see a list of specific devices. Take a moment to explore.
For now, you just want to emulate a phone-sized device, but if you wanted to emulate an Android Wear watch or an Android TV then you have options to do so here.
Select Nexus S in the list of devices available to you from the phone category and click Next.
Now you’re at the step where you decide what version of Android the virtual device will run. You’ll already have one or two available to you thanks to the setup wizard, so lets use one of them.
Select Lollipop and make sure the one selected has the value x86 in the API column so the emulator runs as fast as possible on your x86 computer.
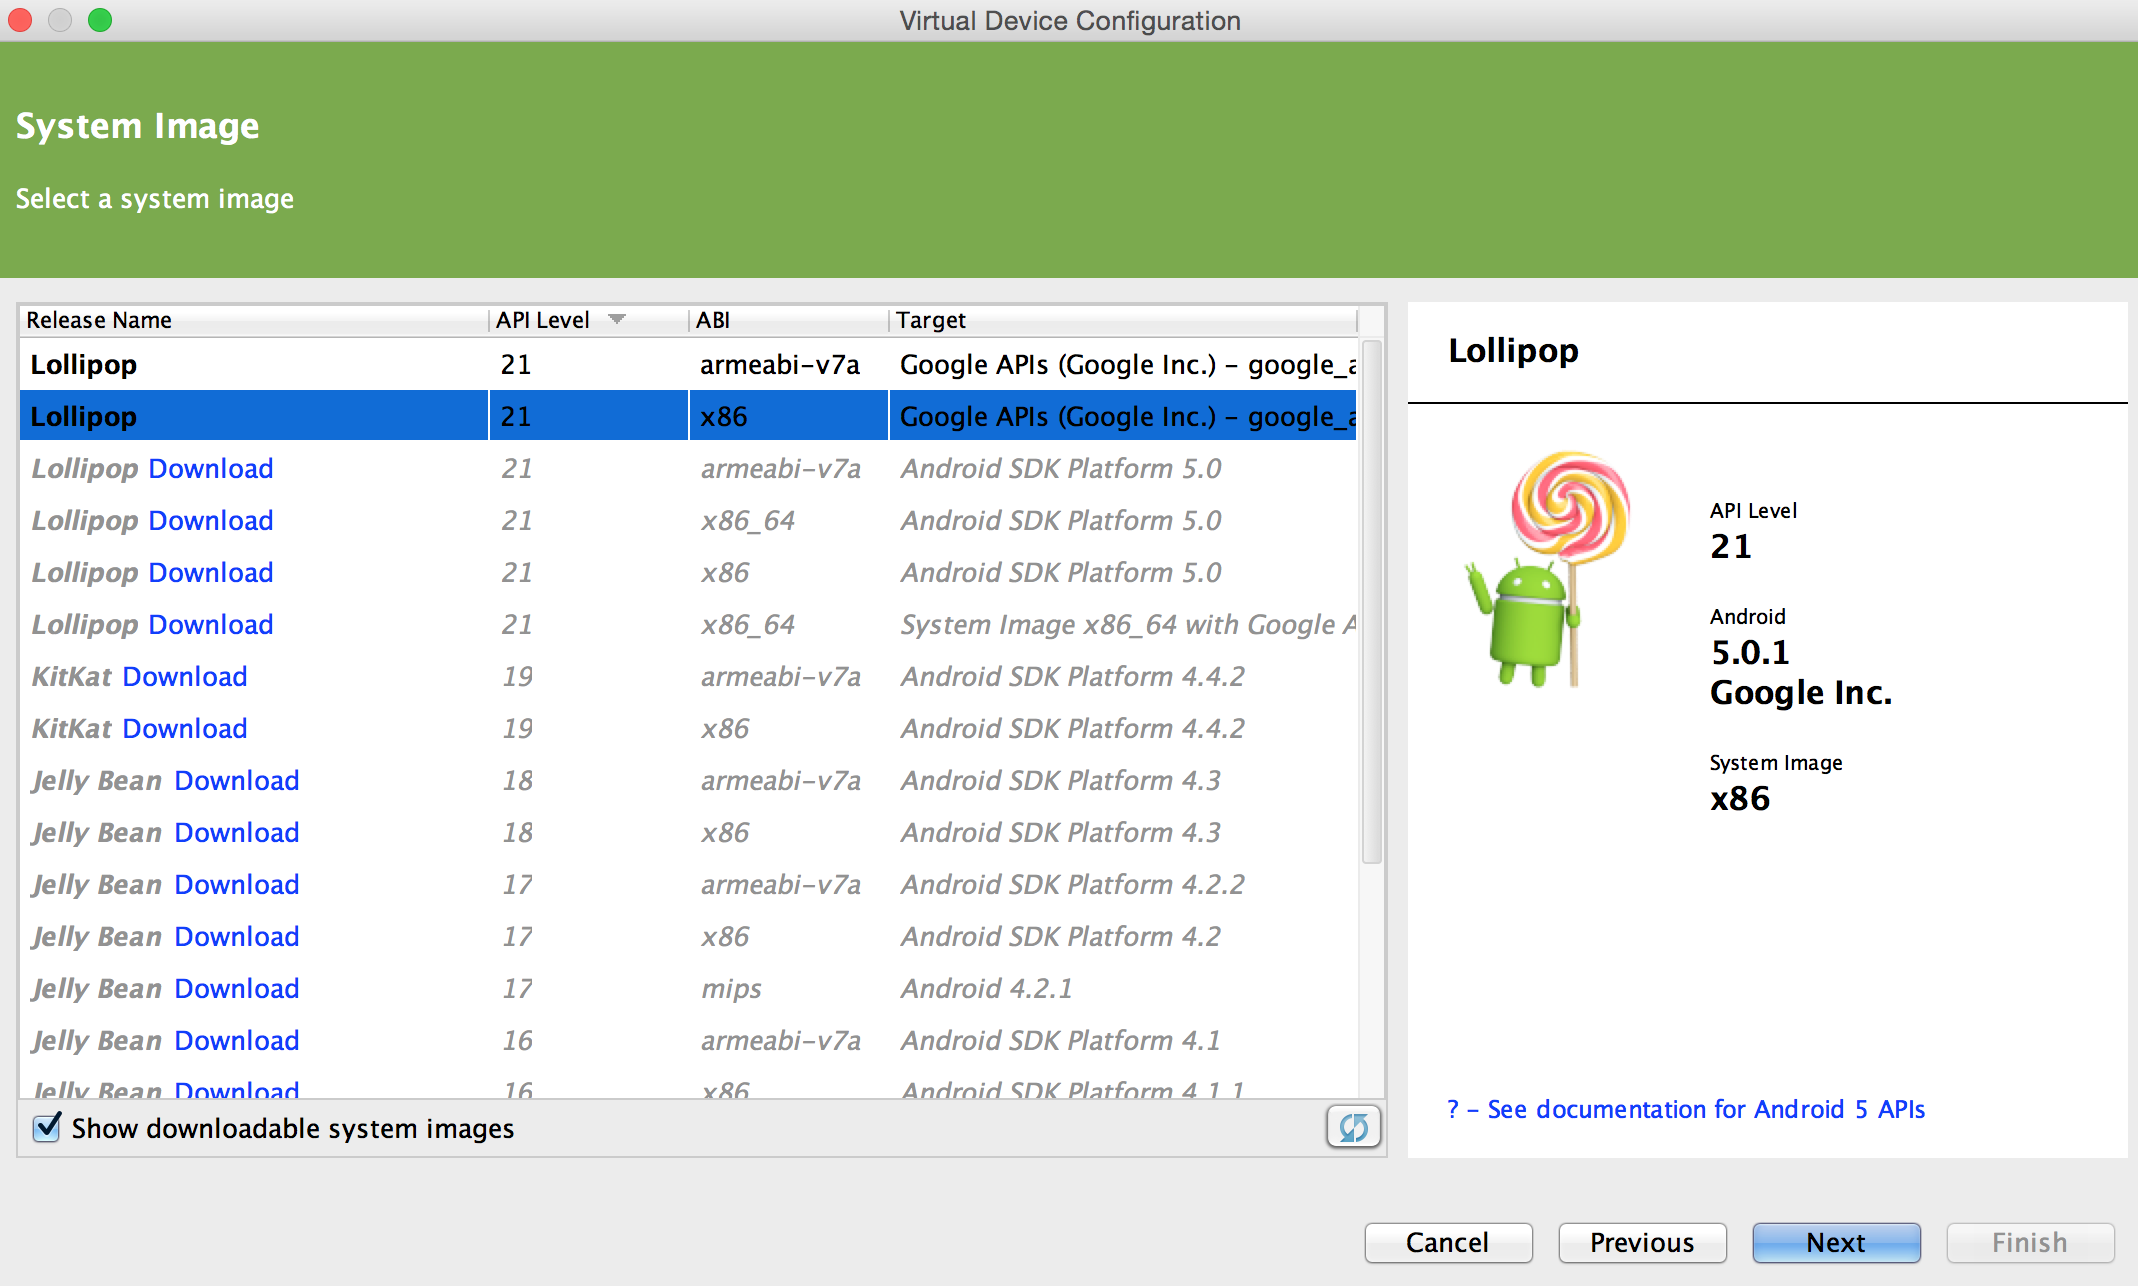
Click Next once you’re done to advance to the final screen.
Note: If you can’t click Next, then you probably need to download some archives. Go back to your selection and click Download. When it’s done, you’ll be able to move forward.
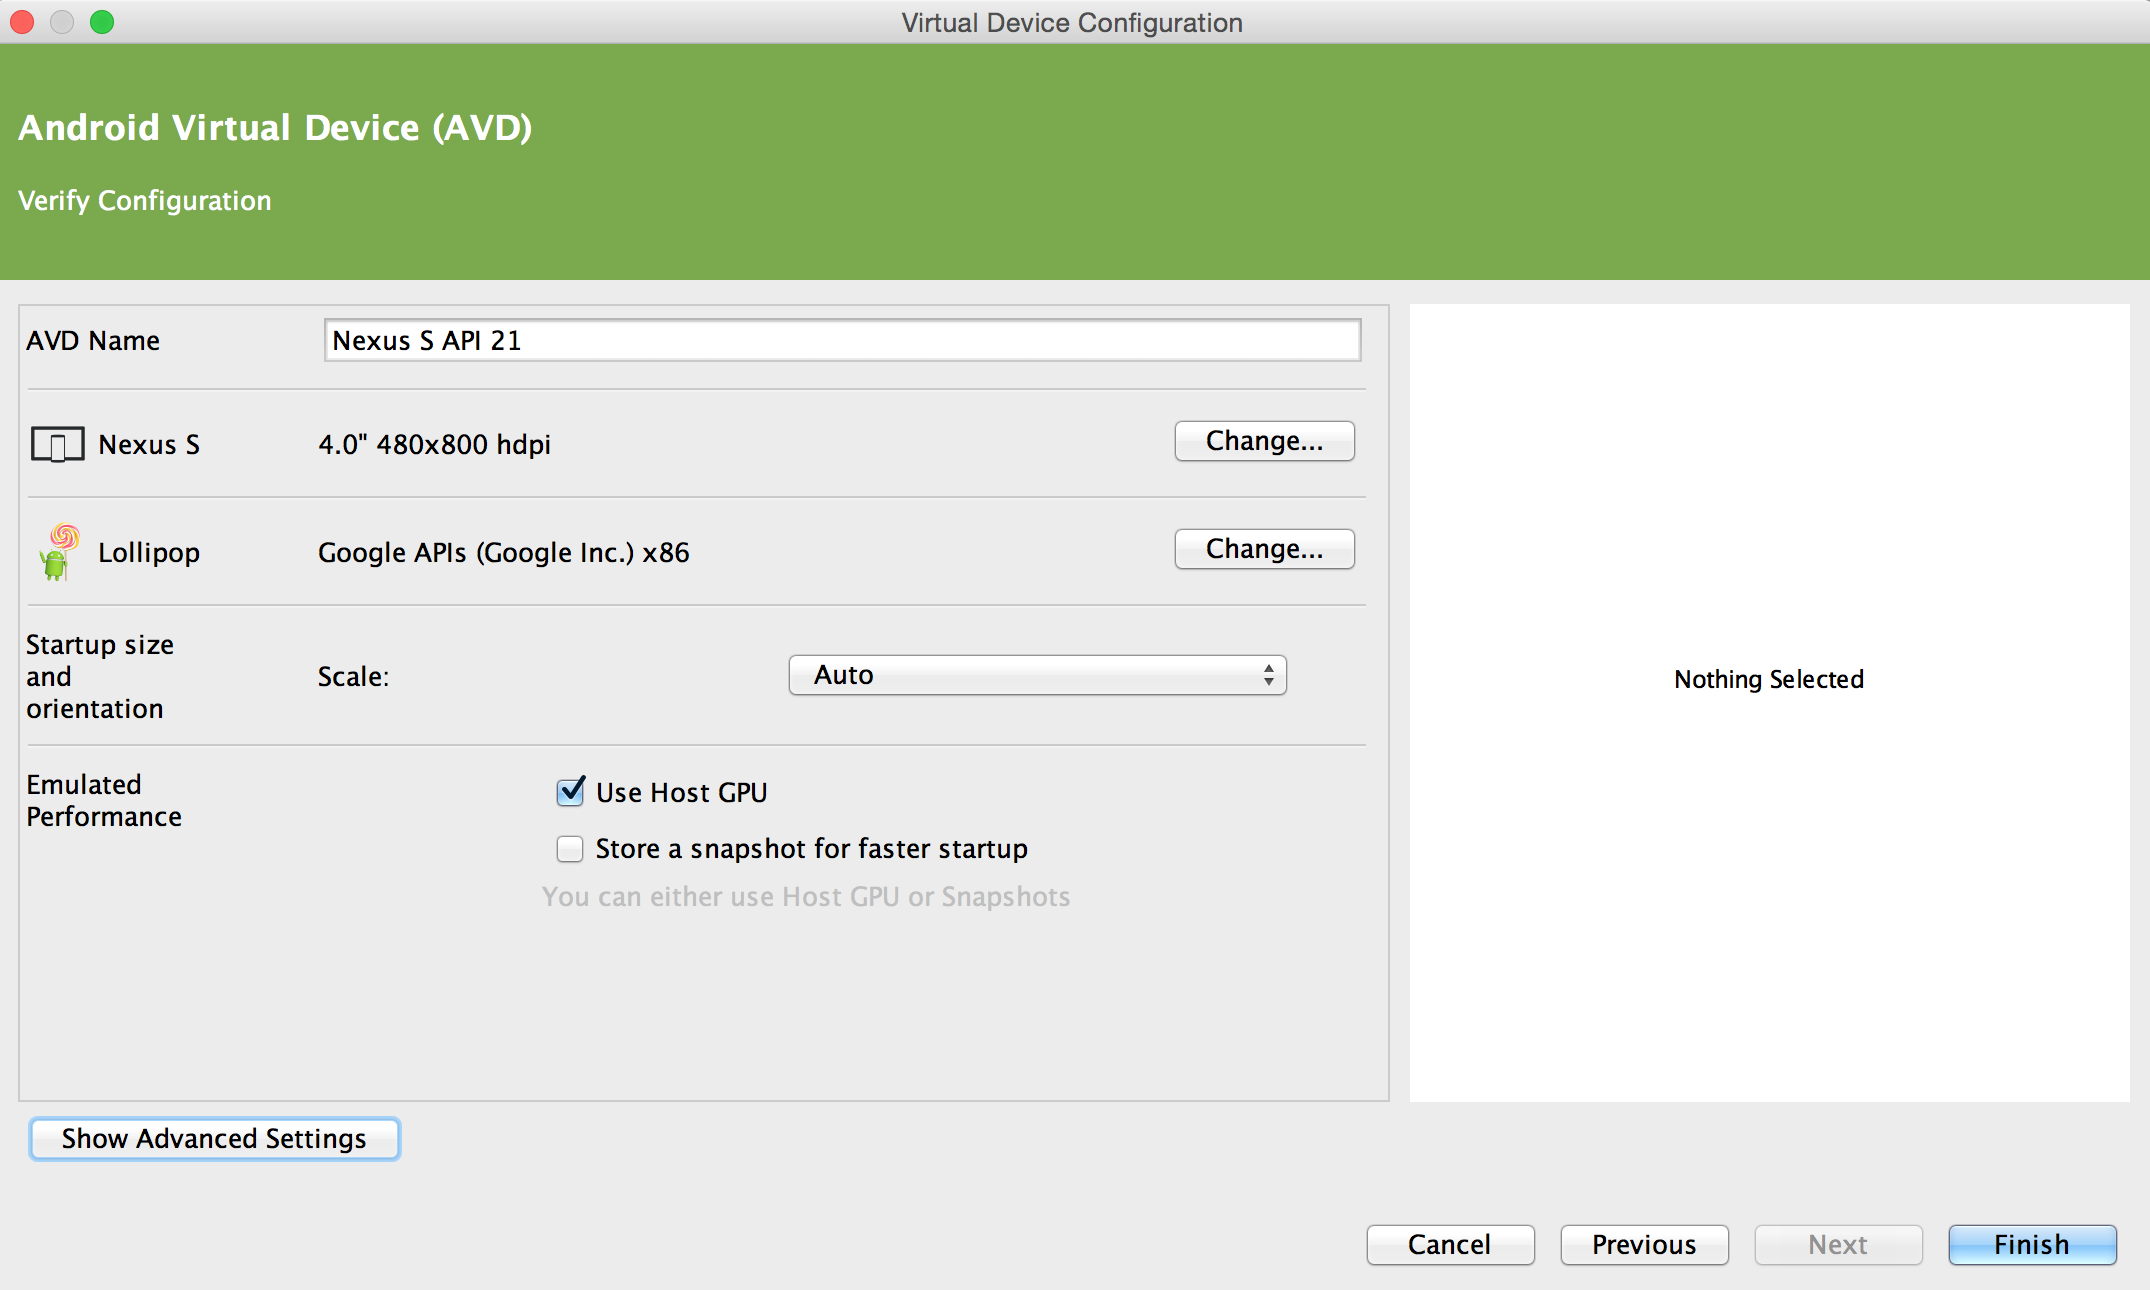
The last screen lets you confirm your choices and gives options to configure some other properties such as device name, startup orientation and RAM size. For now, use the defaults and click Finish.
Close the AVD Manager to go back to Android Studio’s main view. Now that you’ve configured everything, click the Run button.

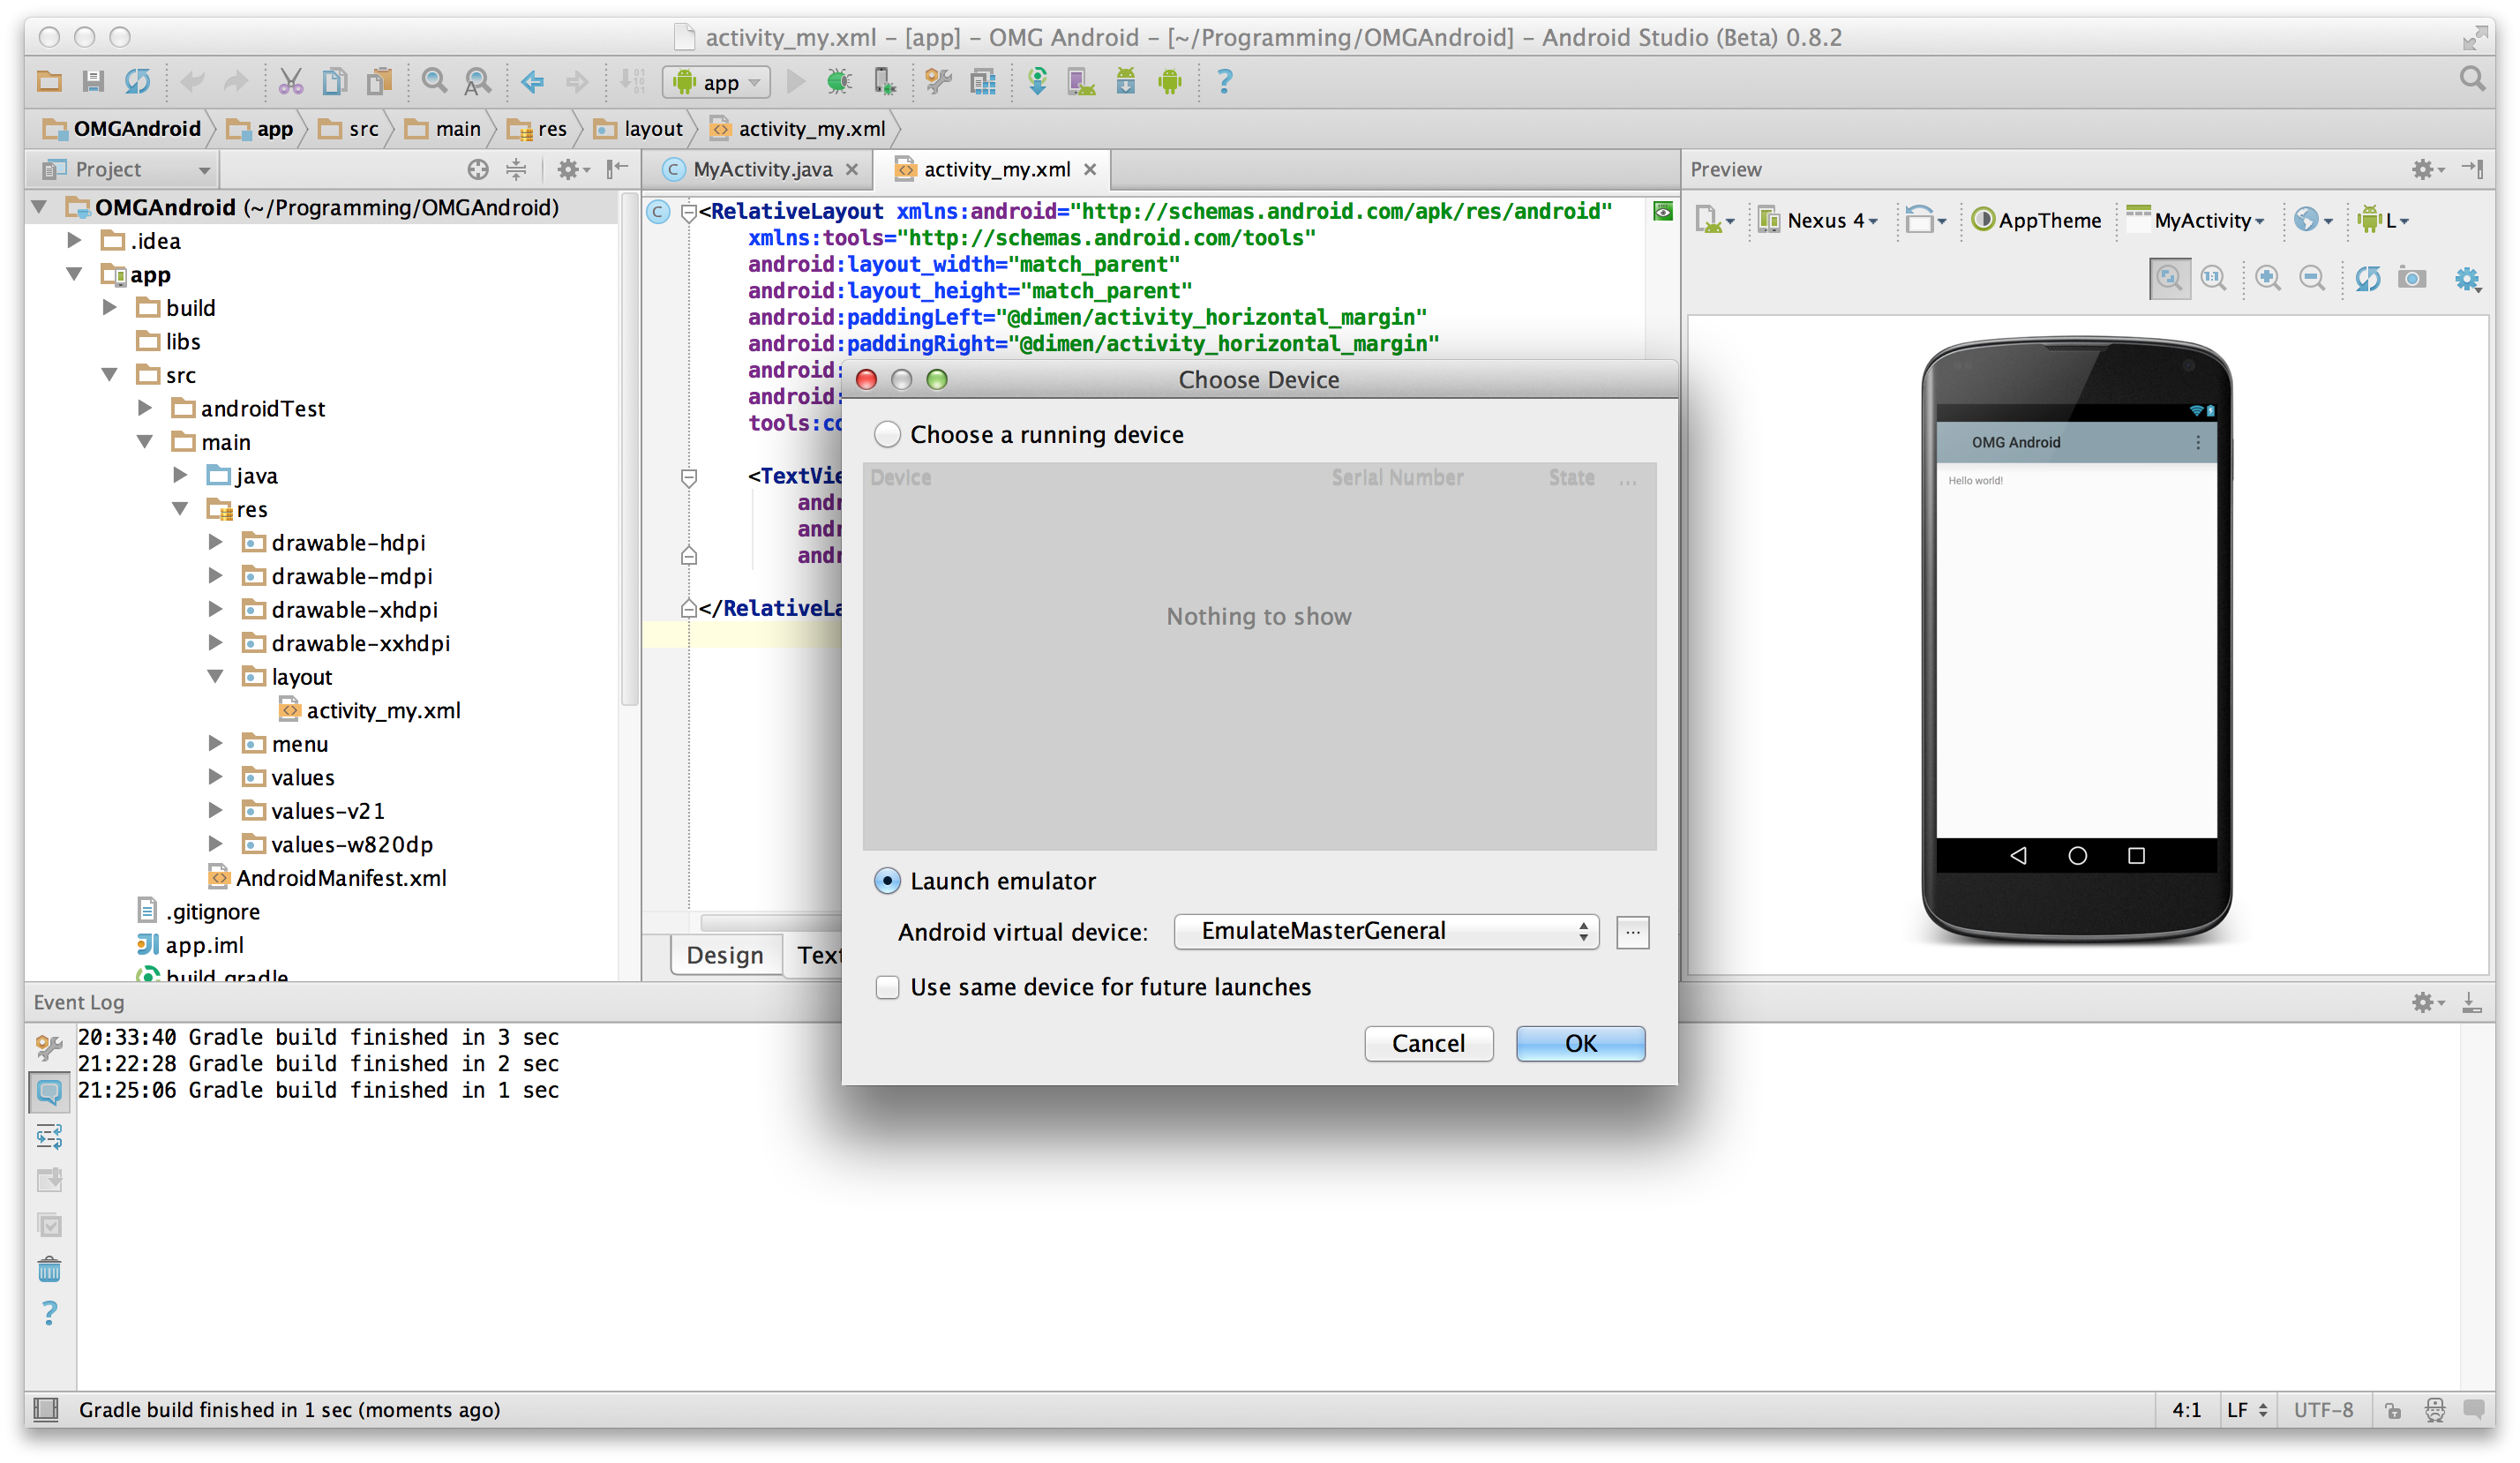
A new window will appear, asking you to choose the device you wish to test your App on. You currently have no devices running, so select the Nexus S you just created.
Ensure the Launch Emulator radio button is checked and that your AVD is selected in the drop down menu then click OK.
Note: If you get an error that says This AVD’s configuration is missing a kernel file!!, check to make sure that you don’t have the ANDROID_SDK_ROOT environment variable set from a previous installation of the Android SDK. See this thread on Stack Overflow for more troubleshooting tips.
In the event that it doesn’t work the first time or takes several minutes for the emulator to fire up correctly, don’t worry, that’s not entirely unexpected. Stick with it. Once it’s ready, you should see something like this:
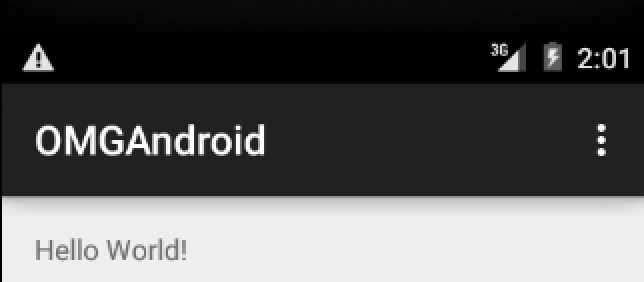
Whoa. You just made your first Android app.

Running on a Device
If you have an Android device and want to run your app on it, follow the animated GIF on the right. It demonstrates how to enable developer mode on your device.
Here are the step-by-step instructions to enable Developer Mode on an Android device:
- Go to Settings on your device.
- Scroll all the way down and select About phone.
- Scroll to Build number and tap in multiple times. You’ll see a toast come up that states “You’re n steps away from becoming a developer”. Keep tapping and it will change to “You’re now a developer!” once it’s enabled.
- Go back to Settings screen and scroll all the way to the bottom. You’ll now see Developer Options enabled.
- Select Developer Options. Next, turn on the USB debugging switch under the Debugging section.
- Connect your device to your computer via USB.
- You’ll now be prompted to confirm this option via a dialog that states Allow USB debugging? — click OK.
- Next, you’ll be asked to register your computer’s RSA key fingerprint. If this is a trusted machine, then check the Always allow from this computer option.
Now that you’ve configured your device, click the Run button.
Next, you’ll get a prompt from the Device Chooser dialog. The device you enabled the developer mode should now appear in this dialog. Select it and click OK.

Ahh…isn’t it rewarding to see the app on your device? Go ahead and show it off to your friends. :]
Importing an Existing Project
During your Android app-making journey, you’ll find times where you need to import existing projects. The steps below will guide you through how to import a project:


- Download this project so you have a test subject.
- Once downloaded, unzip the contents and place them somewhere easy to get to.
- In Android Studio, go to File/New/Import Project….
- A window labeled Select Eclipse or Gradle Project will appear. Select the unzipped project from Step 1 and click OK.
- After Android Studio finishes importing, you’ll be dropped off on the screen below. Select the Project tab on the left panel as indicated in the screenshot below.
- You’ll now see all the necessary files of the imported project in the project explorer.

It’s build and run time! Click the run button in the toolbar and select either the emulator or device you’ve already set up.

Where to Go From Here?
You’ve covered a lot of ground in this beginning Android development tutorial: from downloading and installing Android Studio, through creating your first “Hello World!” app, to deploying it on a physical device!
Keep reading for the next part of the series, where you’ll take a tour of Android Studio.
In the meantime, here are some extra tips to help you get up to speed with Android:
- Follow Android — like any language or framework, Android’s development community is a strong asset and supplier of endless reference. It’s never too soon or too late to start checking out Google I/O videos, following the Android Developers blog or watching DevBytes videos.
- If you’re using Eclipse for Android development and want to transition to Android Studio, Android team has put together a helpful guide to help you make the jump from Eclipse to Android Studio.
The Android robot is reproduced or modified from work created and shared by Google and used according to terms described in the Creative Commons 3.0 Attribution License.
I hope you enjoyed this beginning Android development tutorial — you’ve successfully installed Android Studio and are now ready to take on the world of Android development. If you have any questions or comments, please join the discussion in the comments below.