Procedural Level Generation in Games Tutorial: Part 2
A tutorial on procedural level generation using the Drunkard Walk algorithm. By Kim Pedersen.
Note from Ray: This is a brand new Sprite Kit tutorial released as part of the iOS 7 Feast. Enjoy!
This is the second and final part of the tutorial that teaches you how to implement procedurally generated levels using the Drunkard Walk algorithm.
In the first part of the tutorial, you created the basic level generation and learned how to use Sprite Kit’s build-in physics engine to set up collision detection so the player cannot walk through walls.
Now in Part 2, you’re going to extend your algorithm to generate a more dungeon-like level with more open spaces, allow for the simultaneous creation of multiple paths and include properties to put you in better control of the level generation process.
You will continue where you left off in the first part, so grab the completed project from Part 1 if you do not have it already.
Get ready to level up again!
The FloorMaker Class
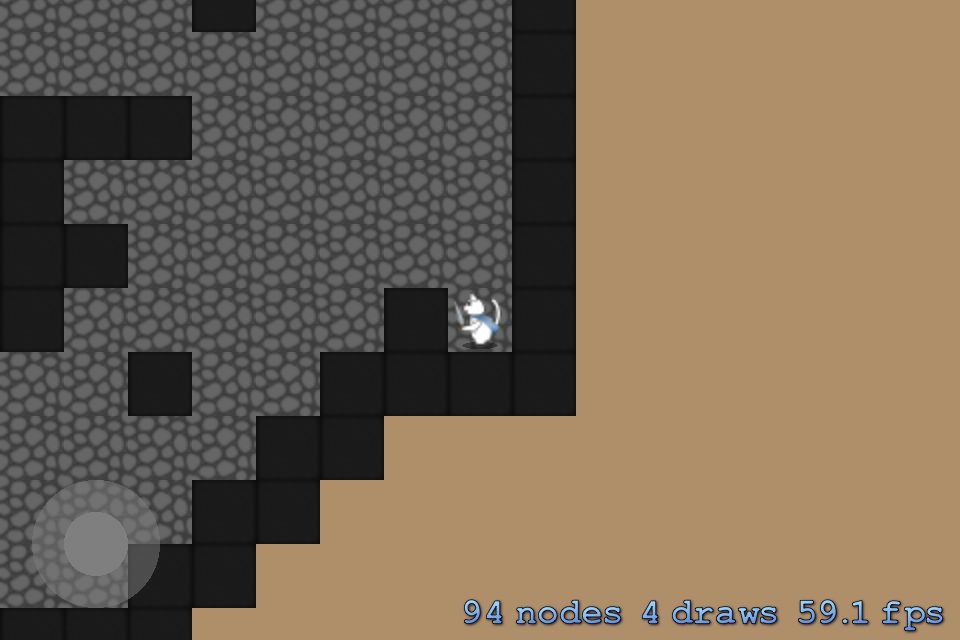
You might have noticed that the levels generated in Part 1 tend to be long, winding corridors. This is obviously not a very interesting level design and makes finding the exit less than a challenge.
That you get long corridors is not surprising. After all, the algorithm you’ve implemented moves one tile in a random direction and then does that again, thereby connecting it to the previous tile positioned. While there is a chance this might generate wide room-like areas, it isn’t likely to do so often enough to create maps that look like dungeons.
Now you’ll modify the algorithm so that it performs several random walks simultaneously. Basically, it will be like throwing all the drunken people out of the bar and asking them to go home.
The map generation needs to track different paths being created at the same time. You’ll do this using an instance of a class named FloorMaker for each path.
Go to File\New\New File…, choose the iOS\Cocoa Touch\Objective-C class template and click Next. Name the class FloorMaker, make it a subclass of NSObject and click Next. Be sure the ProceduralLevelGeneration target is selected and then click Create.
Open FloorMaker.h and add the following code between @interface and @end:
@property (nonatomic) CGPoint currentPosition;
@property (nonatomic) NSUInteger direction;

- (instancetype) initWithCurrentPosition:(CGPoint)currentPosition andDirection:(NSUInteger)direction;
Now open FloorMaker.m and implement the initializer method:
- (instancetype) initWithCurrentPosition:(CGPoint)currentPosition andDirection:(NSUInteger)direction
{
    if (( self = [super init] ))
    {
        self.currentPosition = currentPosition;
        self.direction = direction;
    }
    return self;
}
FloorMaker is fairly simple. It has two properties to keep track of the current position and direction, and an initializer that allows you to set these properties when you create an instance of the class.
With the FloorMaker class in place, you can move on to using it in the map generation.
Running the FloorMaker
The first step is to import FloorMaker into Map.m. Add the following code after the existing #import pre-processor directives:
#import "FloorMaker.h"
You’ll refactor generateTileGrid to use multiple FloorMaker objects simultaneously, but you’ll do so in stages. First, make the following modifications so that it uses a single FloorMaker.
Inside generateTileGrid, replace this line:
CGPoint currentPosition = startPoint;
With this one:
FloorMaker* floorMaker = [[FloorMaker alloc] initWithCurrentPosition:startPoint andDirection:0];
You no longer need to store the current position in a local variable, because each FloorMaker will store its own current position. So you delete the currentPosition and add a variable named floorMaker, initialized at startPoint.
Now that you’ve deleted currentPosition, replace each use of currentPosition with floorMaker.currentPosition. Don’t worry, Xcode will give you errors to help you find them. ;]
Next, replace this line:
NSInteger direction = [self randomNumberBetweenMin:1 andMax:4];
With this one:
floorMaker.direction = [self randomNumberBetweenMin:1 andMax:4];
Just as you replaced the local variable currentPosition with floorMaker.currentPosition, here you replace the local variable direction with floorMaker.direction, and for the same reason.
Finally, modify the switch check to use floorMaker.direction instead of the local variable direction.
Build and run, and the app should run exactly as it did before.

Now you’ll change Map to support using multiple FloorMakers. Add the following property to the Map class extension in Map.m:
@property (nonatomic) NSMutableArray *floorMakers;
The floorMakers array holds a reference to all active FloorMakers.
Then go back to generateTileGrid and make the following changes to use the floorMakers array instead of a local FloorMaker object.
Replace the following lines:
NSUInteger currentFloorCount = 1;
FloorMaker* floorMaker = [[FloorMaker alloc] initWithCurrentPosition:startPoint andDirection:0];
With these:
__block NSUInteger currentFloorCount = 1;
self.floorMakers = [NSMutableArray array];
[self.floorMakers addObject:[[FloorMaker alloc] initWithCurrentPosition:startPoint andDirection:0]];
You add the __block type specifier to the currentFloorCount declaration so that you can modify its value from within an Objective-C block, which you’ll be doing shortly. You remove the local floorMaker variable and instead initialize the Map‘s floorMakers property with a mutable array containing a single FloorMaker object. Later, you’ll be adding more FloorMakers to this array.
Modify the contents of the while loop in generateTileGrid as follows:
while ( currentFloorCount < self.maxFloorCount ) {
  [self.floorMakers enumerateObjectsUsingBlock:^(id obj, NSUInteger idx, BOOL *stop) {
  FloorMaker *floorMaker = (FloorMaker *)obj;

  {
    //...
    // original contents of the while loop HERE
    //...
  }
 }];
}
This changes the method so that it iterates over the objects in the floorMakers array and performs the Drunkard Walk for each one.
Eventually you'll have more than one FloorMaker running, but you can only have one exit point. In order to ensure that the last floor tile the game creates becomes the exit, move the line that sets _exitPoint from where it is now to immediately after the currentFloorCount++; line. This simply assigns the _exitPoint after the game creates all the floor tiles, and the final tile created becomes the exit point.
Once again, build and run, and note that things seem unchanged.

Allowing for Multiple Paths
While the map generation works, it is still only running one instance of the FloorMaker at any given time, so the levels that are produced are very similar to what you got in Part 1 of the tutorial. Since the idea of the FloorMaker is to have many of them, you're now going to change the generateTileGrid method slightly to allow generation of more FloorMakers.
Back in generateTileGrid, add the following code at the end of the block, just before the closing brace and bracket }]:
if ( [self randomNumberBetweenMin:0 andMax:100] <= 50 )
{
    FloorMaker *newFloorMaker = [[FloorMaker alloc] initWithCurrentPosition:floorMaker.currentPosition andDirection:[self randomNumberBetweenMin:1 andMax:4]];

    [self.floorMakers addObject:newFloorMaker];
}
This code adds a 50% chance that a new FloorMaker will be created at each step of a FloorMaker. Notice that the code creates newFloorMaker with a position equal to the current position of the current FloorMaker, but with a random direction.
Build and run again. Notice anything odd?
There are two issues here. First, the algorithm now generates much wider rooms, rather than long corridors. You'll make some changes later to influence the types of maps it creates, so ignore this issue for now.
The second problem is easy to miss, but if you generate a few maps and count the floor tiles, you'll find your app no longer respects the maxFloorCount value. It will actually produce some number of floor tiles between maxFloorCount and maxFloorCount + the number of floorMakers - 1. That's because the while loop in generateTileGrid checks to see if the you've created enough walls before it iterates over floorMakers.
For example, if you had a current value of 62 tiles, a max of 64 and 10 FloorMakers, you would pass the check to enter the while loop, but then you'd produce up to 10 additional floor tiles when you iterated over floorMakers.
To fix this, find the following if check in generateTileGrid that validates newPosition prior to adding a floor type:
      if([self.tiles isValidTileCoordinateAt:newPosition] &&
         ![self.tiles isEdgeTileAt:newPosition] &&
         [self.tiles tileTypeAt:newPosition] == MapTileTypeNone)
And add an additional check to validate currentFloorCount, like this:
      if([self.tiles isValidTileCoordinateAt:newPosition] &&
         ![self.tiles isEdgeTileAt:newPosition] &&
         [self.tiles tileTypeAt:newPosition] == MapTileTypeNone &&
         currentFloorCount < self.maxFloorCount)
Now when you run, you'll get exactly maxFloorCount floor tiles. Go ahead and count them!
While you are getting close to having a true procedurally generated level, there is still one major disadvantage: The only thing you are able to control is how big you want the level to be. Is that really enough? Wouldn't it be great if you could control if you wanted a level with big open spaces or a level with long narrow corridors? I bet it would! It’s all about the properties, baby.