Core Graphics Tutorial: Patterns
Learn how to use Core Graphics to draw patterns in a performant way. By Michael Katz.
Core Graphics is a powerful, yet friendly, set of APIs for drawing in a UIKit application. In addition to primitives like shapes and gradients, with Core Graphics you can code up patterns. Core Graphics Patterns are an arbitrary sets of graphics operations that can be tiled to fill an area. You can create magnificent backgrounds for your apps using repeated shapes. Core Graphics Patterns are a performant way to scale a drawing to fill any shape on the screen.
In this tutorial, you’ll learn how to use Core Graphics to do the following:
- Create a path-based drawing.
- Draw a pattern.
- Transform the pattern.
- Use patterns to finish a pattern recognition game called Recall.
Getting Started
Start by clicking the Download Materials button at the top or bottom of this tutorial. Build and run the starter app. You’ll see this (colors and letters may vary):
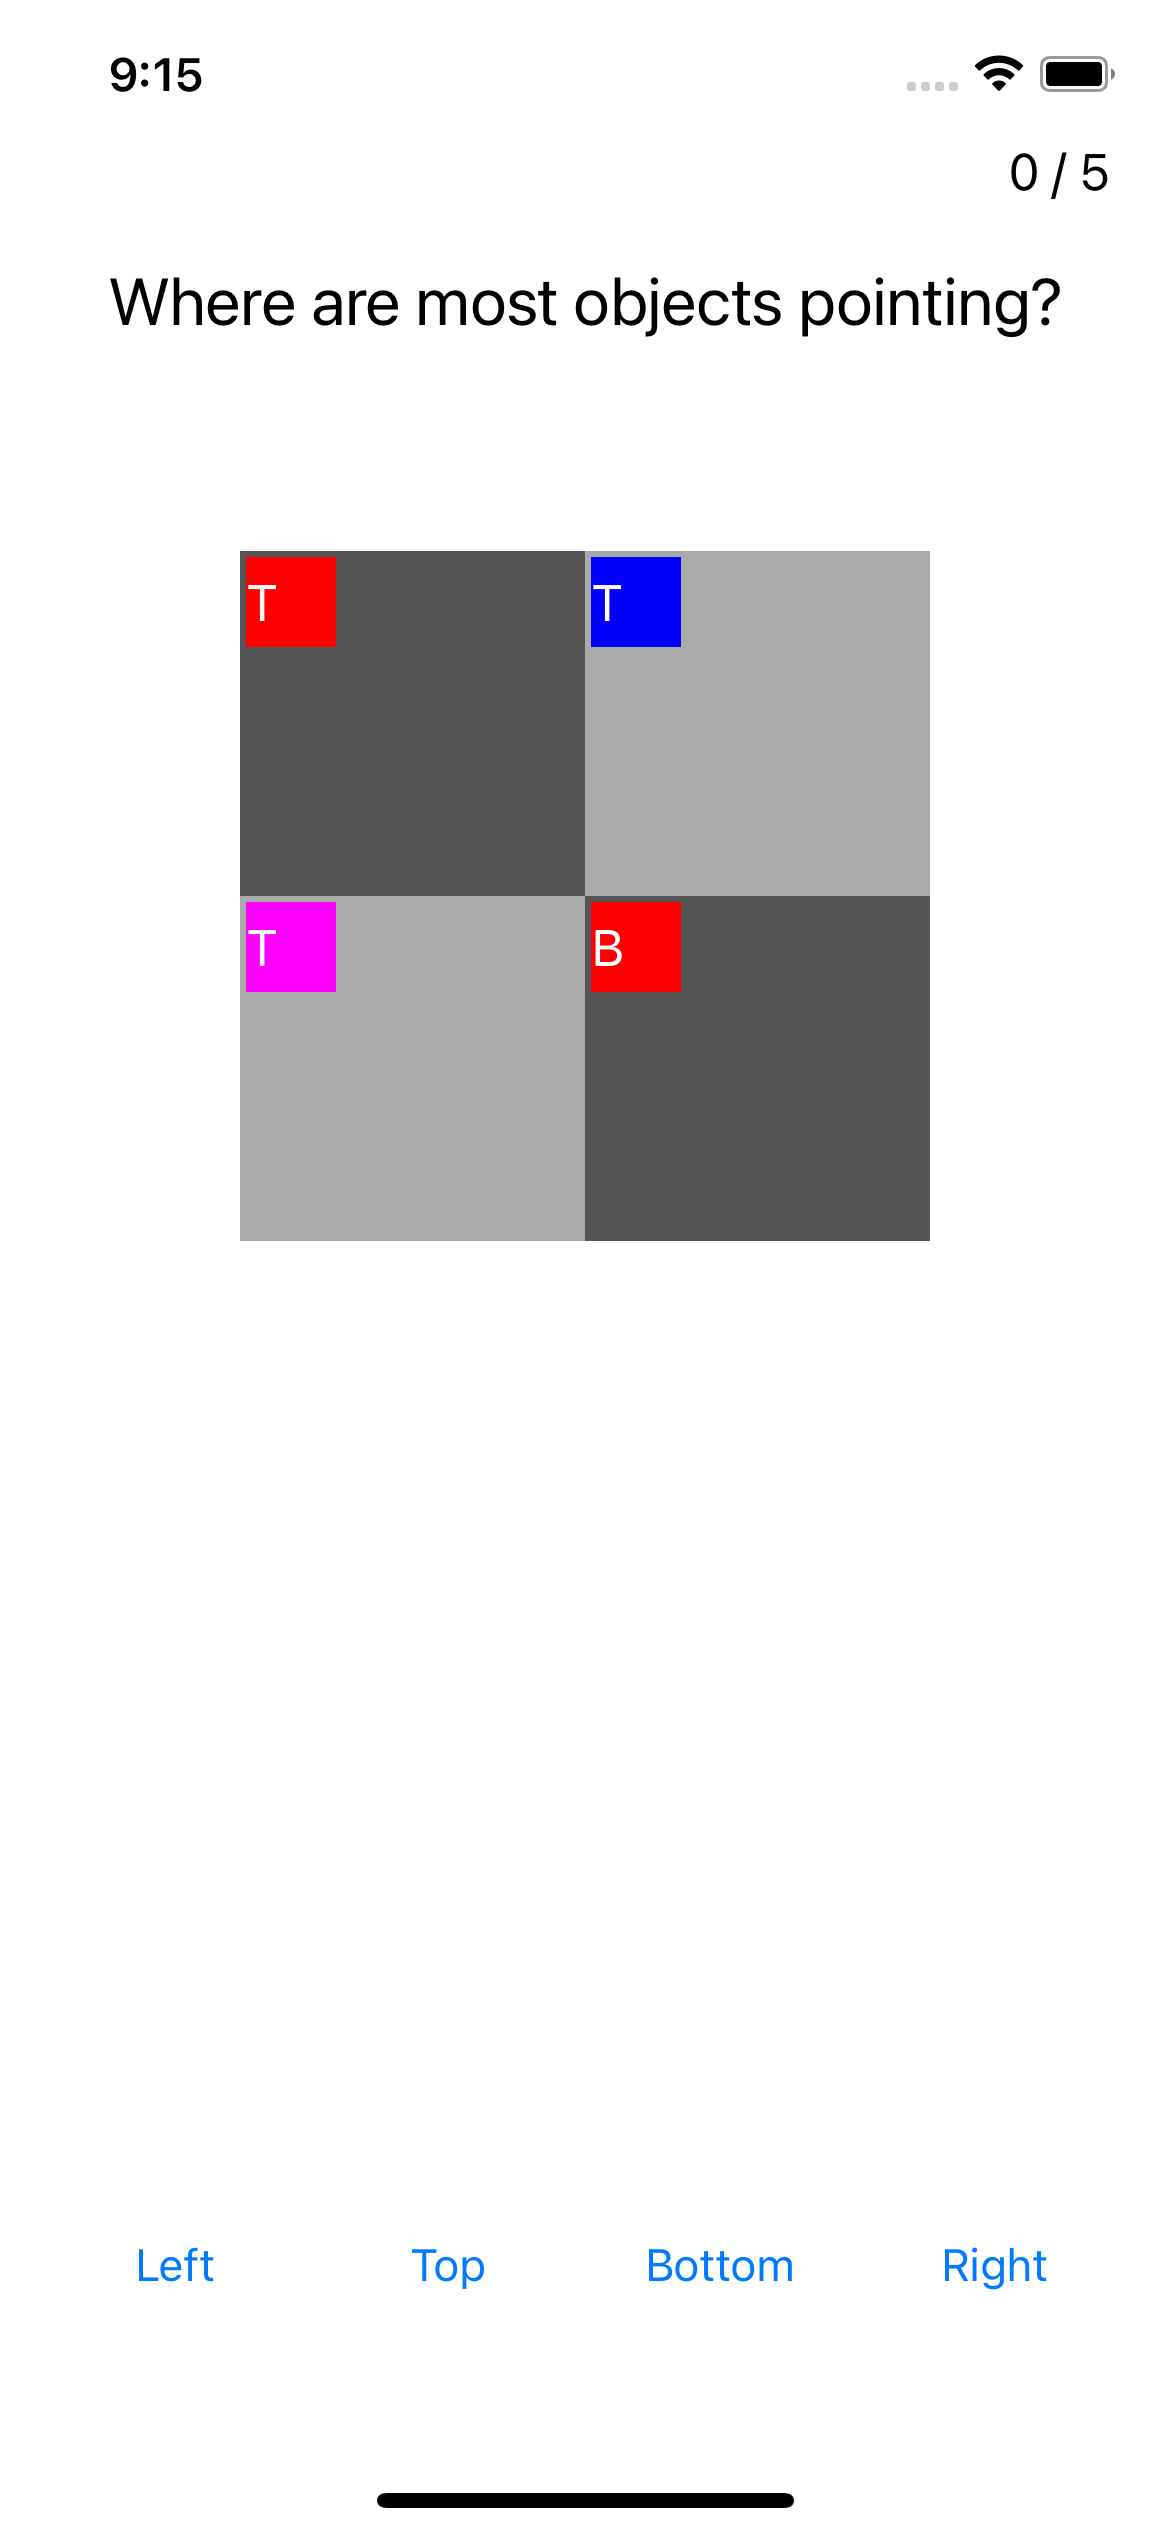
Recall takes inspiration from a game in the Left vs Right brain training app. The goal of the game is to choose the most popular direction for objects in view. A new set of objects displays once you make a choice. You have five attempts before the game ends.
Recall groups pattern objects in four quadrants. Each quadrant in the starter app has a label. The text represents the direction and the background color represents the fill color.
As a starting point, the game is rather underwhelming. :[

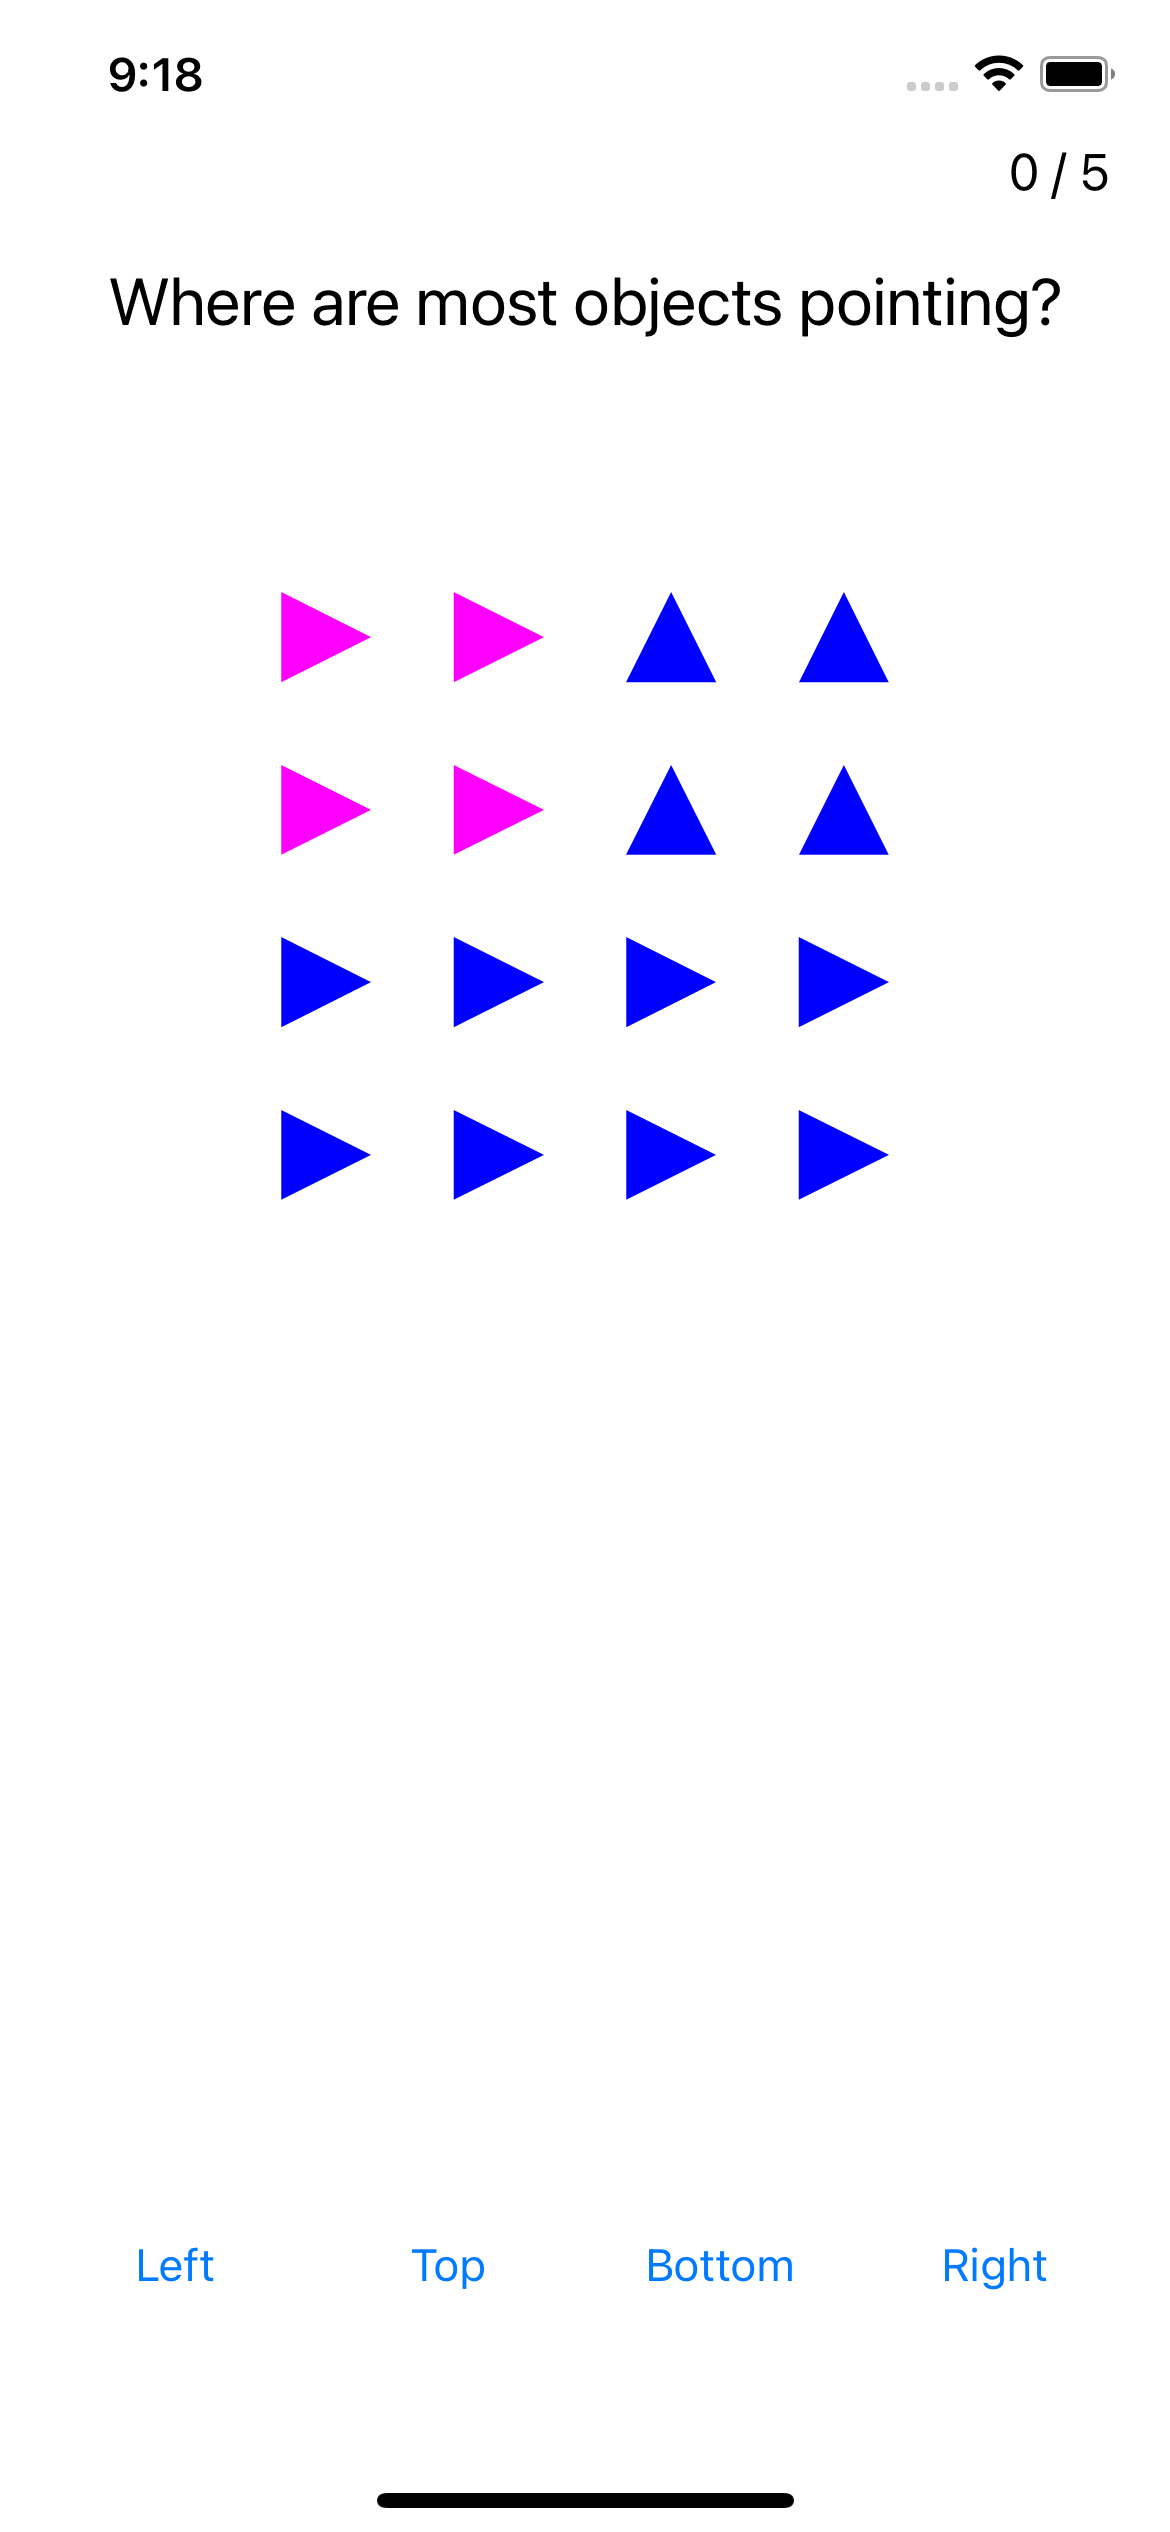
Your task is to use Core Graphics patterns to turn this sad app into the finished app below:
Look at the project in Xcode. These are the main files:
- GameViewController.swift: Controls the gameplay and displays the game view.
- ResultViewController.swift: Displays the final score and a button to restart the game.
- PatternView.swift: Displays the pattern view for one of the quadrants in the game view.
Toward the end of this tutorial, you’ll enhance PatternView to display the desired pattern.
For starters, you’ll prototype your new and improved PatternView in a Playground. This allows you to iterate much faster while learning the ins and outs of Core Graphics patterns. Once you’re done, you’ll transfer the relevant code over to the Recall starter project.
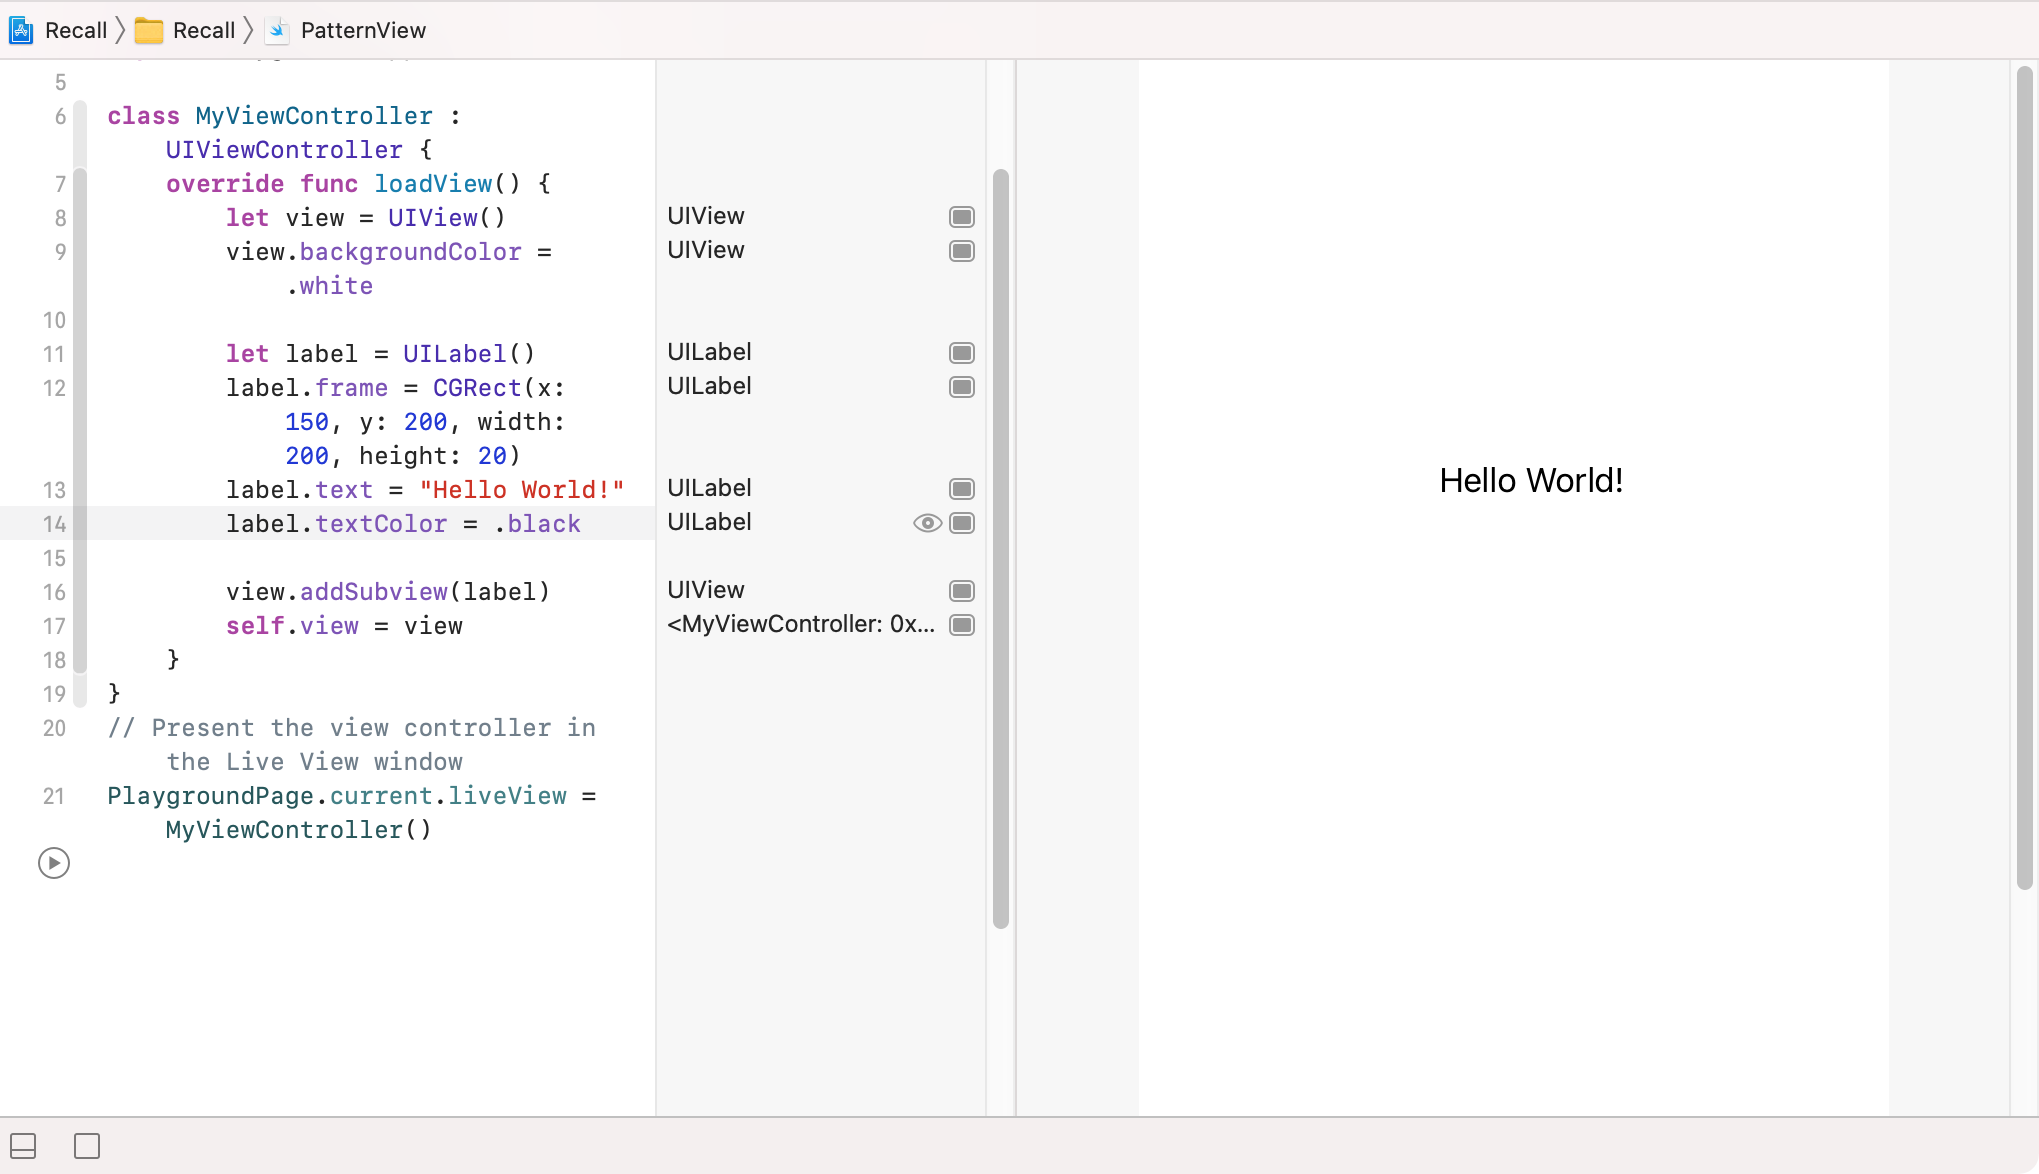
In Xcode, go to File ▸ New ▸ Playground…. Select the Single View template. Click Next, name the playground PatternView.playground, add it to the Recall workspace and the Recall folder group and click Create. Your playground contains a view controller with a single view.
Select Editor ▸ Run Playground to execute the playground. Click Show the Assistant Editor to display your starter view. It displays the iconic “Hello World!” result:
As you go through the next sections, you’ll replace the starter view with your pattern view. Time to get started!
Understanding the Anatomy of a Pattern
In our previous Core Graphics tutorials, you’ve seen how to define and paint paths like this:

A path is a set of instructions describing a shape. The example above shows you stroking the path on the left with a black line. The path on the right has been stroked with black and filled in with orange.
Using Core Graphics, you can also stroke or fill a path with a pattern. The example below shows a colored pattern filling out a path:
Setting up the Pattern
You set up a pattern by doing the following:
- Write a method that draws an individual pattern cell.
- Create a pattern with parameters that include how to draw and place an individual cell.
- Define the color information that your pattern will use.
- Paint the desired path with the pattern you created.
Now, check out a slightly different pattern cell with extra padding. The thin black border shows the bounds of the cell:

You will write a draw method that draws within the bounds of the cell. Core Graphics clips anything drawn outside the cell bounds. Core Graphics also expects you to draw the pattern cell exactly the same way each time.
Your draw method can apply color when setting up your pattern cell. This is a colored pattern. An uncolored or masking pattern is one where you apply the fill color outside of the draw method. This gives you the flexibility to set up your pattern colors where it makes sense.
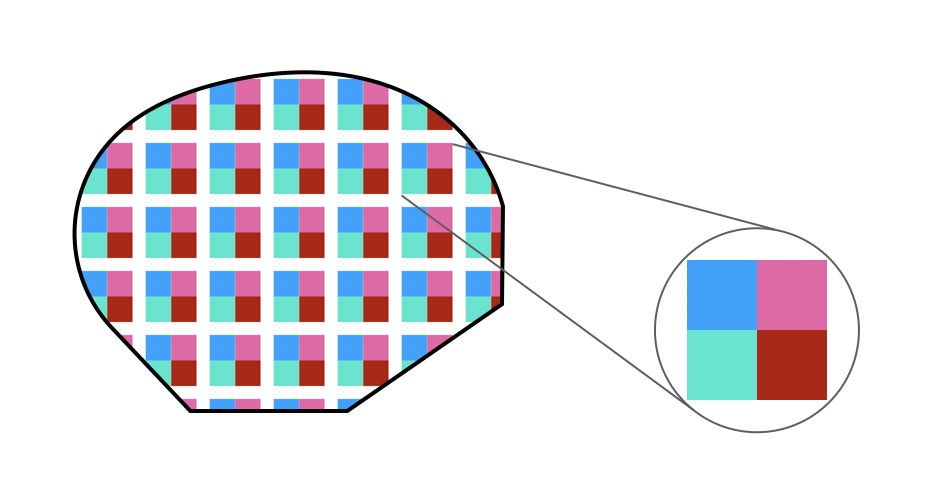
Core Graphics calls your draw method repeatedly to set up your pattern. The pattern creation parameters define what the pattern looks like. The example below shows a basic repeated pattern with the cells lining up right next to each other:

You can specify the spacing between the pattern cells when you configure the pattern:

You can also apply transformations to change the pattern’s appearance. The pictures below show the pattern drawn inside a space represented by the fuzzy border:
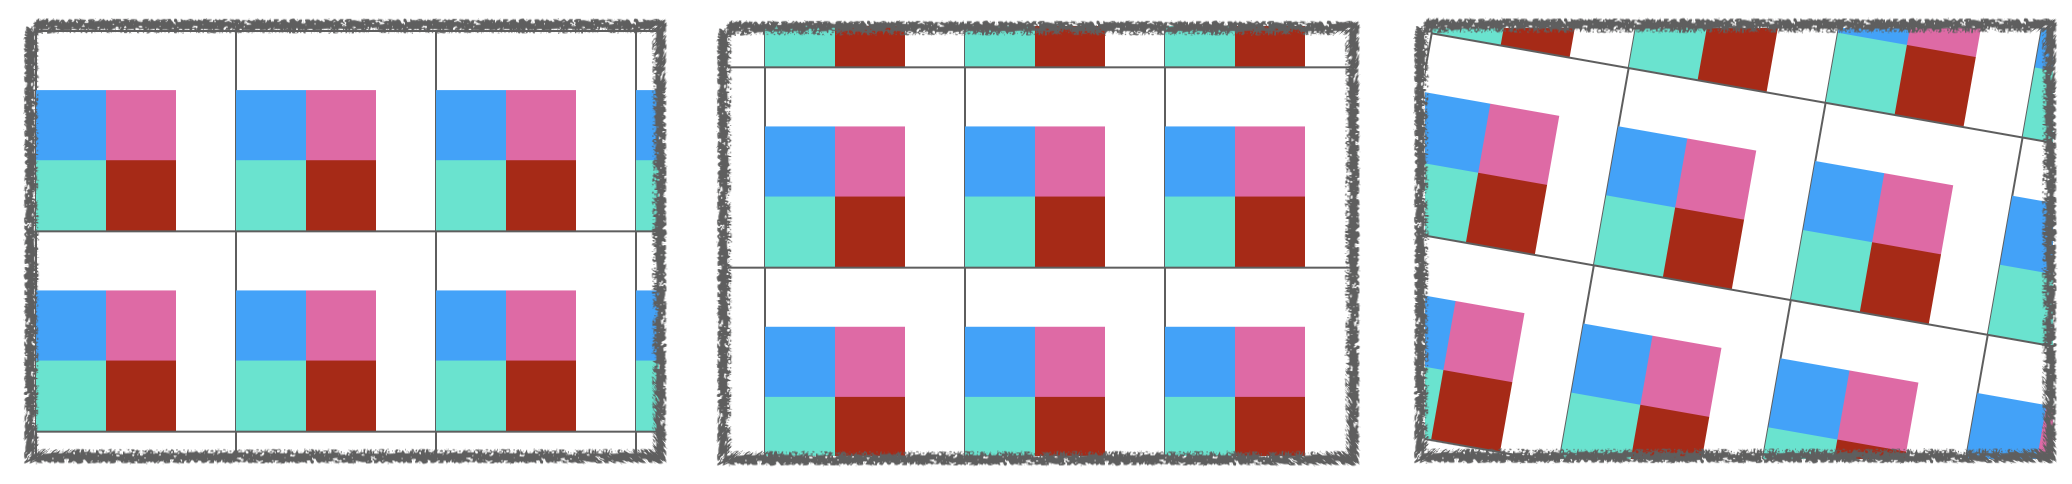
The first shows an unchanged pattern. In the second, you see a translated pattern. The third shows the pattern rotated. Again, the black border around the pattern cells highlights its bounds.
You have a lot of options available when configuring a pattern. You’ll start putting all this together in the next section.
Creating the Pattern View
Add the following code before the view controller class in PatternView.playground:
class PatternView: UIView {
  override func draw(_ rect: CGRect) {
    // 1
    guard let context = UIGraphicsGetCurrentContext()
    else { return }
    // 2
    UIColor.orange.setFill()
    // 3
    context.fill(rect)
  }
}
This represents the custom view for your pattern. Here, you override draw(_:) to do the following:
- Get the view’s graphics context.
- Set the current fill color for the context.
- Fill the entire context with the current fill color.
Think of the graphics context as a canvas you can draw on. The context contains information such as the color that will fill in or stroke a path. You can draw out paths in your canvas before painting them in with a context’s color information.
Inside MyViewController, replace the code in loadView() related to label with the following:
let patternView = PatternView()
patternView.frame = CGRect(x: 10, y: 10, width: 200, height: 200)
view.addSubview(patternView)
This creates an instance of the pattern view, sets its frame and adds it to view.
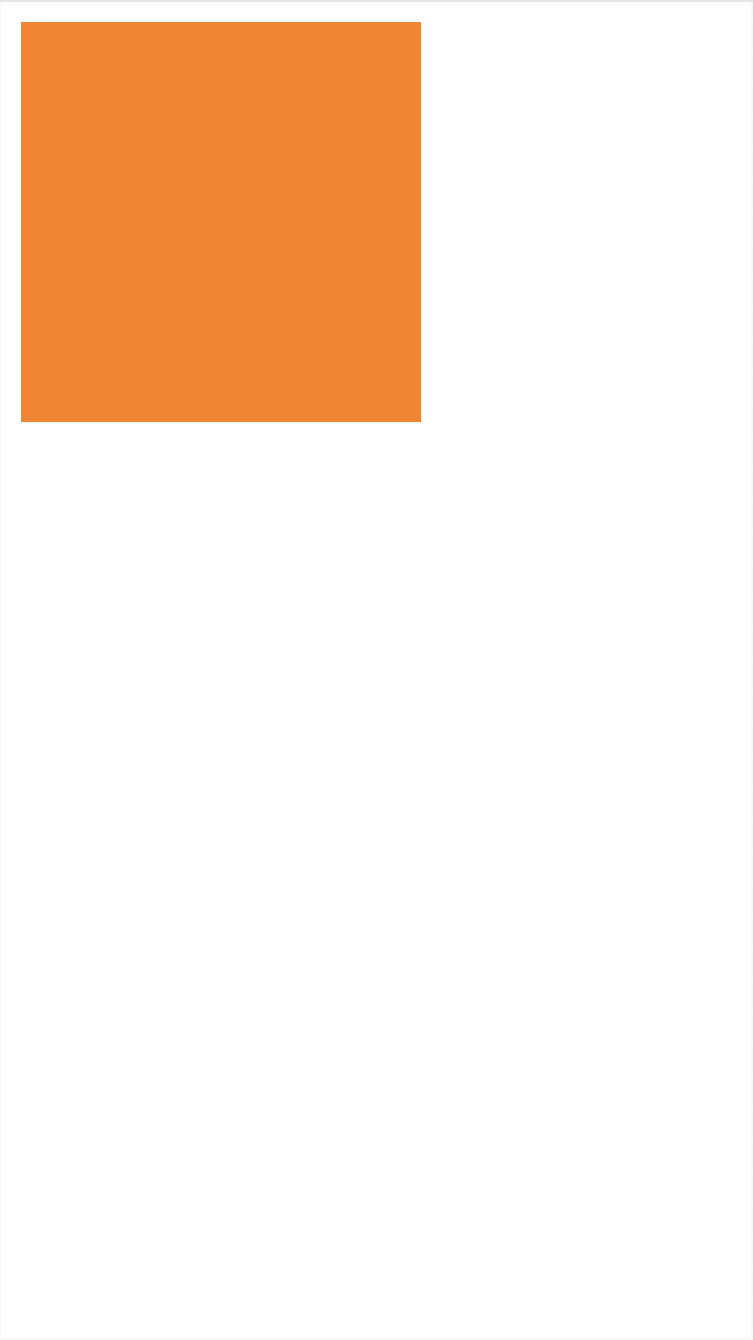
Press Shift-Command-Return to run the playground. The previous label is gone and replaced with an orange subview:
Coloring is just the beginning of the journey. You know there’s more where that came from!