TCP Server With the SwiftNIO Networking Framework
Mobile developers often work with REST APIs or other networking protocols in their applications to access data or to coordinate activities. In this tutorial you will create a Swift Server with SwiftNIO, a low-level networking framework that makes creating TCP servers easier than before. By David Okun.
Running the iOS Client
In the starter project, go to the Mobile/ directory and open up the swift-nio-qotd-client.xcodeproj file. In Xcode, run this on a simulator of your choosing. However, don’t run this on a device, as you won’t easily be able to connect with a local server connection on your machine from your device.
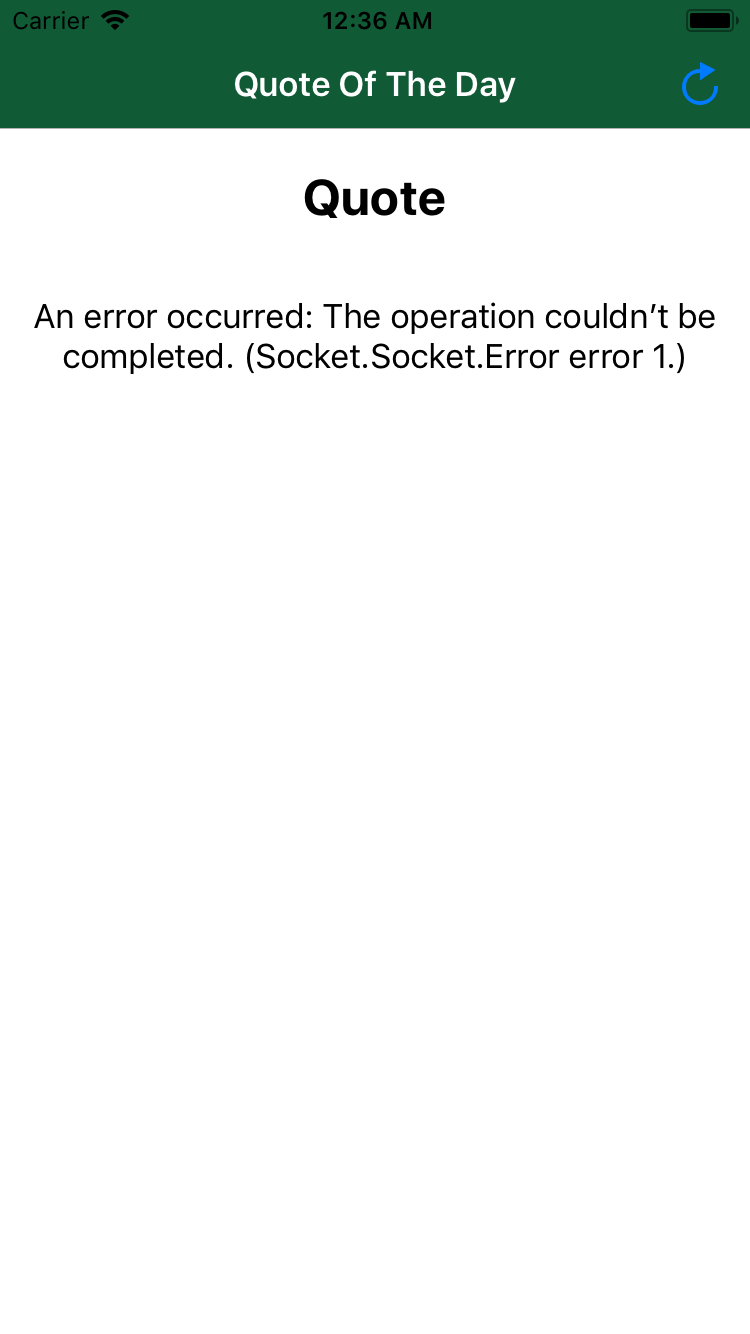
When the simulator boots up, tap the refresh icon in the upper right-hand corner of the screen. You should see the following error underneath the Quote heading:
Fear not! This is normal.
Fear not! This is normal.
Keep this simulator open, but minimize it on your machine. You’ll come back to this later when you get your server up and running.
Setting Up Your Server Project
Open Terminal and navigate to the root directory of the starter project. Enter the following commands:
cd Server/
swift build
swift package generate-xcodeproj
open QOTD-NIO.xcodeproj
swift build above: rm -rf .build && unset PKG_CONFIG_PATH && swift build
Once Xcode opens, go to the top of the window and, in the scheme selector, select QOTD-NIO and My Mac like so:
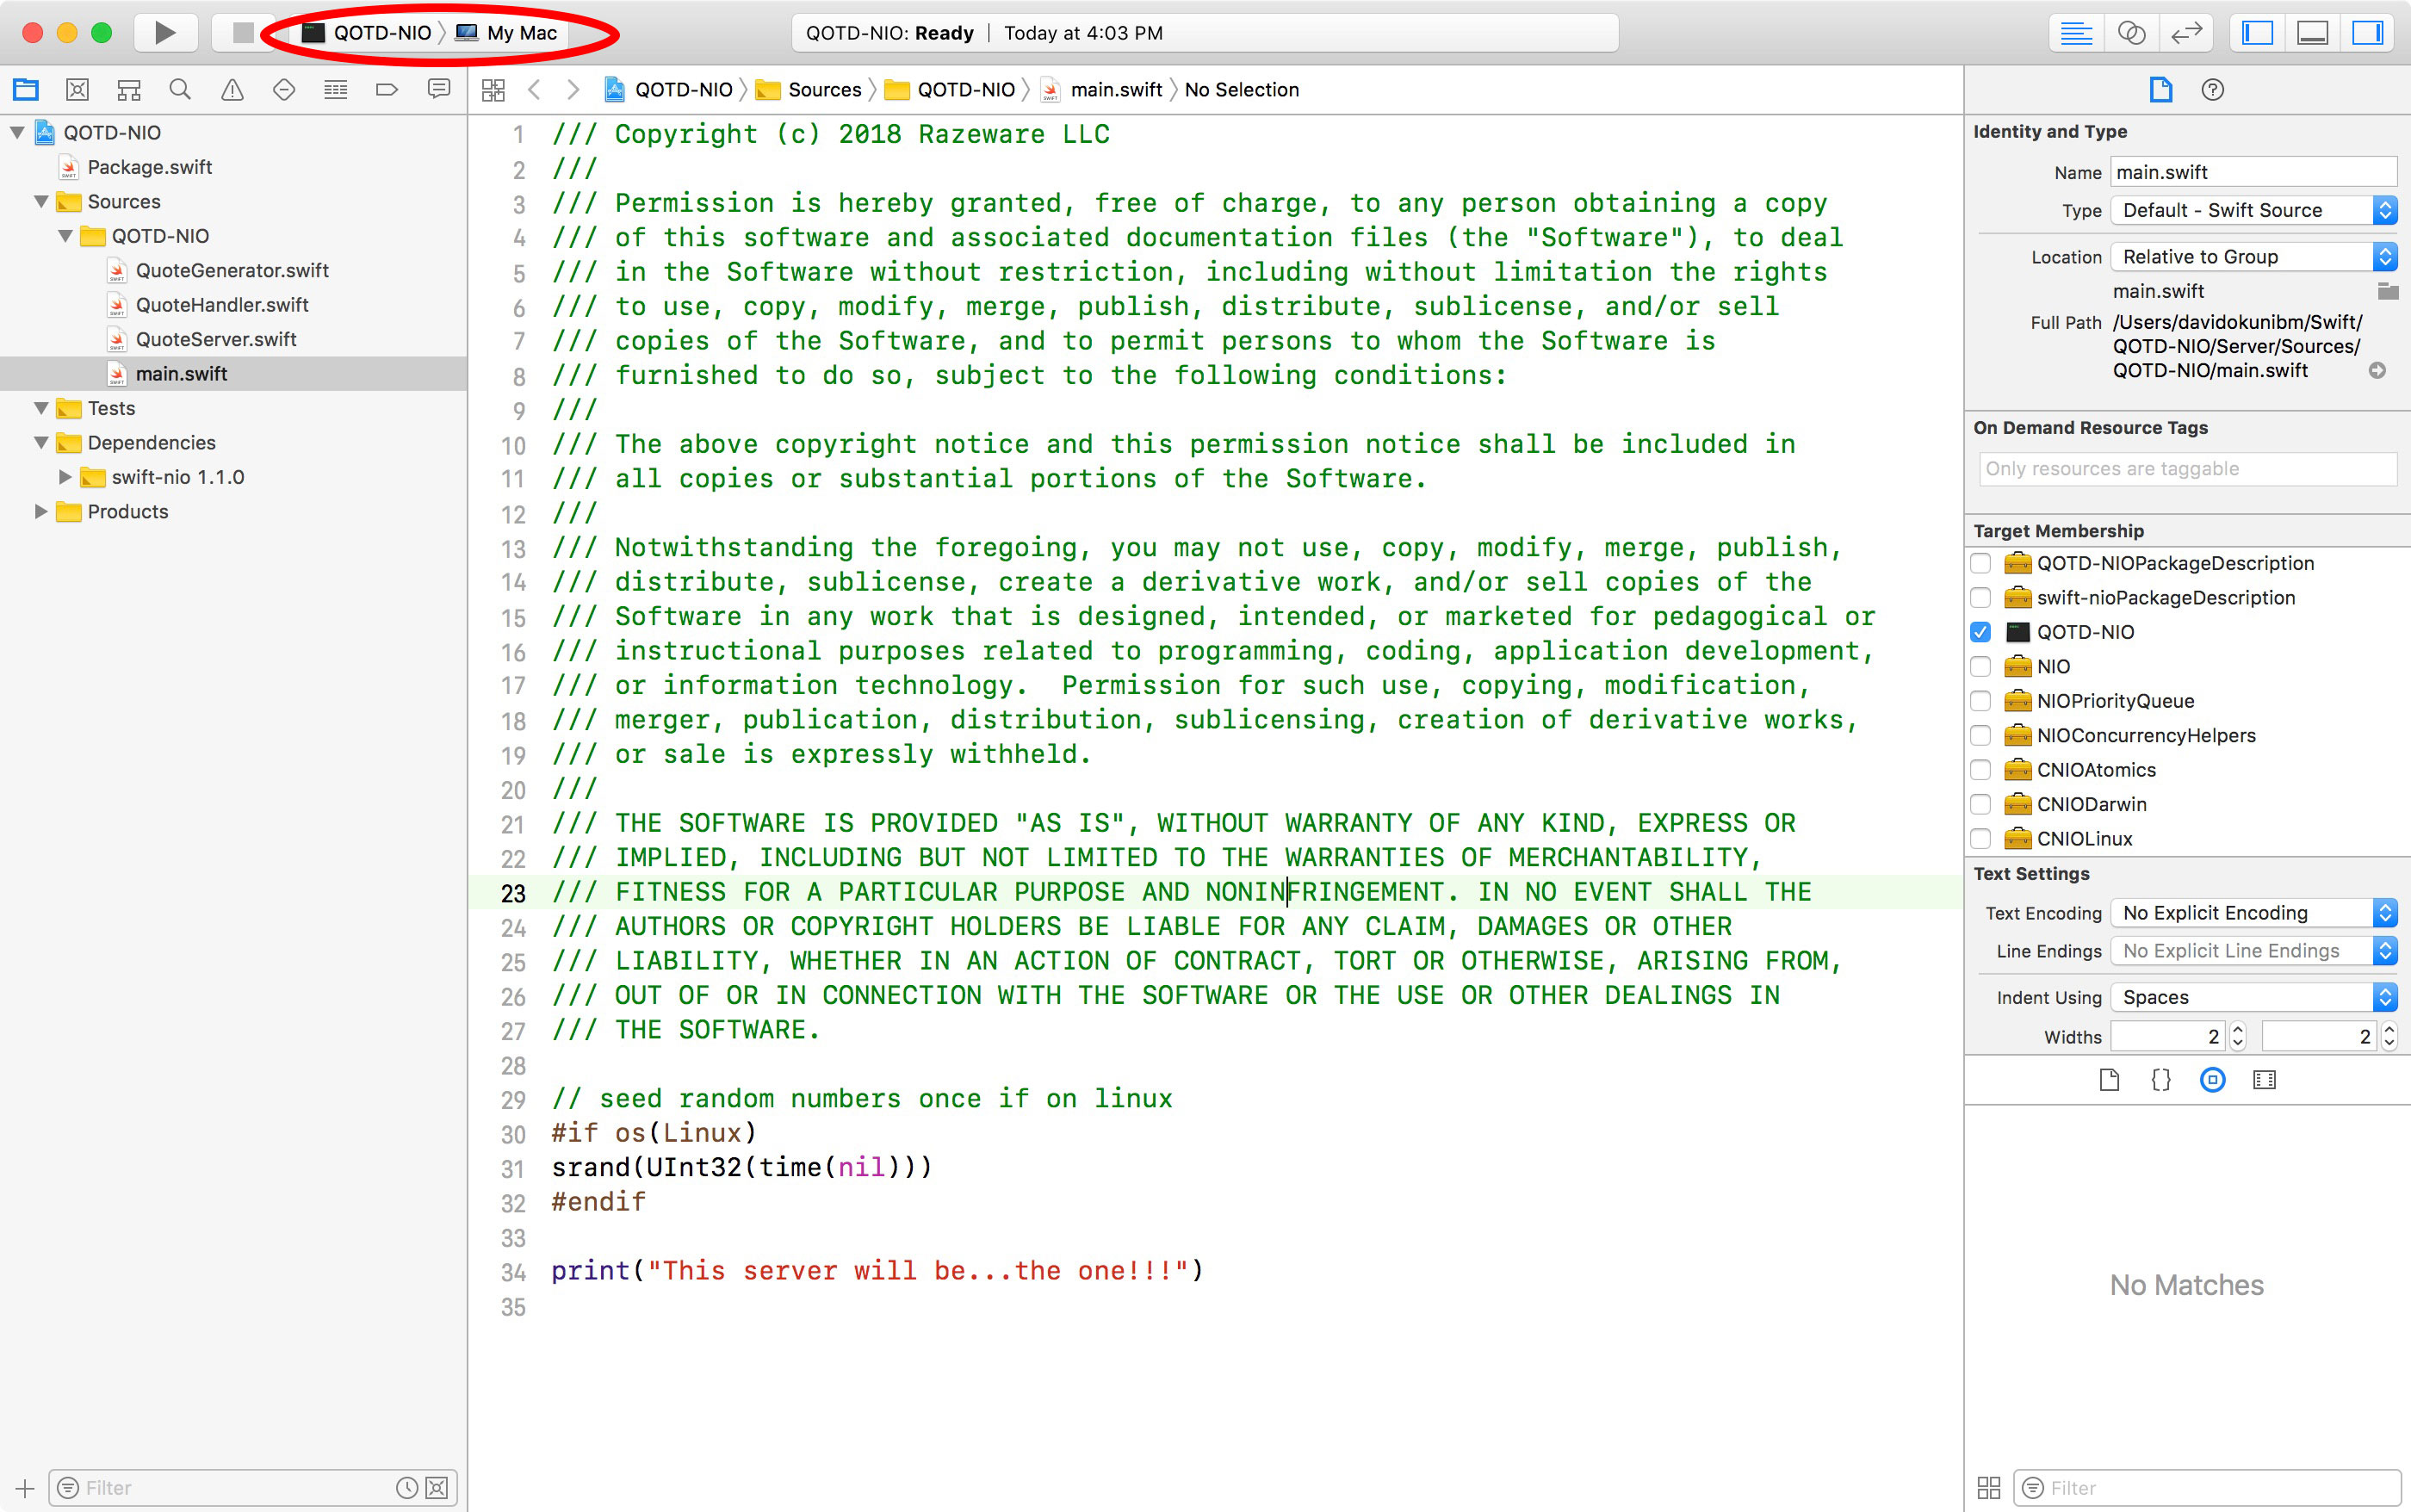
Build and run the project. At the bottom of the debugger, you should see a single printed message: This server will be… the one!!! If you see this, you’re ready to dive in.
Bootstrapping a Server
In Xcode, open QuoteServer.swift. This is where you’re going to set up your server to bind to a port.
Replace the code in this file with the following:
import Foundation
// 1
import NIO

enum QOTDError: Error {
  case invalidHost
  case invalidPort
}

public class QuoteServer {
  // 2
  private let group = MultiThreadedEventLoopGroup(numThreads: System.coreCount)
  private var host: String?
  private var port: Int?

  init(host: String, port: Int) {
    // 3
    self.host = host
    self.port = port
  }
}
What this code is doing:
- You import the NIO module in this class — you won’t get far without it!
- You specify a
MultiThreadedEventLoopGroupwhen you run your server, as you learned earlier. You can run as many threads as your system will allow you here — use theSystemAPI for this. - You set the host and port the server will listen on. You could perform validation logic on your host and port here, if needed.
Now, you’ll add a private variable for an object that you need called a ServerBootstrap. Think of this class as a helper class that sets up a server for you to serve information that you delegate. Inside your class declaration, but below init(host:port:), add this:
private var serverBootstrap: ServerBootstrap {
  // 1
  return ServerBootstrap(group: group)
    .serverChannelOption(ChannelOptions.backlog, value: 256)
    // 2
    .serverChannelOption(ChannelOptions.socket(SocketOptionLevel(SOL_SOCKET), SO_REUSEADDR), value: 1)
    .childChannelInitializer { channel in
      // 3
      channel.pipeline.add(handler: BackPressureHandler()).then { v in
        // 4
        channel.pipeline.add(handler: QuoteHandler())
      }
    }
    // 5
    .childChannelOption(ChannelOptions.socket(IPPROTO_TCP, TCP_NODELAY), value: 1)
    .childChannelOption(ChannelOptions.socket(SocketOptionLevel(SOL_SOCKET), SO_REUSEADDR), value: 1)
    .childChannelOption(ChannelOptions.maxMessagesPerRead, value: 16)
    .childChannelOption(ChannelOptions.recvAllocator, value: AdaptiveRecvByteBufferAllocator())
}
Looking at the code above:
- You assign the bootstrap a
MultiThreadedEventLoopGroup— it needs to know which run loops to utilize on your machine. - You specify you want your channel — or your communication pipe — to connect with a networking socket available on your machine and to reuse the local address on your machine (REUSEADDR).
- Once communications come through the bootstrap, the channels that are the children of this bootstrap also need work to do — the
BackPressureHandler()basically ensures that reading a new request only happens as fast as the server is writing a response. - You then specify that you want to write your own custom class to handle incoming communication from the outside world — you’ll work on this class shortly.
- Finally, you specify that your server will operate on TCP and that you won’t delay the sending of any packets of information as a response.
Build and run your project. You should see the same result as before. You still have a few more steps to complete your working QOTD server.
Handling Incoming Requests With ChannelInboundHandler
In Xcode, open QuoteHandler.swift. Notice you already have a stubbed class that conforms to ChannelInboundHandler. This protocol gives you access to a series of methods that handle communication with the associated ServerBootstrap you set up. You’ll implement two of these shortly.
Notice the following two lines are already in the class:
public typealias InboundIn = ByteBuffer
public typealias OutboundOut = ByteBuffer
These are convenience typealiases that are required to declare to conform to ChannelInboundHandler so you can specify what kind of data comes into and out of your handler. You’re using ByteBuffer, which stores contiguously allocated raw bytes of data. This is straight-forward to work with when you’re writing a String to your response, as you’ll soon see.
Inside your class and underneath your typealias declarations, add the following:
// 1
func channelRegistered(ctx: ChannelHandlerContext) {
  print("Incoming connection registered - sending Quote of the Day")
  // 2
  let quote = QuoteGenerator.get()
  // 3
  var buffer = ctx.channel.allocator.buffer(capacity: quote.utf8.count)
  // 4
  buffer.write(string: quote)
  print("Sending quote")
  // 5
  ctx.writeAndFlush(self.wrapOutboundOut(buffer)).whenComplete {
    print("Closing connection")
    // 6
    ctx.close(promise: nil)
  }
}

// 7
public func errorCaught(ctx: ChannelHandlerContext, error: Error) {
  print("error: ", error)
  ctx.close(promise: nil)
}
Let’s take a look at what you’ve just added:
-
channelRegisteredis one of the methods inChannelInboundHandler. Since you want to send a quote as a response when a connection is a requested, this method is quite convenient. - You get a random quote from
QuoteGenerator, a class that’s been provided for you that selects a quote from an array of them. Feel free to add any others you like. - You get a handle for your response byte buffer from the incoming channel (communication pipe).
- You write your quote, which is a
string, to the response buffer. - Now that you’ve written to your buffer, you need to write the buffer to the channel, and then flush the communication pipe. Whatever you flush down the pipe is going to come out the other end, but this doesn’t guarantee the next line of code you write will wait for that to finish. This is where
.whenCompletecomes in. - Inside your handler for
.whenComplete, you’re establishing what you want to do when the previous operation is complete. In this case, to follow the requirements of the QOTD protocol, you close the channel connection. - You also implement another method in
ChannelInboundHandlerfor handling — you guessed it — errors! Notice you actually get a handy-dandy, SwiftyErrortype instead of something in C!
From this example, you can see that, anytime you want to handle incoming information from a client, you need to write a handler that conforms to ChannelInboundHandler to do so. From here, the possibilities are endless.