Data Privacy for Android
In this data privacy tutorial for Android with Kotlin, you’ll learn how to protect users’ data. By Kolin Stürt.
Security is paramount. The flurry of new privacy laws, such as the CCPA, PIPEDA and GDPR, shows how important security is to users and lawmakers alike. Yet, it remains an often neglected aspect of mobile app development.
To assist developers, Android 10 offers new privacy advancements and device enhancements, including biometric authentication and hardware-backed key storage.
In this tutorial, you’ll learn about:
- Privacy permissions.
- Locking down user data.
- Clearing the cache.
Getting Started
Download and unzip the materials for this tutorial using the Download Materials button at the top or bottom of this page. Open and run the starter project in Android Studio 3.5.0 or higher. You’ll see a simple sign-up screen. Once you enter an email and select Sign Up, a list of various topics will populate.

If you missed the previous tutorial, this app lets users send anonymous tips about crimes against animals to law enforcement. OK, it doesn’t send the information to law enforcement, so feel free to test it out. :]
Requesting Permissions

As mentioned earlier, Android 10 brought many new privacy features. For example, security updates now occur in the background so users don’t need to reboot their phones.
The settings section offers improved control over a service’s access to user location. Additionally, there’s a consistent place for Google account activity and AutoFill services.
Android 10’s new privacy features also require you to ask for permission before your app can store user’s private data externally. As such, the first question to consider is how much data your app needs to access. A good approach is to avoid accessing data you don’t need.
APIs that access user data require you to declare that access in the manifest file beforehand. In AndroidManifest.xml, you can find the line that reads:
<uses-permission android:name="android.permission.READ_EXTERNAL_STORAGE" />
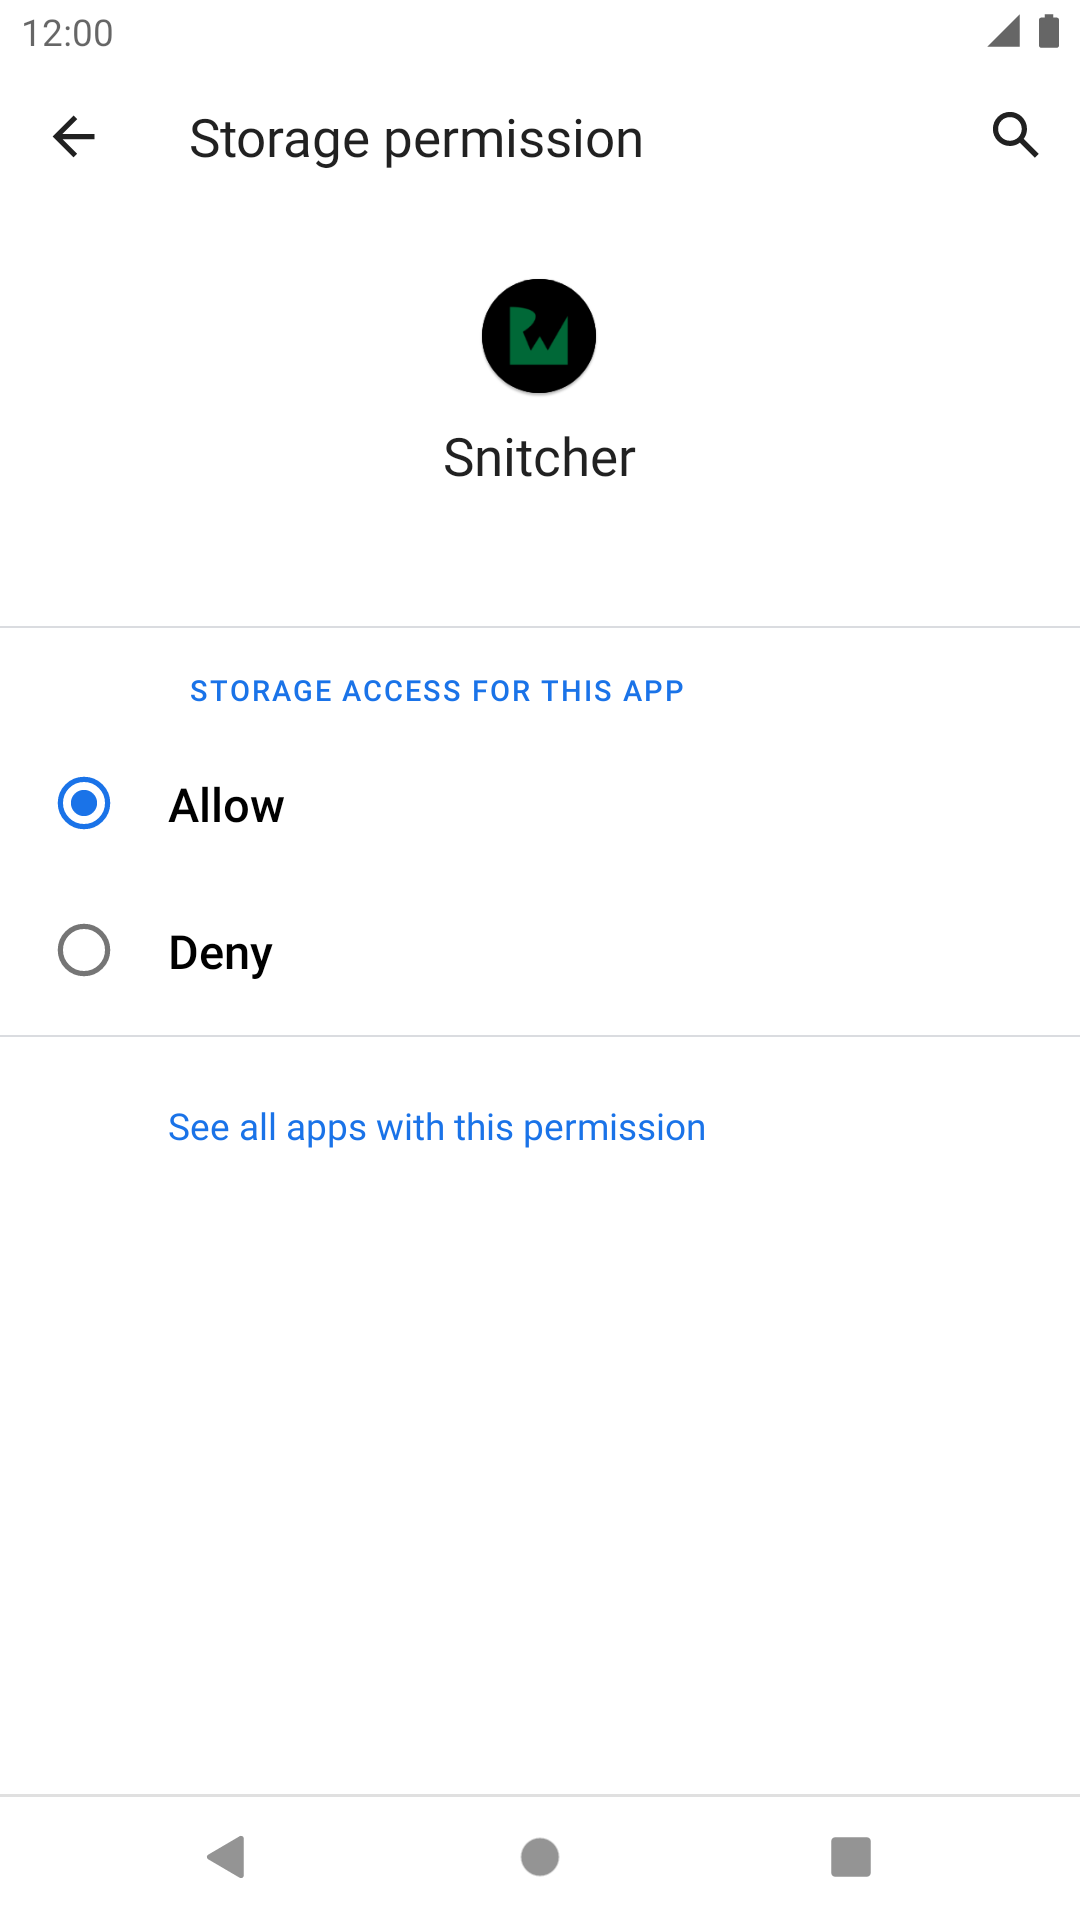
In the past, this was enough. Users would see a list of permissions when installing the app. But Marshmallow changed that with Runtime Permissions. Now, your app requests permissions at the time of need. This approach is more transparent because it shows exactly what features the permission is for. It’s also beneficial since it weeds out unnecessary permissions.
Select one of the report categories from the app list and choose Upload Photo. Pick an image, and you should encounter the following:

This crash occurs because you’re required to ask for permission at runtime. In ReportDetailActivity.kt, replace the contents of uploadPhotoPressed() with the following code:
if (ActivityCompat.checkSelfPermission(this, Manifest.permission.READ_EXTERNAL_STORAGE) // 1
    != PackageManager.PERMISSION_GRANTED) {
  ActivityCompat.requestPermissions(this, // 2
      arrayOf(Manifest.permission.READ_EXTERNAL_STORAGE,
          Manifest.permission.READ_EXTERNAL_STORAGE), PIC_FROM_GALLERY)
} else {
  val galleryIntent = Intent(Intent.ACTION_PICK, MediaStore.Images.Media.EXTERNAL_CONTENT_URI) // 3
  startActivityForResult(galleryIntent, PIC_FROM_GALLERY)
}
Here, you make use of runtime permissions by:
- Checking if the user has already granted permission for
READ_EXTERNAL_STORAGE. - Requesting it if they haven’t.
- Then opening the media intent.
When the user first grants permission, Android calls onRequestPermissionResult(). Override that method by adding the following code to end of ReportDetailActivity.kt:
override fun onRequestPermissionsResult(requestCode: Int,
                                        permissions: Array<String>, grantResults: IntArray) {
  when (requestCode) {
    PIC_FROM_GALLERY -> {
      // If request is cancelled, the result arrays are empty.
      if ((grantResults.isNotEmpty()
            && grantResults[0] == PackageManager.PERMISSION_GRANTED)) {
        // Permission was granted
        val galleryIntent = Intent(Intent.ACTION_PICK,
            MediaStore.Images.Media.EXTERNAL_CONTENT_URI)
        startActivityForResult(galleryIntent, PIC_FROM_GALLERY)
      }
      return
    }
    else -> {
      // Ignore all other requests.
    }
  }
}
If permission is granted, the media intent starts. To try it out build and run the project after you have made changes. When prompted for permission, hit Allow. You can now select a JPEG image without a crash. :]

Android 10 adds scoped access to app files and media. It requires you to use the Storage Access Framework to access folders on external storage the app doesn’t own. It’s also recommended to access external media using MediaStore.
Using IPC
Permissions cover the most ground with accessing and passing data outside of the app. But sometimes data is passed via IPC to other apps that you build.
There have been cases where developers have left shared files on the storage or have implemented sockets to exchange sensitive information. This is not secure. Instead, the best practice is to use Intents. You can send data using an Intent by providing the package name like this:
val intent = Intent()
val packageName = "com.example.app" //1
val activityClass = "com.example.app.TheActivity" // 2
intent.component = ComponentName(packageName, activityClass)
intent.putExtra("UserInfo", "Example string") //3
startActivityForResult(intent) //4
Here you’re specifying:
- The package name of the app where you’ll send the intent.
- The qualified class name in the target app that receives the intent.
- Data sent with the intent.
- The intent by starting the activity with it and then awaiting for the result.
To broadcast data to more than one app, enforce that only apps signed with your signing key will get the data. Otherwise, any app that registers to receive the broadcast can read the sent information. Likewise, a malicious app can send a broadcast to your app if you have registered to receive its broadcast.
In the manifest file, find protectionLevel — it’s part of the first permission. You’ll notice it’s set to normal. Change it to signature by replacing that line with the following:
android:protectionLevel="signature" />
Other apps access the permission by including the following code in the manifest file:
<uses-permission android:name="com.raywenderlich.android.snitcher.permission.REPORT_DETAIL_ACTIVITY"/>
Apps typically send a broadcast like this:
val intent = Intent()
intent.putExtra("UserInfo", "Example string")
intent.action = "com.example.SOME_NOTIFICATION"
sendBroadcast(intent, "com.example.mypermission")
Alternatively, you can use setPackage(String) when sending a broadcast to restrict it to a set of apps matching the specified package. Also, setting android:exported to false in the manifest file will exclude broadcasts from outside your app.
Opting Out
Using permissions properly offers another benefit: It grants users the ability to revoke permissions in the system settings and opt out of data sharing if they change their minds later.
To keep your users informed, your app will need a privacy policy.
Privacy policies disclose the types of personally identifiable information (PII) apps collect, such as unique device identifiers. If you’re collecting such data intentionally, you must provide a place in your UX where the user can opt out. It’s also prudent to understand the laws in any jurisdiction where your app is available. EU member countries, for example, require explicit consent for data collection.
To learn more about privacy policies, visit the Android Privacy Section and Android’s best practices for unique identifiers page.