Android 10 Dark Theme: Getting Started
In this tutorial, you’ll learn how to build an app with dark theme support. By Dean Djermanović.
Adding Custom Colors
First, add the values-night directory. Switch to the Project view of the project structure. Right-click on the res folder and select New ► Android Resource Directory.
In the pop-up window, under Available qualifiers, select Night Mode and add it to the Chosen qualifiers.
Under the Night mode drop-down, select Night.
Finally, select OK.

Now, you'll see the values-night folder under res. Right-click on the values-night ► New ► Android resource file and add colors.xml as the file name.
Add following values to that file within the resources as shown:
<resources>

  <color name="ic_settings_color">#FFFFFFFF</color>
  <color name="ic_attachment_color">#FFFFFFFF</color>
  <color name="background_color">#FF808080</color>
  <color name="ic_color_lens_color">#FFFFFFFF</color>

</resources>
If you open colors.xml in the values folder, you'll see that you already have these color values defined there. Color values defined in values-night are the values your app will use when you toggle Dark Theme on.
Build and run the app and turn dark mode ON.

You'll notice that the app uses the colors specified in colors.xml from values-night when dark mode is on.
By default, when you extend from the DayNight theme, Android follows the system settings and applies a dark theme across all activities.
Sometimes, you may need different behavior. Maybe you want your app to always be in dark mode regardless of system settings, or maybe you don't want specific activities to go dark.
Luckily, Android provides you with APIs that you can use to override this behavior.
Overriding Dark Mode System Settings
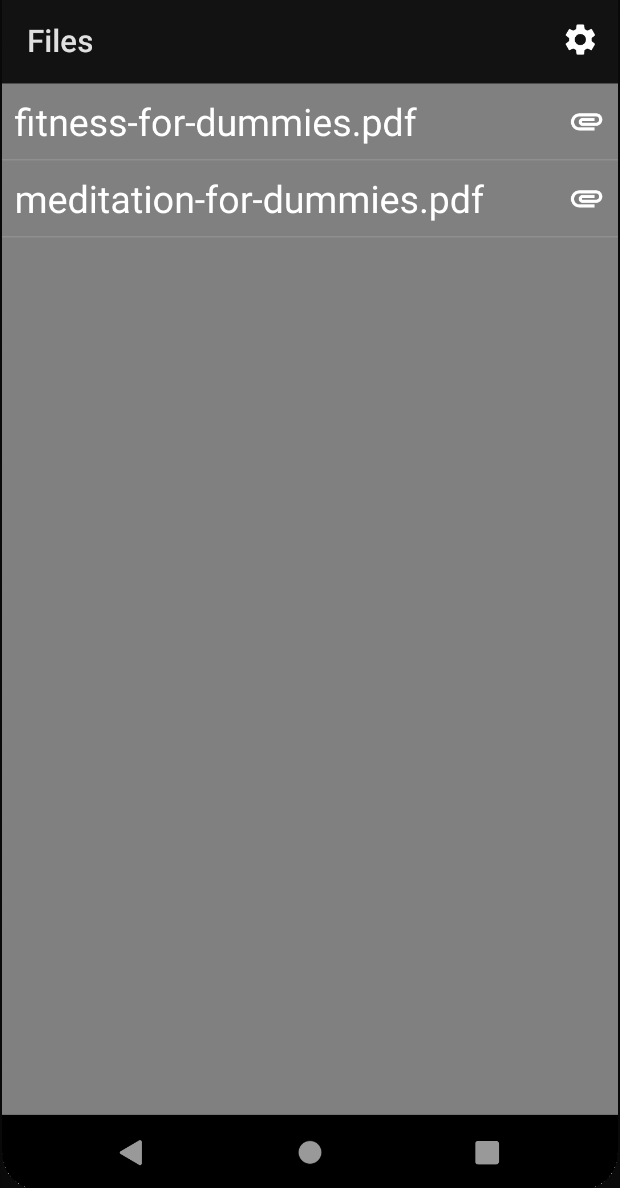
Open the home screen in the PdfFever app. You'll notice the settings icon in the toolbar. Click on it.
Click on the Theme setting found there. You'll see the following dialog:

The user can choose from four different settings:
- MODE_NIGHT_FOLLOW_SYSTEM: The default mode the app uses if you don't specify anything. This mode follows the system settings and applies the dark theme based on them. Since system settings are only available on the Android 10, this mode will usually default to a white theme.
- MODE_NIGHT_NO: Always uses the light theme, regardless of the system settings.
- MODE_NIGHT_YES: Always uses the dark theme, regardless of the system settings.
- MODE_NIGHT_AUTO_BATTERY: Uses a dark mode when the system's Battery Saver feature is on. Otherwise, it uses a light theme. If Battery Saver is on and the user begins to charge their device, it will automatically use light mode again.
These settings correspond to the constants in the AppCompatDelegate that you can use to specify the night mode you want to use.
There are two more modes, MODE_NIGHT_AUTO_TIME and MODE_NIGHT_AUTO but they are deprecated and out of the scope of this tutorial.
Now, tap on any of these modes. Nothing happens in the UI. The selected option saves to shared preferences.
You'll need to do some work to make these changes take effect.
Open ui/settings/SettingsFragment.kt and navigate to setTheme. Add the following body to the function:
private fun setTheme(mode: Int) {
    AppCompatDelegate.setDefaultNightMode(mode)
}
setDefaultNightMode is the static method in AppCompatDelegate that you use to set one of the night modes.
You call setTheme in the SettingsFragment whenever you change the Theme setting.
The setDefaultNightMode recreates any visible activities. This wasn't the case previously, so you needed to handle that by yourself.
Click on the Settings icon on the home screen and set the Theme to Light Theme. You'll notice that the app's theme switches to the light mode right away, regardless of system settings. Try out other options, too, and see what happens.

Set the Theme back to light once you've explored the app.
Now, kill the app process by tapping the system's Recent button and remove PdfFever from the list.
Relaunch the app.
The theme is now dark, even though you set the option to light. This happens because the values set on these APIs do not persist.
Making the Settings Persistent
To fix this, you need to use setDefaultNightMode whenever the app process launches. You'll do that in the Application class.
Open ui/application/PdfFeverApplication.kt and navigate to initTheme.
Add following body to that method:
private fun initTheme() {
    val preferences = PreferenceManager.getDefaultSharedPreferences(this)
    ThemeManager.applyTheme(preferences.getString("preference_key_theme", "")!!)
}
This method will read the user's night mode preference from the shared preferences file and will use the ThemeManager helper class to apply the theme on the app process start.
Build and run.

Set the dark theme in the app's settings, if you haven't set it already. Kill the app process and relaunch the app.
Now, night mode persists.
If you want to disable the night mode only for a specific activity, use AppCompatDelegate’s setLocalNightMode and specify the mode you want.
It's important to mention that for this to work, your Activity needs to extend from the AppCompatActivity.
You can also programmatically check your app's current night mode like this:
getResources().getConfiguration().uiMode
        & Configuration.UI_MODE_NIGHT_MASK
This looks at the configuration's UI mode. You can then compare the result of this with the UI modes available to see which mode your app is in.
Other Scenarios
Integrating dark mode into PdfFever is fairly straightforward. It's a simple app.
When you do this on your own, you'll probably have a more complicated project with many screens and complex UIs. Here's a brief overview of some other scenarios you might encounter:
Icons & Illustrations
Every app has some kind of icon, like the Settings icon that you saw in PdfFever. If your icons are in a vector, they can automatically handle theme switching by referencing colors from the values resource folders instead of hard-coding the color values. Alternatively, you could add another version of the icon to the drawable-night folder to use in dark mode.
On the other hand, if you're fetching icons from the server, you'll need to handle theme switching manually. There are several ways you can do that.
Once you fetch the icon, you can tint it in your code. This works well if an icon is in a single color. If the icon is colorful, tinting might not be an ideal solution since you don't have control over which part of the icon you'll tint.
Another option is to have an icon that looks good in both dark and light themes.
![]()