Part four of our new, free course, Server Side Swift with Kitura, is available today! If you ever wanted to extend your skills past developing for mobile devices, but didn’t have time to learn a new language, this is your chance.
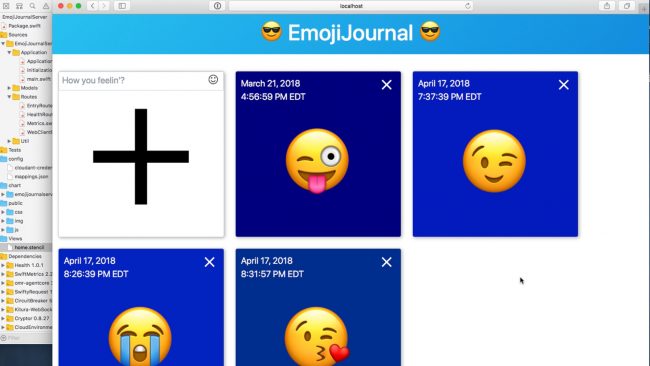
In the final part of the course, you’ll create a web frontend for your EmojiJournal app with the help of your Kitura server and KituraStencil!
Take a look at what’s inside:
Part 4: Templating A HTML Front-End With Stencil

-
Introduction To Web Clients: I’ll show you the importance of having web functionality for your application, and why it’s important to make a client thats accessible to everyone. Then, I’ll show you how Kitura can help you accomplish that goal.
-
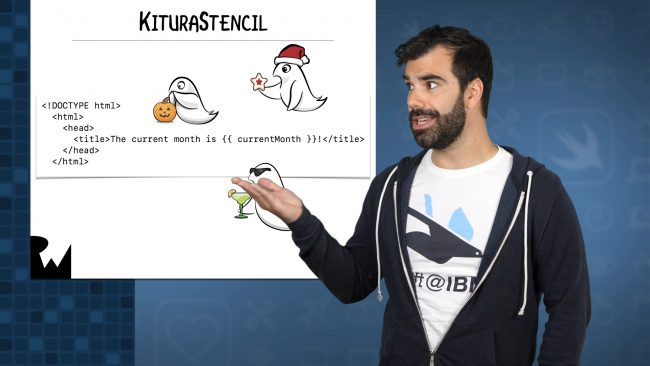
Introduction To KituraStencil: Let’s take a look at how a templating engine called Stencil can help you make any website you want, and how you can pass information from your Swift API into your HTML page with KituraStencil.
-
Creating A Landing Page: Let’s start by serving up a static HTML page using your existing Kitura router that you’ve already created, and take some time to explain how you can serve a context with it.
-
Showing Your Web UI: Expand on your previous route by adding some context to your template page, and take a look at how that gets populated throughout your HTML – you’ll have a web UI working by the end of this video!
-
Adding A New Entry Via The Web: Now that you can see the entries you’ve populated, let’s make it possible to use the web UI to add another entry to your EmojiJournal.
-
Challenge: Deleting Entries Via The Web: The final hurrah – you’ve got everything you need to know to fit the last puzzle piece into your web UI, and now I’ll challenge you to add it in and delete those EmojiJournal entries you want to remove.
-
Conclusion: You did it! Let’s see how you can use either of your clients at any given time to use EmojiJournal, and what you might be interested in trying out next time around!

Where To Go From Here?
Want to check out the course? The entire course is ready for you today, and is available for free!
Stay tuned for more new and updated courses to come. I hope you enjoy the course! :]