Flutter Navigator 2.0: Using go_router
Go beyond Flutter’s Navigator 2.0 and learn how to handle navigation with the go_router package. By Kevin D Moore.
Adding More Routes
Now, add the rest of the routes. Replace // TODO: Add Other routes in routes.dart with the code below:
// forwarding routes to remove the need to put the 'tab' param in the code
// 1
GoRoute(
  path: '/shop',
  redirect: (state) =>
      state.namedLocation(homeRouteName, params: {'tab': 'shop'}),
),
GoRoute(
  path: '/cart',
  redirect: (state) =>
      state.namedLocation(homeRouteName, params: {'tab': 'cart'}),
),
GoRoute(
  path: '/profile',
  redirect: (state) =>
      state.namedLocation(homeRouteName, params: {'tab': 'profile'}),
),
GoRoute(
  name: detailsRouteName,
  // 2
  path: '/details-redirector/:item',
  // 3
  redirect: (state) => state.namedLocation(
    subDetailsRouteName,
    params: {'tab': 'shop', 'item': state.params['item']!},
  ),
),
GoRoute(
  name: personalRouteName,
  path: '/profile-personal',
  redirect: (state) => state.namedLocation(
    profilePersonalRouteName,
    // 4
    params: {'tab': 'profile'},
  ),
),
GoRoute(
  name: paymentRouteName,
  path: '/profile-payment',
  redirect: (state) => state.namedLocation(
    profilePaymentRouteName,
    params: {'tab': 'profile'},
  ),
),
GoRoute(
  name: signinInfoRouteName,
  path: '/profile-signin-info',
  redirect: (state) => state.namedLocation(
    profileSigninInfoRouteName,
    params: {'tab': 'profile'},
  ),
),
GoRoute(
  name: moreInfoRouteName,
  path: '/profile-more-info',
  redirect: (state) => state.namedLocation(
    profileMoreInfoRouteName,
    params: {'tab': 'profile'},
  ),
),
Here’s what’s happening in the code above:
- You set up redirects for your tabs.
- You define another route for details that take an item.
- You redirect to the shopping detail but pass another parameter to show the shopping tab.
- You redirect to the personal page but pass another parameter to highlight the profile tab.
Next, you add the route to Details page.
Implementing the Details Route
Open shopping.dart in the ui directory. In the import section, add:
import 'package:go_router/go_router.dart';
Find and replace // TODO: Add Push Details Route with:
context.goNamed(detailsRouteName, params: {'item': value});
The code above starts the details page and passes in the description of the shopping item.
Now, hot restart. The Shopping page shows a generated list of items.

When you tap an item, you see the details page:

Next, you’ll handle the navigation for when the user taps the Add to Cart button.
Updating the Details Page
Open details.dart in the ui directory. In the import section, add:
import 'package:go_router/go_router.dart';
import '../constants.dart';
Find and replace // TODO: Add Root Route with:
context.goNamed(rootRouteName);
Now, hot reload and navigate to the detail page by tapping on a shopping item. Try tapping the Add to Cart button and then go to the Cart screen to make sure it’s there.
Tapping Add to Cart adds an item to the cart and returns to the Shopping screen. When you go to the Cart tab, it will show a list of the items you’ve added.
Using Paths
Open home_screen.dart in the ui directory. In the import section and add:
import 'package:go_router/go_router.dart';
Then, find and replace // TODO: Add Switch with:
switch (index) {
  case 0:
    context.go('/shop');
    break;
  case 1:
    context.go('/cart');
    break;
  case 2:
    context.go('/profile');
    break;
}
In the code above, you’re using paths instead of named routes. This is another way of using go_router. This makes sure the path is correct when switching tabs and is important in web pages that show the path.
Routing in Profile Page
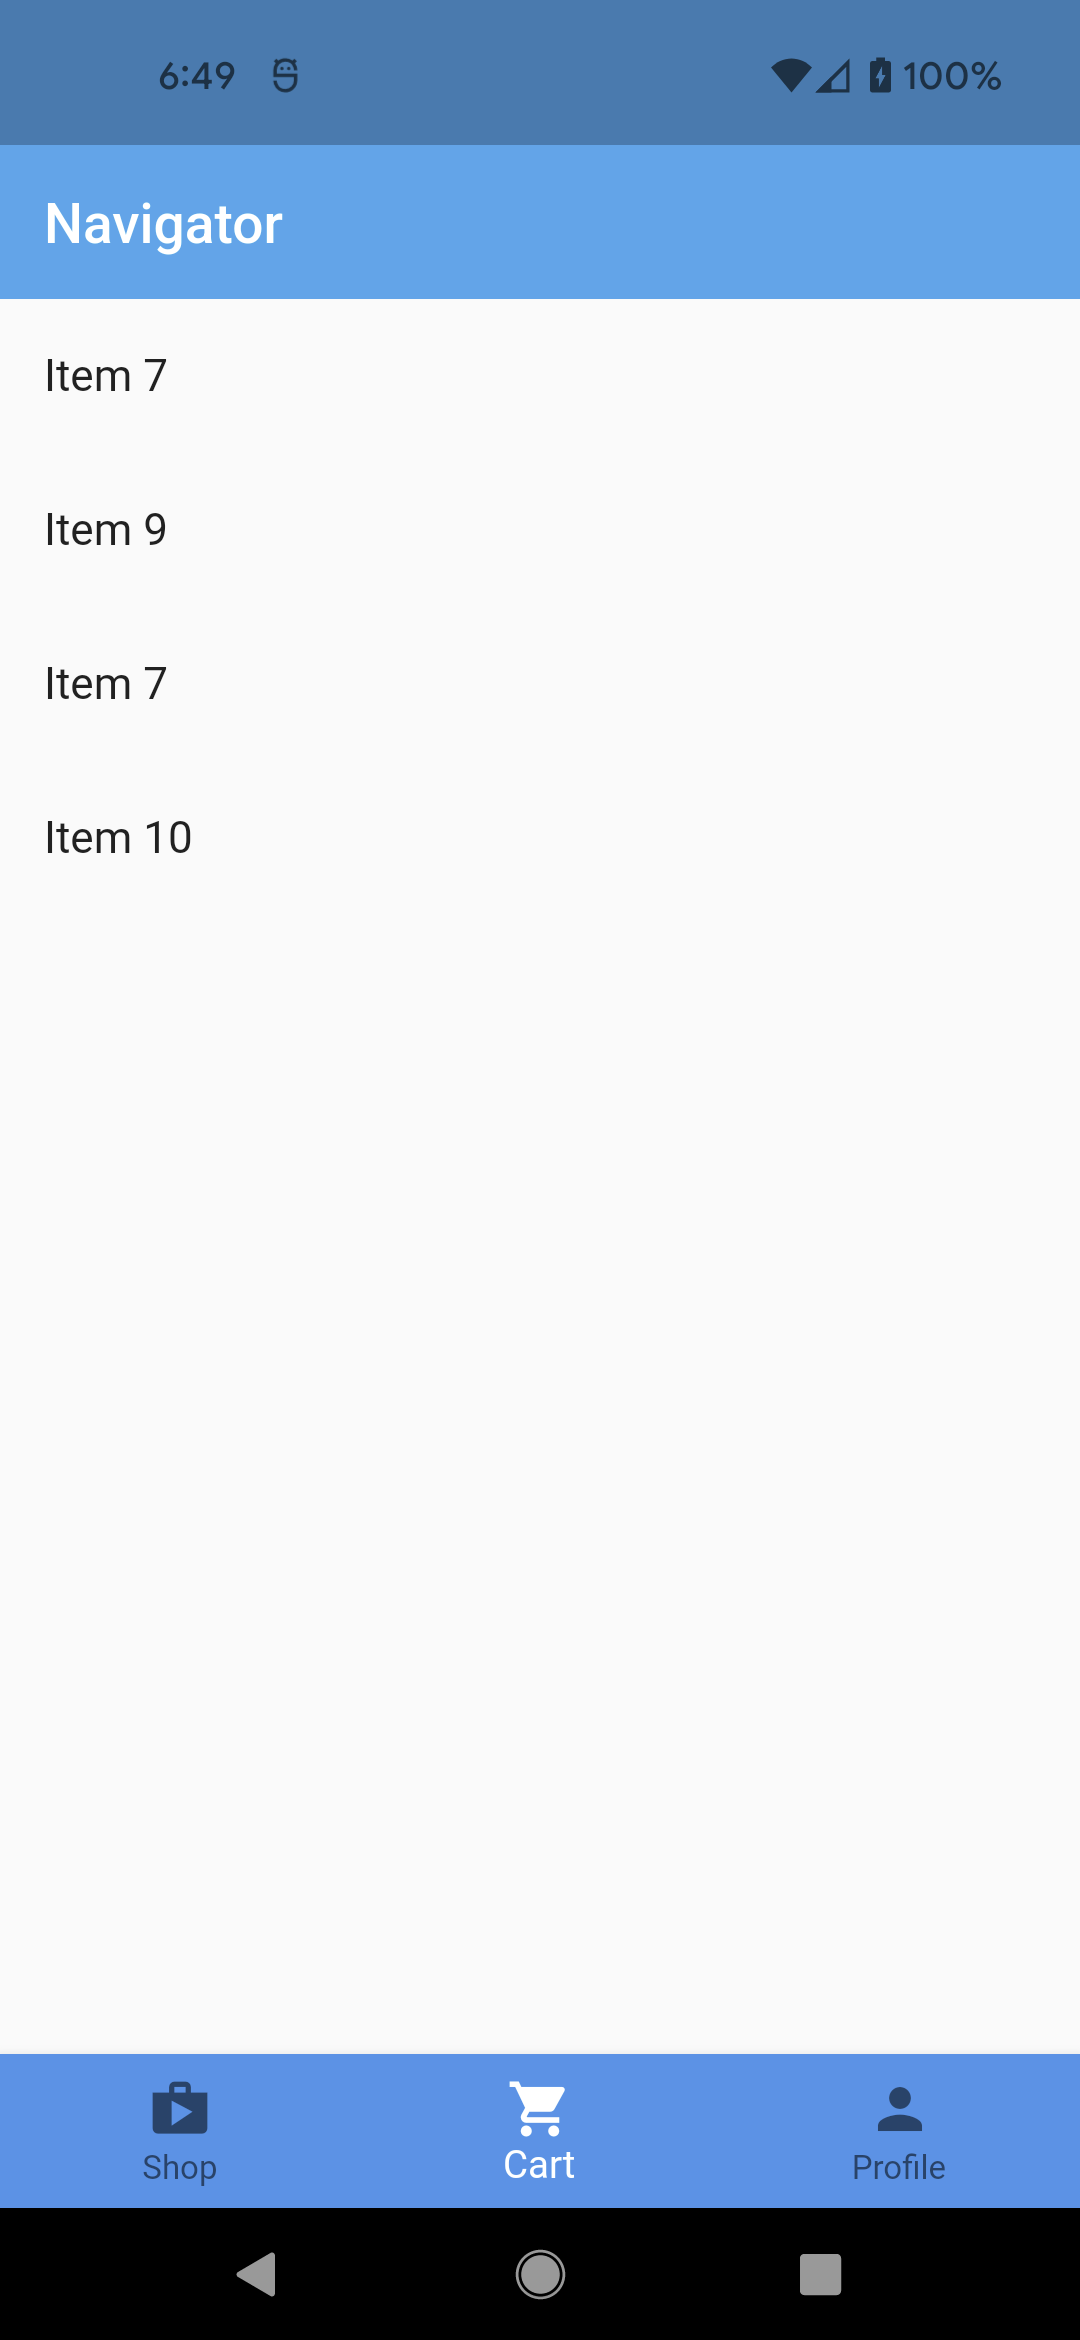
The Profile screen shows a list of additional pages the user can go to:

Open profile.dart in the ui directory. In the import section, add:
import 'package:go_router/go_router.dart';
Find and replace // TODO: Add Personal Page Route with:
context.goNamed(personalRouteName);
The code above will take you to the Personal Info screen. Hot reload and tap Personal Info from the Profile screen, and you’ll see this:

Next you’ll take care of the Payment screen. Search for // TODO: Add Payment Route and replace it with:
context.goNamed(paymentRouteName);
This will take you to the Payment screen. Hot reload and tap Payment from the Profile screen, and you’ll see this screen:

Now, find and replace // TODO: Add Signin Info Route with:
context.goNamed(signinInfoRouteName);
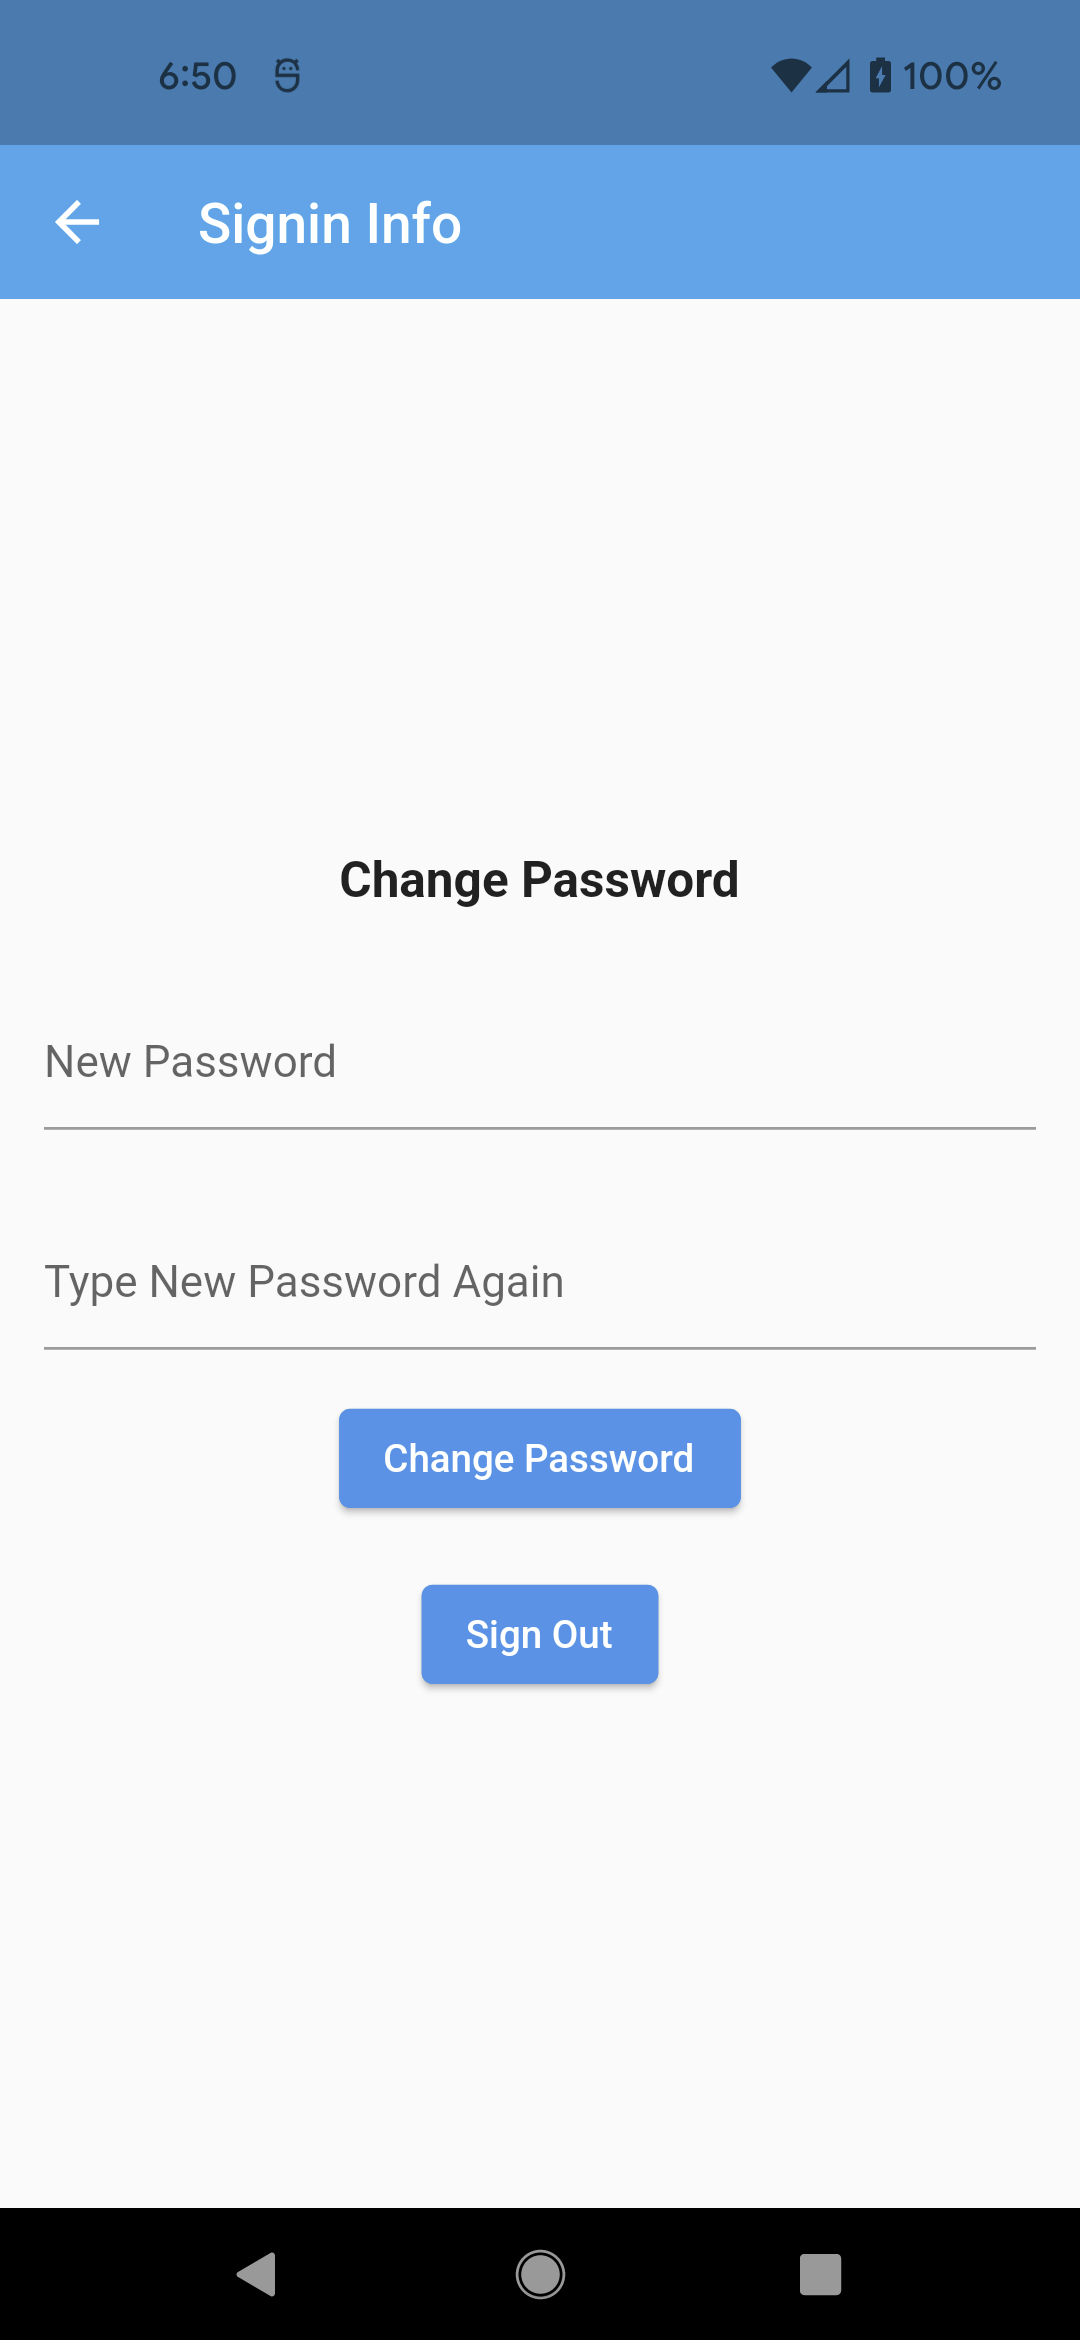
The code above will take you to the Sign In Info page. Hot reload and tap Sign In Info from the Profile screen to see this:
Finally, search for // TODO: Add More Info Route and replace it with:
context.goNamed(moreInfoRouteName);
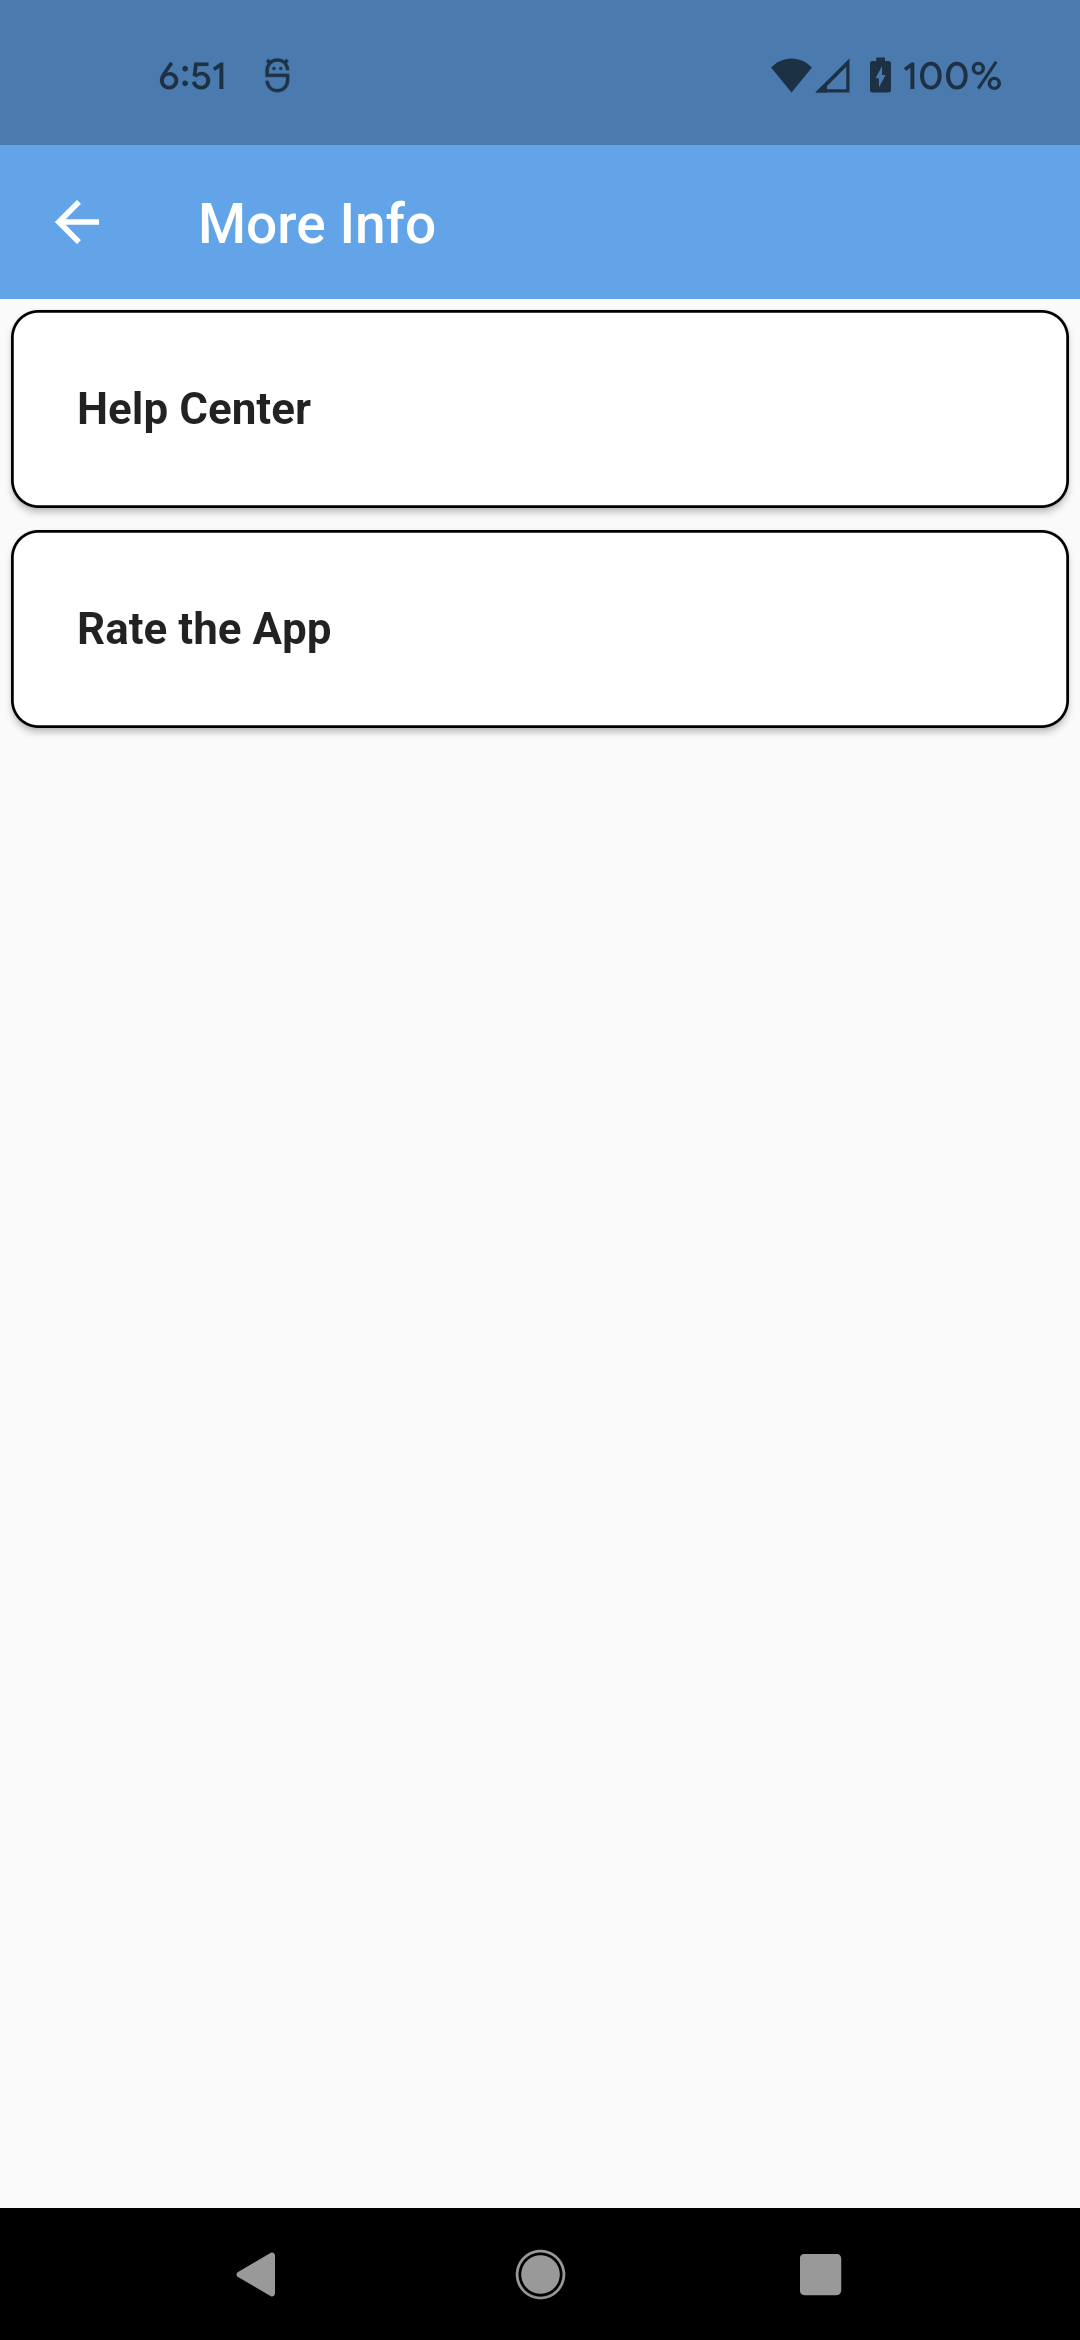
This will take you to the More Info screen:
Now, hot restart and make sure that when you tap all of the buttons on the Profile screen, you can get to those screens. Try tapping the back arrow or the back button on Android. It will take you back to the previous screen. GoRouter handles this because it’s a sub-route of the Profile screen.
From the Sign In link on the Profile screen, tap the Sign out button and see what happens. You’ll be taken back to the Login screen. This is starting to look like a real app!
Congratulations! That was a lot of code, but it will help you whenever you need to implement your navigation system. As you can see, the router code took over 100 lines — with a lot of duplicate code. Much easier than writing your own RouterDelegate and RouterInformationParser!
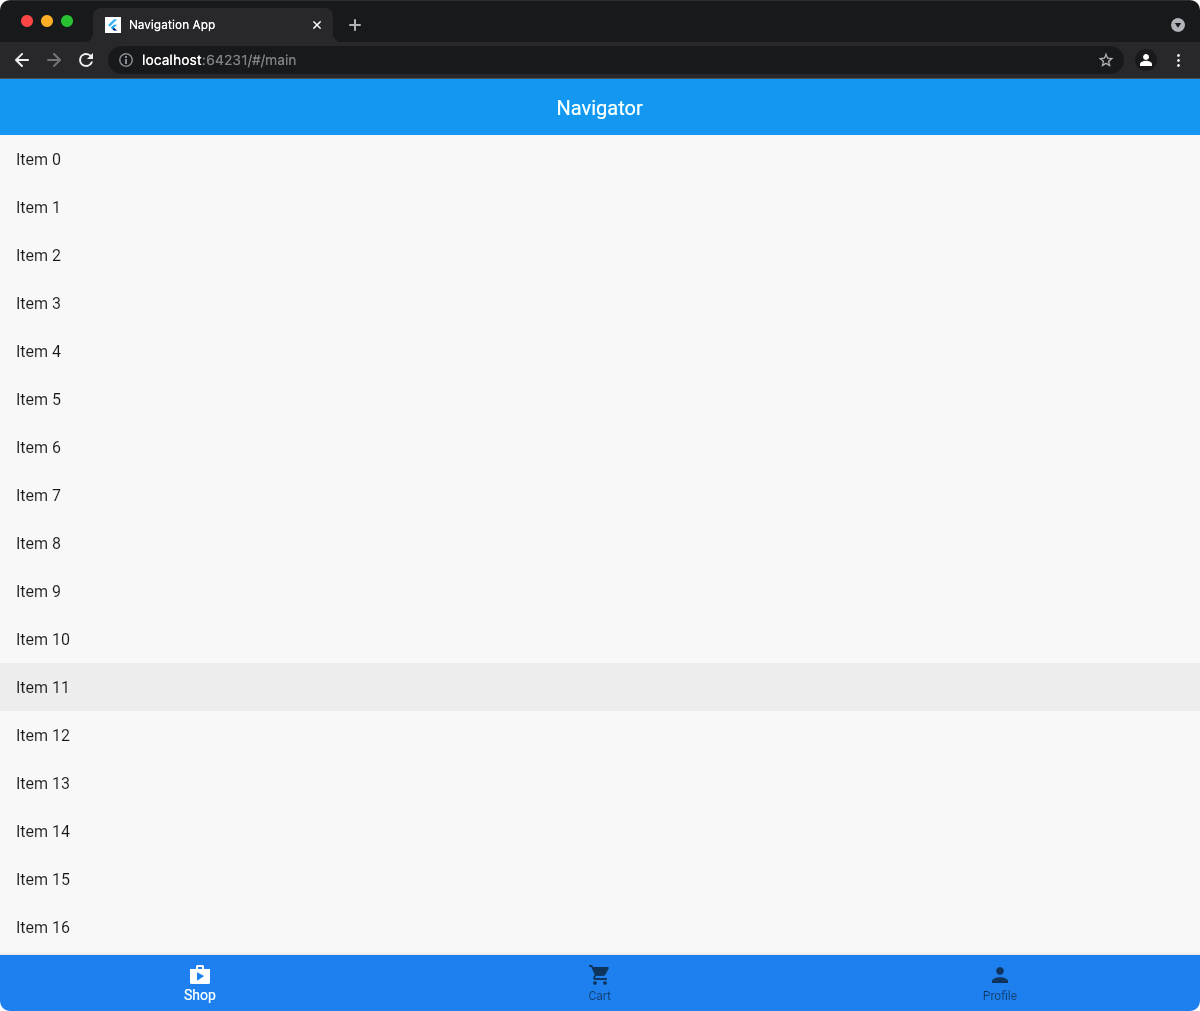
So, that was Android or iOS, but there’s more. Flutter also works with Mac, Windows and the web. Try running it on the web. You’ll see something like:

If you try running it on the Mac, you’ll see something like:

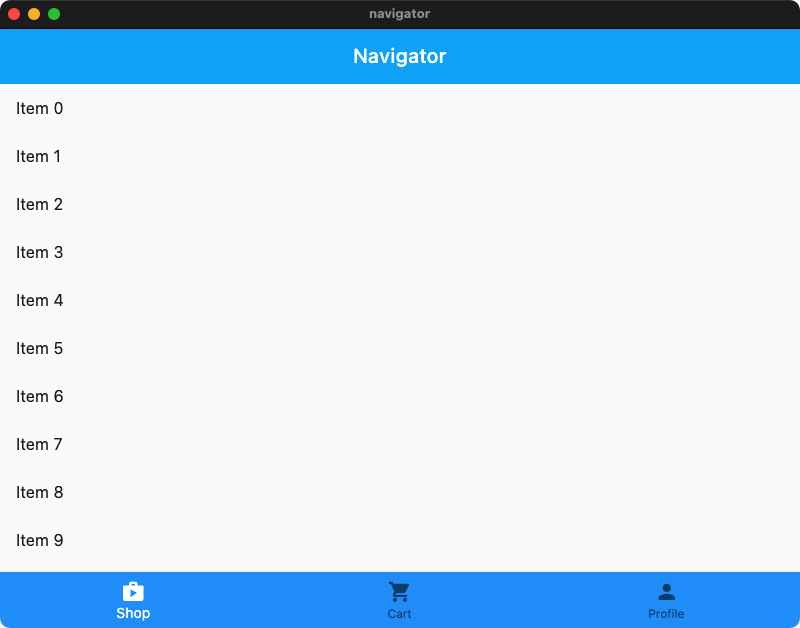
That’s five platforms in an afternoon!
Where to Go From Here?
Download the completed project files by clicking the Download Materials button at the top or bottom of the tutorial.
Check out the following links to learn more about some of the concepts in this tutorial:
We hope you enjoyed this tutorial. If you have any questions or comments, please join the forum discussion below!