Documenting in Xcode with HeaderDoc Tutorial
Learn how to automatically generate HTML documentation for your iOS code using HeaderDoc. By Andy Pereira.
Adding Formatted Code to Your Documentation
Sometimes, it’s nice for a programmer to have an example of how to use a method.
To try this out, you’re going to document the Car class’ driveCarWithCompletion: method. This method takes a block as a parameter, and it might be a good idea to show a programmer how to use it – since blocks seem to be a little hard for new developers.
For this, you can use a @code tag. Add the following in Car.h above the driveCarWithCompletion: declaration:
/*!
 * @brief The car will drive, and then execute the drive block
 * @param completion A driveCompletion block
 * @code [car driveCarWithCompletion:^(CGFloat distance){
     NSLog(@"Distance driven %f", distance);
 }];
 */
Build, and option+click the method name. You should see a nicely formatted code block in the popover. Beauty comes in many forms, readers.

Checking Yourself
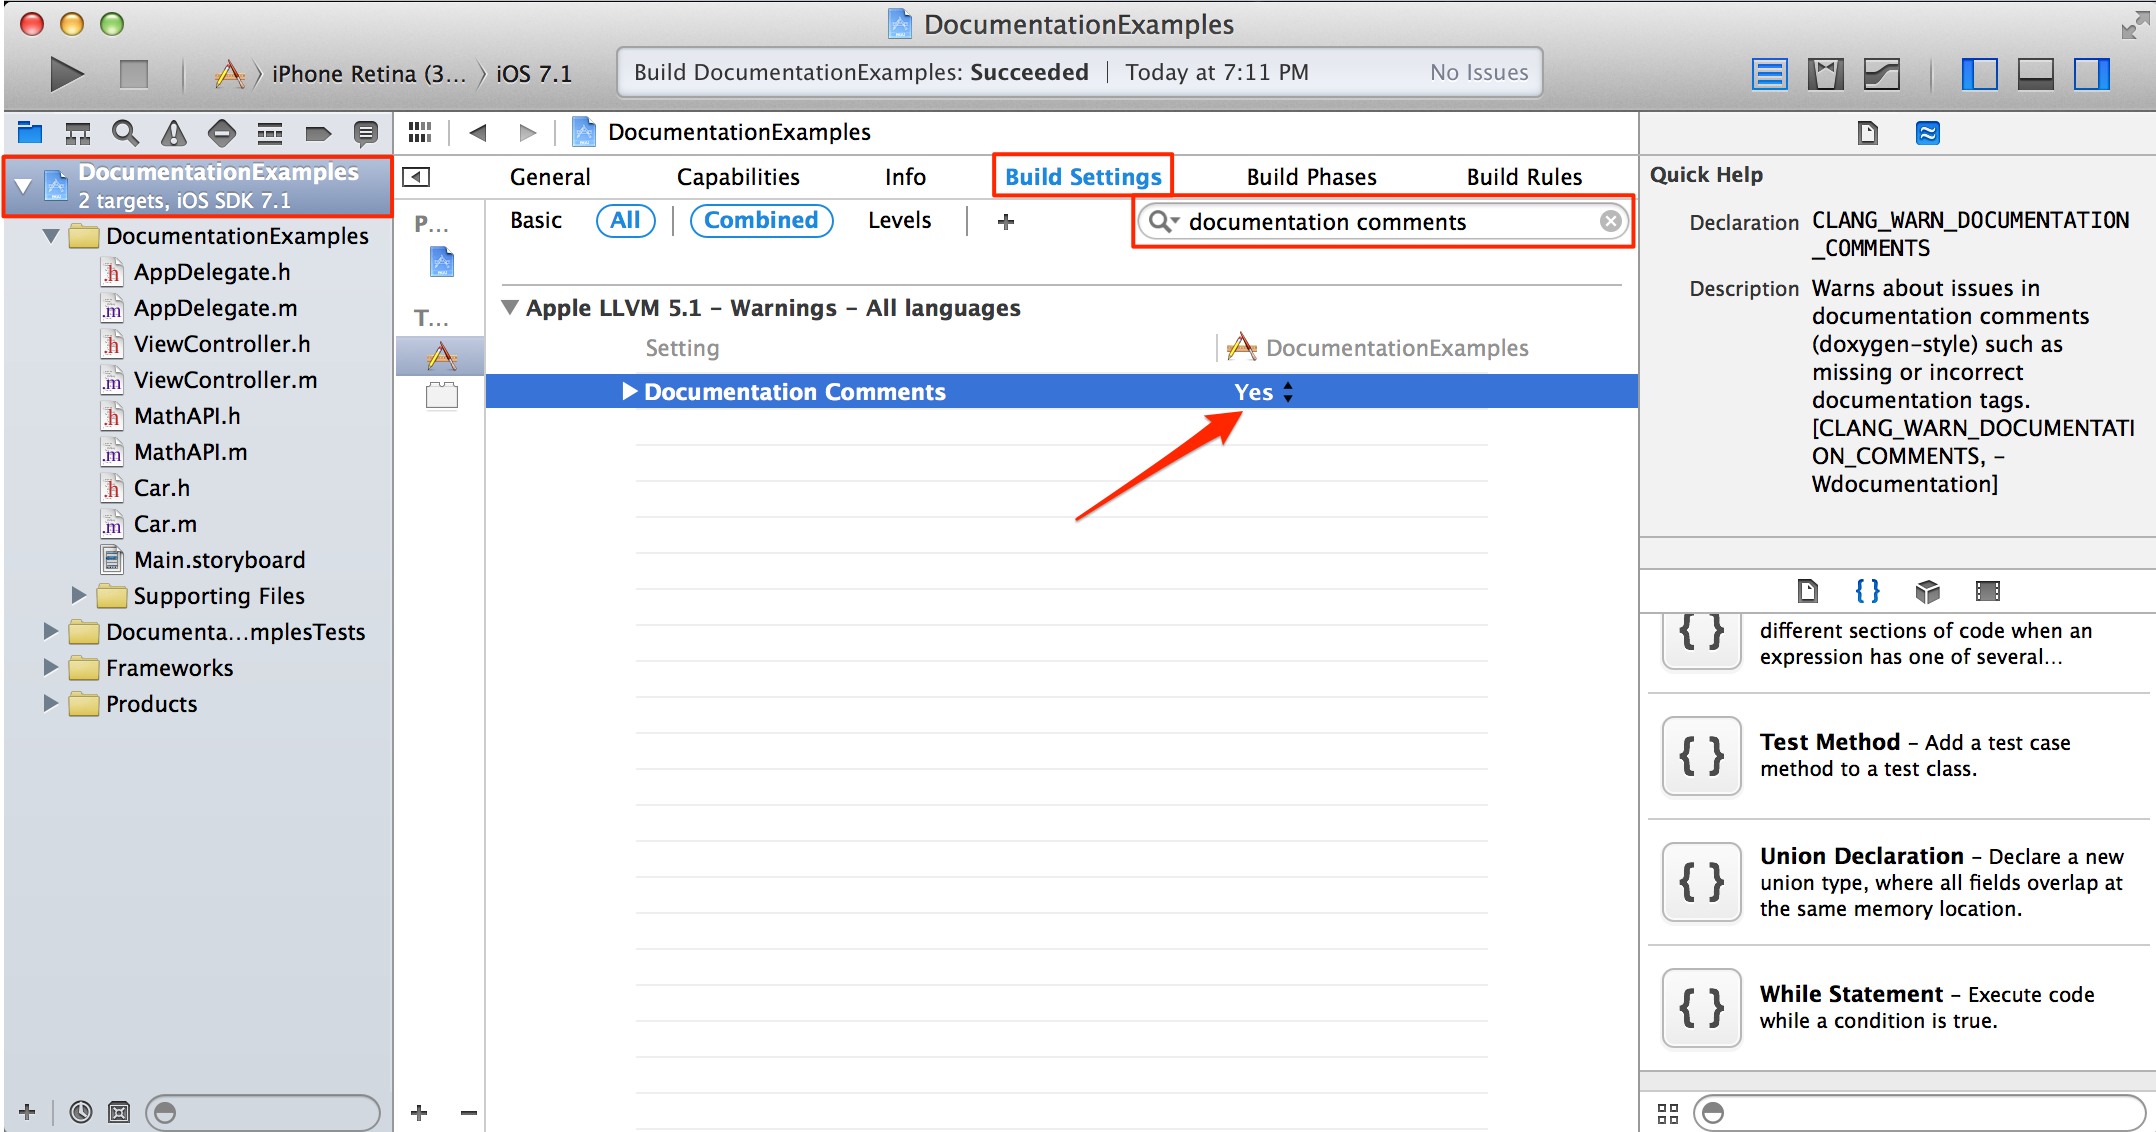
Now that you’ve learned how to comment, wouldn’t it be nice if Xcode would check your work, much the same way it checks if your code is typed correctly? Good news! Clang has a flag (“CLANG_WARN_DOCUMENTATION_COMMENTS”) that you can set to make Xcode check your HeaderDoc style comments.
In Xcode, open the DocumentationExamples Project Settings, click the Build Settings button at the top, search for Documentation Comments, and set the value to YES.
To see it in action, open to MathAPI.h, and change your first @param tag’s parameter name to thirdNumber, instead of firstNumber, then Build.

Notice that a warning was generated and even gave you an auto-fix option to change the variable to the correct name. While it won’t catch everything, it can be very useful to double check yourself.
Special Types of Comments
While using HeaderDoc style comments to document your code is useful for yourself and others, there are a few other special types of comments Xcode supports. These are really useful for you, or others that work in your code.
Open Car.m and in driveCarWithCompletion:, paste the following three comment lines above the call to completion:
// FIXME: This is broken
// !!!: Holy cow, it should be checked!
// ???: Perhaps check if the block is not nil first?
you have added three different types of comments here:
- FIXME: A comment to yourself that something needs to be fixed.
- !!!: A comment that something needs attention.
- ???: A comment that there is a question about the code. Or, the code is questionable.
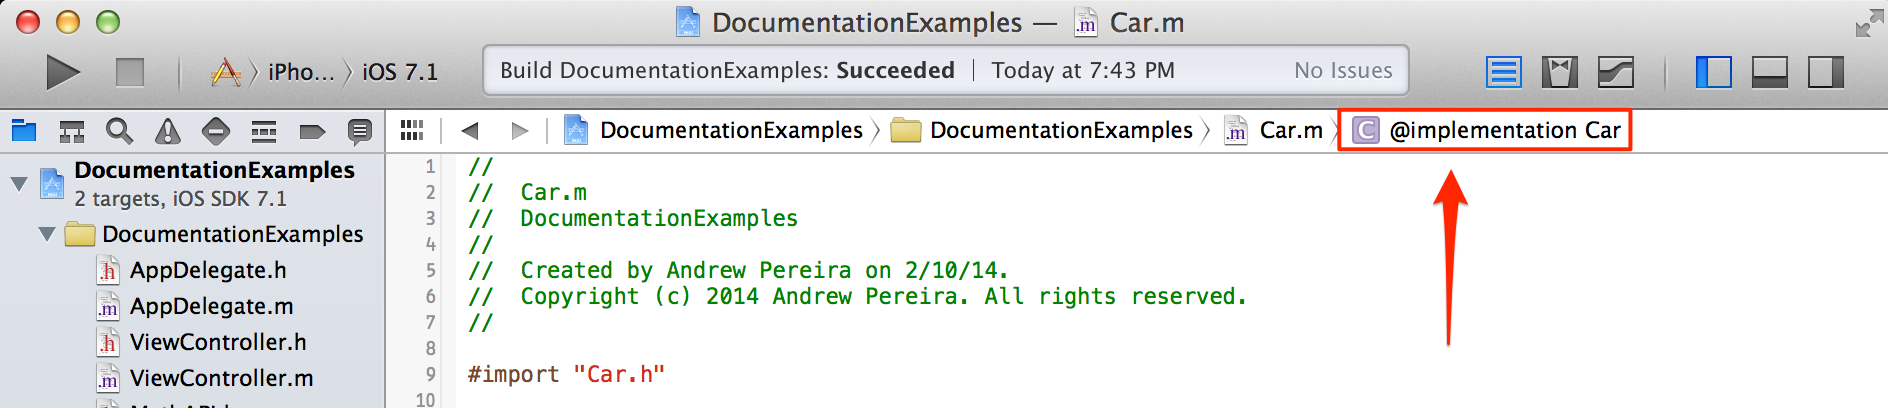
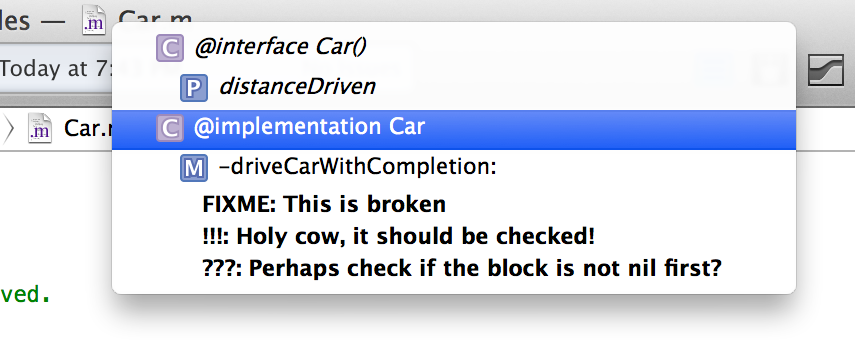
Not only are these types of comments useful to see as you go through code, Xcode recognizes them, and will show them in the Jump Bar at the top of the editor. Select the method menu from the Jump Bar, shown here:
Once you do, you’ll see the three comments you entered, bolded, with the text of your comment:
With all of this, you’ve learned enough to document the rest of this project.
Take some time to practice on the other properties and methods included in the project, and try adding a few things yourself. See what happens when you change things around in your comment blocks, or if you leave a tag out. It’s important to know how your formatting will impact your documentation.
Creating HTML Documentation with headerdoc2html
All of this documentation magic is done with a tool called HeaderDoc. It’s already installed on your computer if you have Xcode installed. Not only does it parse your comments, making those cool popovers and Quick Help panels, it can also create HTML, XML and man pages containing your documentation.
You’ll focus on creating HTML files in this section. But if you want to learn more about all of the options for creating stand-alone documentation with HeaderDoc, check out Appple’s HeaderDoc User Guide.
Open Terminal by going to /Applications/Utitlities/Terminal. Once you do, navigate to the DocumentationExamples project folder. You can do this by typing in the following:
cd /path/to/your/folder
Make sure to enter the path to the top level folder that contains the Xcode project file. (“DocumentationExamples.xcodeproj”)
Now, create a set of HTML documentation files by typing in the following in Terminal:
headerdoc2html -o ~/Desktop/documentation DocumentationExamples/
You’ll see a lot of output in the Terminal. Once it finishes, go to your Desktop, and you’ll see a new directory named documentation. Open it up, and navigate to Car_h, and open index.html. Awesome – you have pretty docs!

So what just happened? Well, you ran the headerdoc2html script with 2 options:
-
-o ~/Desktop/documentation– This told the script to output its results to the documentation on your desktop. -
DocumentationExamples/– This told the script to only parse files in the DocumentationExamples/ folder inside the project folder. (There are other folders in the project directory that do not contain code files.)
Troubleshooting: You may find that with the latest versions of headerdoc2html and Google Chrome, that opening index.html does not correctly show the Table of Contents toc.html in the left sidebar. However, opening index.html in Safari should show both the documentation content and the Table of Contents correctly.
Also, you may have noticed that the documentation for the carType property you added earlier did not appear. It looks like the latest version of headerdoc2html does not correctly parse /// styled comments. For now, you might want to stick the /*! style.
That’s all really cool, but it gets better. Instead of having to navigate down into the output directory you want, HeaderDoc can create a master table of contents page for you. Back in Terminal, navigate to your new documentation directory by entering the following:
cd ~/Desktop/documentation
Now, to create the table of contents, enter the following:
gatherheaderdoc .
gatherheaderdoc will now search your documentation directory, indicated by the period (representing the current Terminal directory) in the command. In Finder, go back to your documentation directory. You’ll notice there’s a new file named masterTOC.html. Open this file in Safari. You’ll see a page that contains links to all of your documented properties, methods, enums and blocks.

Now, you can host all of this HTML content on a web server, and give access to your documentation to anyone!