Android Architecture Components: Getting Started
Take advantage of the new Android Architecture Components in your Kotlin Android app, including Lifecycle, LiveData, and ViewModel. By Filip Babić.
A Time for Change (or Being Reactive)
Everything moves and changes fast. The key is being able to react to changes. You’re now going to use LiveData to do so. LiveDatas. Instead of complicating your apps with Observable, you can use a LiveData structure. Simple as that. :]
You’re moving to the final task of our little tutorial – adding the data. Think about what data you need. When we first talked about components, we had an example with loading and error states. This is something our app should handle. In case of an error, we need to tell the UI that loading should stop, and an error should be shown.
Start off by adding two LiveData properties to the top of your ViewModel:
val errorData = MutableLiveData<Boolean>()
val loadingData = MutableLiveData<Boolean>()
Updating their values in onFailure, like so:
override fun onFailure(call: Call<BeerResponse>?, t: Throwable?) {
  loadingData.value = false
  errorData.value = true
}
For the rest of the data, you need one to hold the page value, because you have lazy loading in the sample project. In addition to that, you need one to hold the list of Beers. Add them right after the loading and error ones:
val pageData = MutableLiveData<Int>()
val beerData = MutableLiveData<List<Beer>>()
Update their value from the response
override fun onResponse(call: Call<BeerResponse>?, response: Response<BeerResponse>?) {
  loadingData.value = false //data has come, stop the loading
  errorData.value = false

  response?.body()?.run {
    updateData(this)
  }
}
Add the updateData method to the bottom of the view model:
private fun updateData(data: BeerResponse) {
  pageData.value = data.currentPage + 1 // increment the page
  beerData.value = data.beers
}
All that you need to do now is wire up the view, and you’ll be ready to serve some brewskies! :]
Add a BeerAdapter under the ViewModel declaration in BeersActivity:
private val adapter = BeersAdapter()
Replace the single TextView in activity_beers.xml with the following:
<android.support.v4.widget.SwipeRefreshLayout
  android:id="@+id/pullToRefresh"
  android:layout_width="0dp"
  android:layout_height="0dp"
  app:layout_constraintTop_toTopOf="parent"
  app:layout_constraintBottom_toBottomOf="parent"
  app:layout_constraintStart_toStartOf="parent"
  app:layout_constraintEnd_toEndOf="parent">

  <android.support.v7.widget.RecyclerView
    android:id="@+id/beersList"
    android:layout_width="match_parent"
    android:layout_height="match_parent"
    android:scrollbars="vertical" />

</android.support.v4.widget.SwipeRefreshLayout>

<TextView
  android:id="@+id/errorView"
  android:layout_width="wrap_content"
  android:layout_height="wrap_content"
  android:text="Error getting beers!"
  app:layout_constraintBottom_toBottomOf="parent"
  app:layout_constraintLeft_toLeftOf="parent"
  app:layout_constraintRight_toRightOf="parent"
  app:layout_constraintTop_toTopOf="parent" />
Add the following private helper methods into BeersActivity, which in turn initialize the UI, handle the loading state, and handle possible error conditions:
private fun initializeUi() {
  beersList.layoutManager = GridLayoutManager(this, 2)
  beersList.itemAnimator = DefaultItemAnimator()
  beersList.adapter = adapter
}

private fun showLoading(isLoading: Boolean) {
  pullToRefresh.isRefreshing = isLoading
}

private fun setErrorVisibility(shouldShow: Boolean) {
  errorView.visibility = if (shouldShow) View.VISIBLE else View.GONE
  beersList.visibility = if (!shouldShow) View.VISIBLE else View.GONE
}
Now, call the initializeUI() helper in onCreate(), and make a call to the view model to get beers:
override fun onCreate(savedInstanceState: Bundle?) {
  super.onCreate(savedInstanceState)
  setContentView(R.layout.activity_beers)

  initializeUi()

  // add subscriptions

  viewModel.getBeers() // request the data for the first time
}
But wait you’re missing something! Where are those subscriptions to the view model LiveData? Replace the “// add subscriptions” comment in onCreate with the following:
viewModel.errorData.subscribe(this, this::setErrorVisibility)
viewModel.loadingData.subscribe(this, this::showLoading)
viewModel.pageData.subscribe(this, adapter::clearIfNeeded)
viewModel.beerData.subscribe(this, adapter::addItems)
These subscriptions add callbacks to the data changes in your LiveData. I’ll walk you through them one-by-one:
The errorData callback is the setErrorVisibility method:
)
private fun setErrorVisibility(shouldShow: Boolean) {
  errorView.visibility = if (shouldShow) View.VISIBLE else View.GONE
  beersList.visibility = if (!shouldShow) View.VISIBLE else View.GONE
}
When the shouldShow argument is true, an error is displayed, and the list is hidden for the moment. On the other hand, if the argument is false, the error is removed, and the list is displayed.
Next, the loadingData callback in showLoading just displays the loading state on true events and hides it on false ones.
Finally, the page and beers data govern what you will display by making calls into the BeerAdapter:
fun clearIfNeeded(page: Int) {
  if (page == 1) {
    beers.clear()
  }
}

fun addItems(newBeers: List<Beer>) {
  beers.addAll(newBeers.filter { beer ->
    beer.labels.medium.isNotBlank() || beer.labels.large.isNotBlank()
  })
  notifyDataSetChanged()
}
In case the user pulls to refresh, and resets the page to 1, you will clear the data before adding newly received items. Adding items is the standard adapter procedure. To implement pull-to-refresh, first update the BeersViewModel to modify the getBeers method and add onRefresh:
BeersViewModel.kt
fun getBeers() {
  interactor.getBeers(pageData.value ?: 1, beersCallback())
}

fun onRefresh() {
  pageData.value = 1
  getBeers()
}
Now add the following call at the end of initializeUi in BeersActivity:
private fun initializeUi() {
  ...
  pullToRefresh.setOnRefreshListener(viewModel::onRefresh)
}
To conclude, you see the input is the data from your ViewModel, whereas the output is the resulting UI changes. Now you should have everything you need to get the long awaited beers! :]
Run the app to get some beers. Everything should be working as planned (fingers crossed):
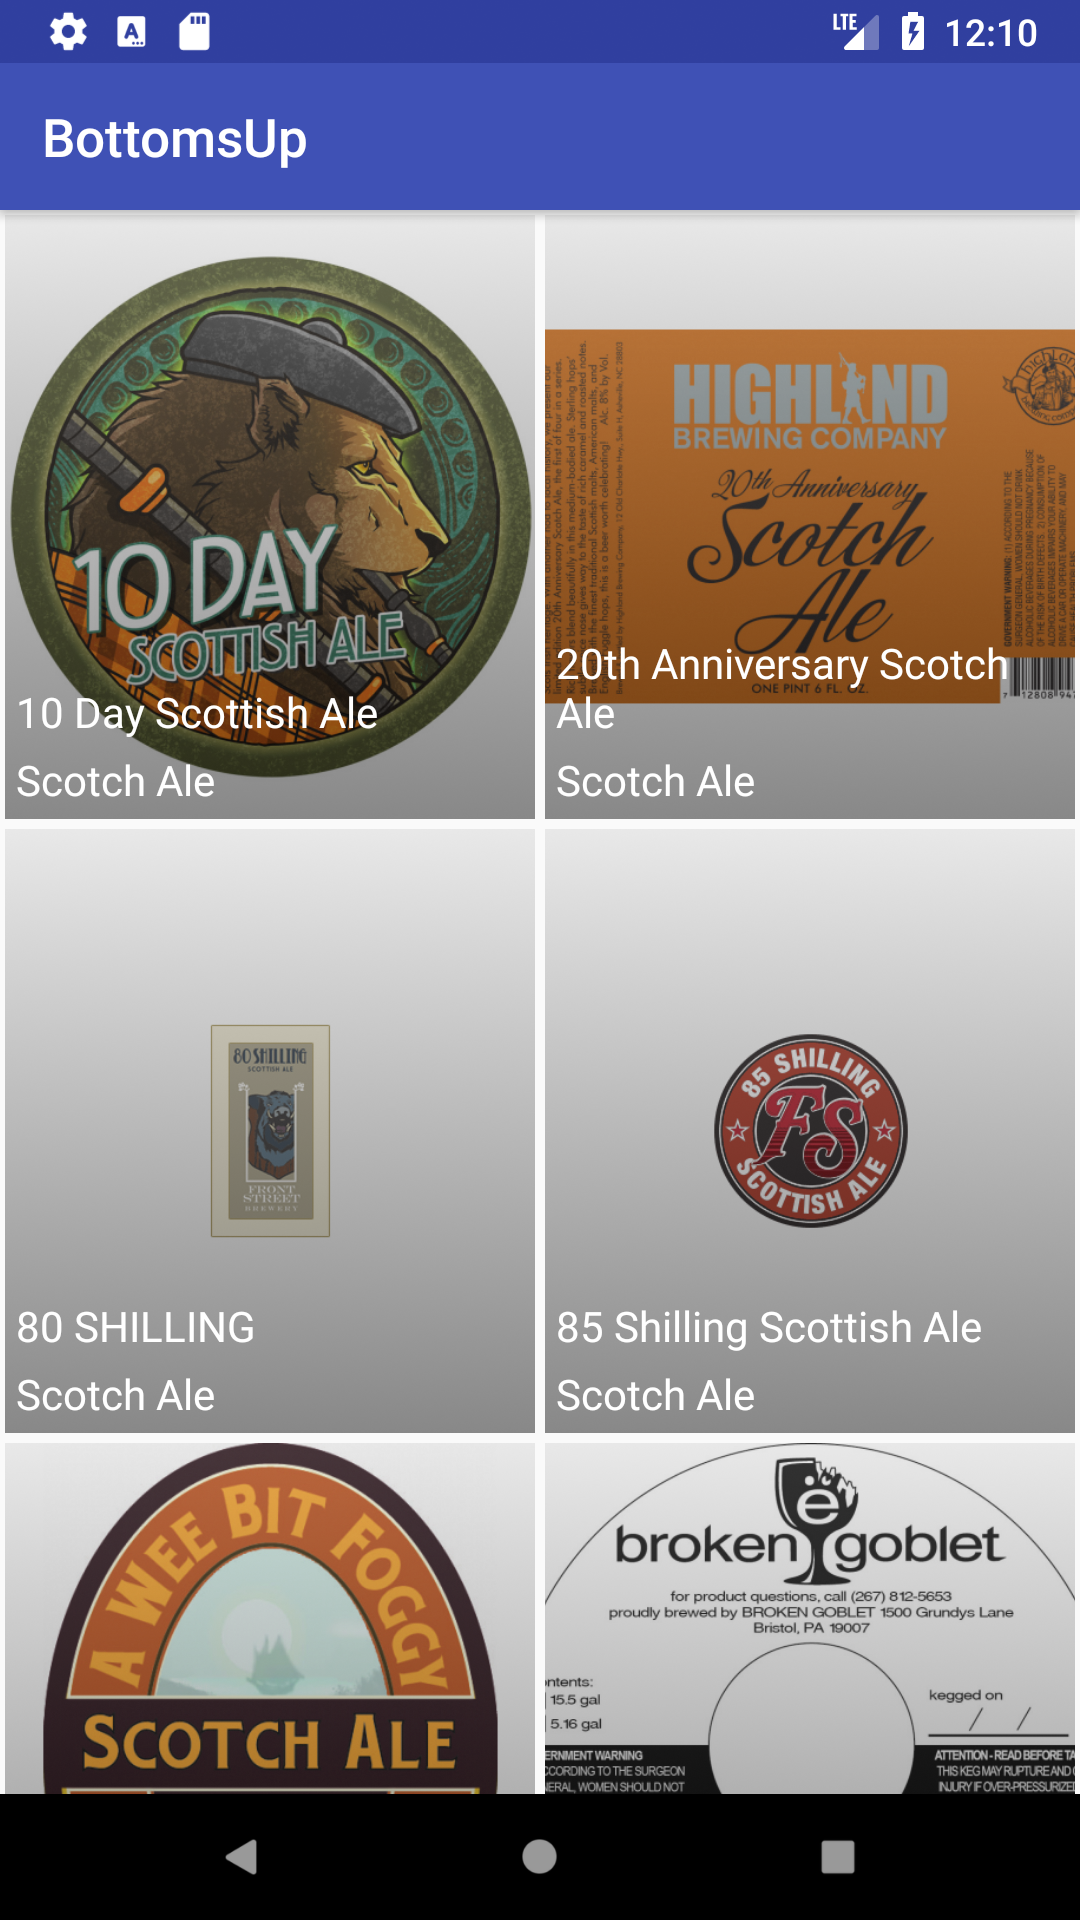
The implementation of infinite scroll to load the subsequent pages is not the focus of this tutorial. However, just call viewModel.getBeers() when you want to load a new page. The page increment has already been taken care of.
Reinventing the Wheel
You’ve used LiveData in this tutorial, but it’s quite the same as using Rx programming isn’t it? Well, not quite. While it follows the same core principle of the Observer pattern, LiveData has one huge advantage: it has a built in subscribe/unsubscribe system.
While Google encourages you to use whichever you prefer, they advise that by using Rx, you have to handle the unsubscribing yourself.
From what I’ve seen, Rx is very lightly used in most projects. So having a huge dependency just for passing data around from API requests is not my recommendation. Unless you’re doing Rx style operations like combining multiple requests, you’re better off with LiveData.
Where to Go From Here?
You can download the final project here.
There is a ton of materials on Android Architecture Components, since they’ve become one of the main things the Android community is actively researching and using. You can find a lot of articles out there, some of which are:
- Joe Birch’s series
- Google’s github, featuring a ton of sample apps
- My article depicting a nice way to handle errors
And of course be on the lookout for more of our tutorials on Android Architecture Components!
If you have any questions or comments, please join the discussion in the comments below.